


About
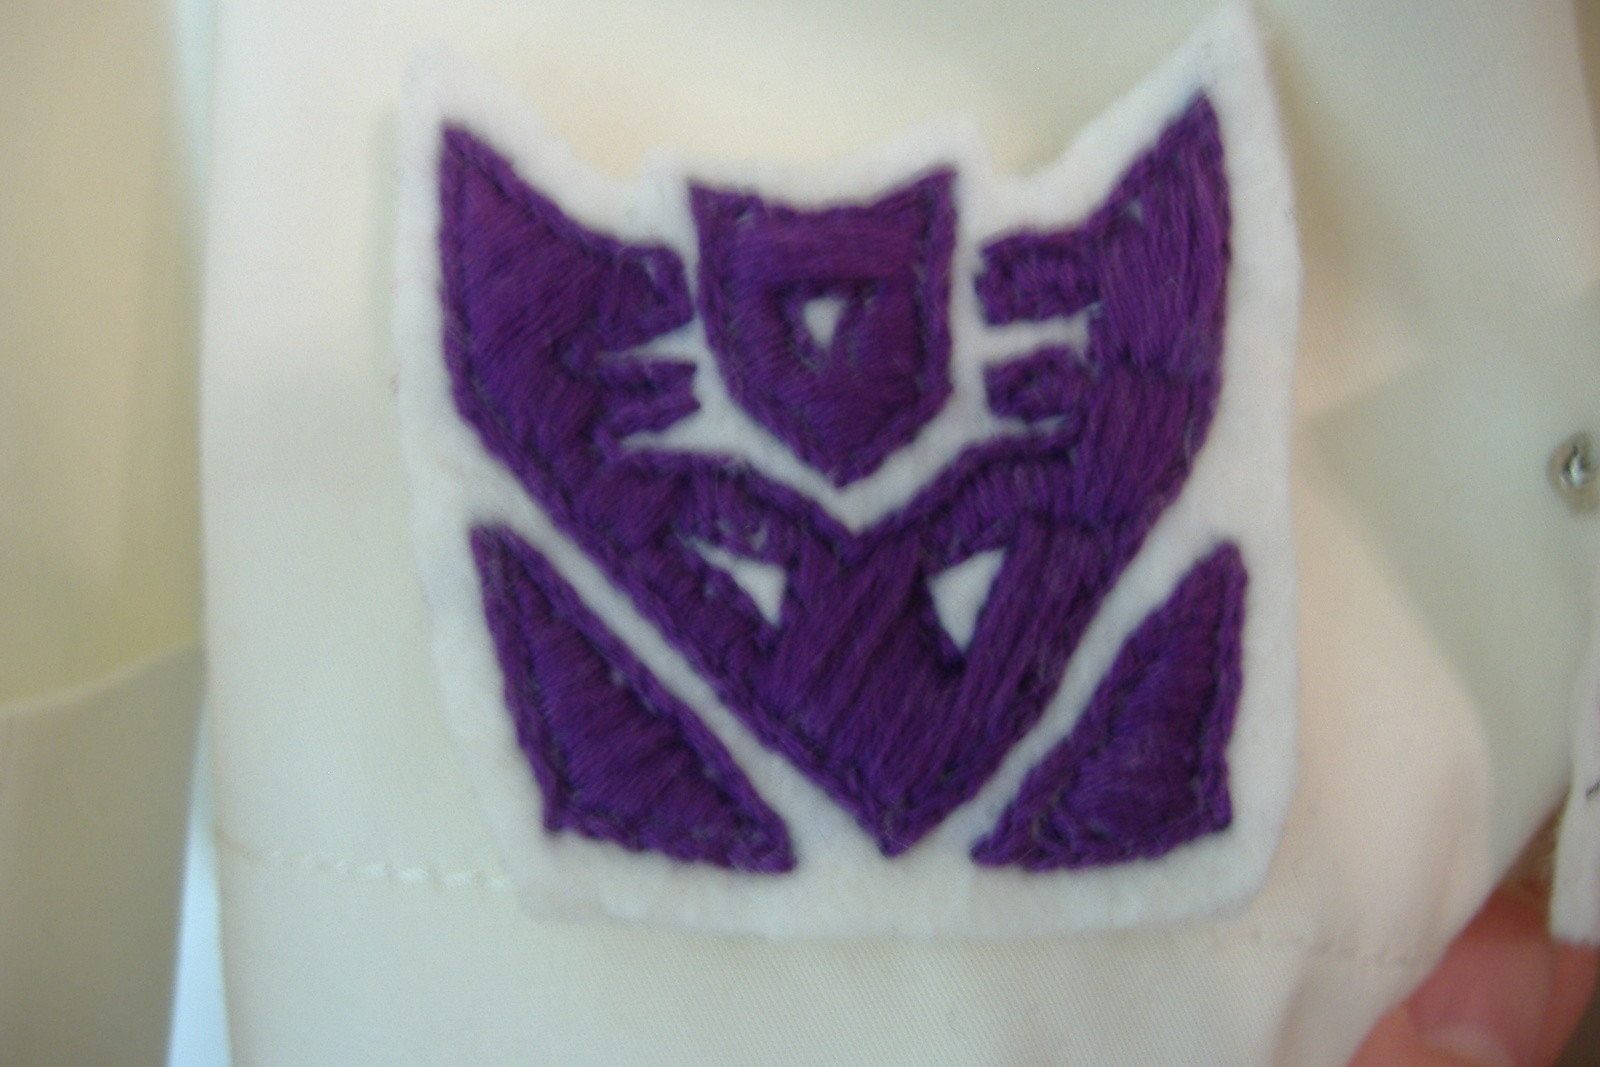
Embroidered Transformer brooches (autobot and decipticon logos)
I really wanted to make something to wear to the new Transformer movie so I got the image of the Autobot and Decipticon logos and decided to make embroidered brooches.
Sorry I don't have any pics in the instructions, I hope it's easy enough to understand. This is my first How-to. If you have any questions just feel free to message me and I'll try to help any way I can!
Tags
-
 mmotse03 favorited Transformer Embroidered Brooches
29 Jul 16:35
mmotse03 favorited Transformer Embroidered Brooches
29 Jul 16:35
-
Step 1
Get the image of what you want to embroider. Print it out on the computer. Mine was a little too big so I just adjusted the size into my copier on my printer.
-
Step 2
Get a sheet of transfer paper and lay it colored side down onto your wool. On the wrong side of the transfer paper, take the paper with your image on it and lay it on top of it. (If you decide to embroider with an embroidery hoop, make sure you have enough room around your image.)
-
Step 3
With a ballpoint pen, trace your image, applying a good amount of pressure to make sure the transfer happens.
-
Step 4
After you are done, peak onto the wool to make sure your image transferred. Don't lift up your papers completely. If you see it didn't transfer all the way this is your opportunity to retrace. Repeat if necessary.
-
Step 5
Take off the papers. You don't have to, but I retraced the lines on the wool with my pen just to make sure it was dark enough for me to see.
-
Step 6
Put your wool in the embroidery hoop and begin to embroider.
-
Step 7
For the bigger outline sections I used the split stitch. For the smaller outline sections I used the back stitch. To fill in I used the satin stitch. In the smaller sections for the filling in I used some more back stitches.
-
Step 8
Take the wool out of the embroidery hoop and cut out the image, leaving a little bit of an outline in wool. Cut out a second piece of wool identical to the one with the image on it. (Make sure to take note which side is your "wrong" side and your "right" side for the blank piece of wool).
-
Step 9
On the blank piece of wool, find your center (I just folded mine in half vertically). Mark your center (pins work fine).
-
Step 10
On the "right" side of the blank wool, place your sew-on pin back. Put the pin as high as you'd like (I did mine about 1/3 from the top). The middle hole of your pin should be at center point. Begin to sew on the pin (I started at the center hole so I wouldn't lose my center).
-
Step 11
On the "wrong side" of this piece of wool, take your fabric glue and put some on. With some scrap paper or a popcycle stick, spread it around so the back is completely covered with a thin layer of glue.
-
Step 12
Stick the glue side of this piece of wool to the "wrong" side of your embroidered piece of wool. Press all around with your fingers to make sure that it is all glued. Let dry for a few hours.
-
Step 13
You can now wear your pin! One thing I did at the end was just trim any of the border to make sure both sides are completely even (I am a perfectionist and I know I would be the only one to notice).
Comments