


About
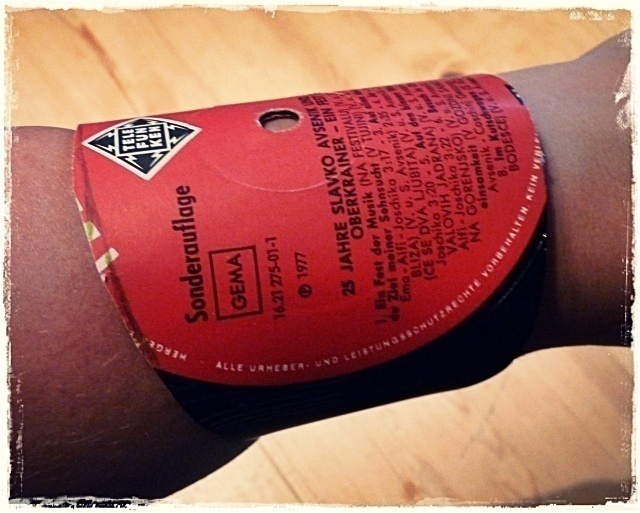
This is the first part of this tutorial and mainly about how I made my Vinyl Record Cuffs. The other part will be about how I set the highlights on the Torn Paper Vinyl Record Cuff.
At the moment Recycling Craft is a perfect way for myself to try other techniques. Here I combined a Vinyl Record Cuff together with my favourite Torn Paper Technique.
And yes ... again a cute Peacock ... cause I totally love peacocks.
-
 ladonnagaga favorited Torn Paper Vinyl Record Cuff Part I
21 Mar 16:34
ladonnagaga favorited Torn Paper Vinyl Record Cuff Part I
21 Mar 16:34
-
 Megan B. favorited Torn Paper Vinyl Record Cuff Part I
12 Jan 02:30
Megan B. favorited Torn Paper Vinyl Record Cuff Part I
12 Jan 02:30
-
 Susi S. added Torn Paper Vinyl Record Cuff Part I to VHS
01 Oct 17:15
Susi S. added Torn Paper Vinyl Record Cuff Part I to VHS
01 Oct 17:15
-
 Sissi favorited Torn Paper Vinyl Record Cuff Part I
31 May 20:57
Sissi favorited Torn Paper Vinyl Record Cuff Part I
31 May 20:57
-
 Jo R. favorited Torn Paper Vinyl Record Cuff Part I
14 Jan 22:40
Jo R. favorited Torn Paper Vinyl Record Cuff Part I
14 Jan 22:40
-
 elahluna favorited Torn Paper Vinyl Record Cuff Part I
14 Dec 12:10
elahluna favorited Torn Paper Vinyl Record Cuff Part I
14 Dec 12:10
-
 Kt Bing favorited Torn Paper Vinyl Record Cuff Part I
24 Oct 18:14
Kt Bing favorited Torn Paper Vinyl Record Cuff Part I
24 Oct 18:14
-
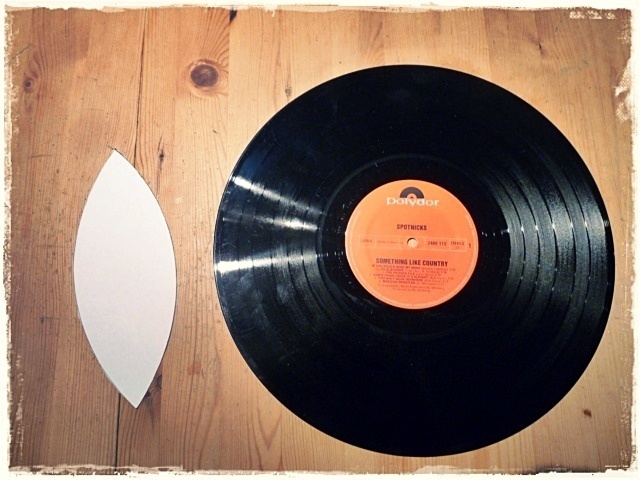
 Step 1
First you gonna need such a template to mark your cuff pieces on the record. You can use any crayons you want, although it is the best to use white crayons.
-
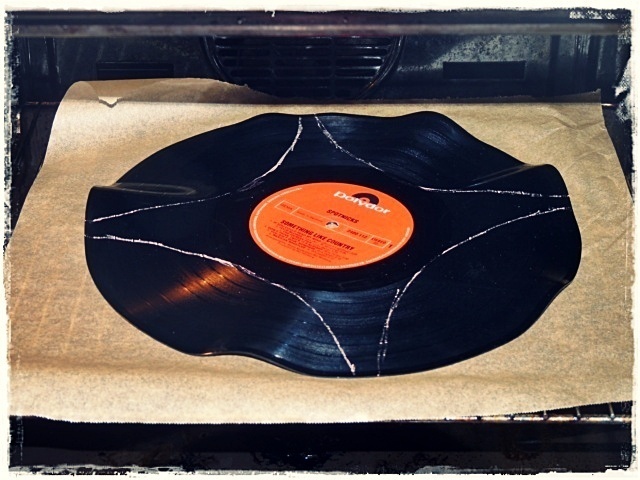
 Step 2
Then you put your record into the oven and wait a bit.
I have chosen about 100 degrees for the oven and it got very fast with the record.
When the record looks like this, you can cut it easily, because it is totally soft.
-
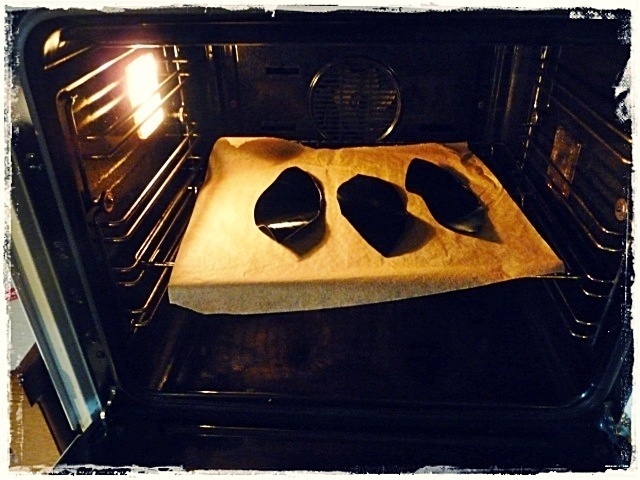
 Step 3
Here you can see the cutted record and how you can also use the middle piece for another cuff.
-
 Step 4
Put the pieces into the oven and wait again.
-
 Step 5
Now put a doubled dish towel on your arm ...
-
 Step 6
... and then put the soft cuff on the doubled dish towel ...
-
 Step 7
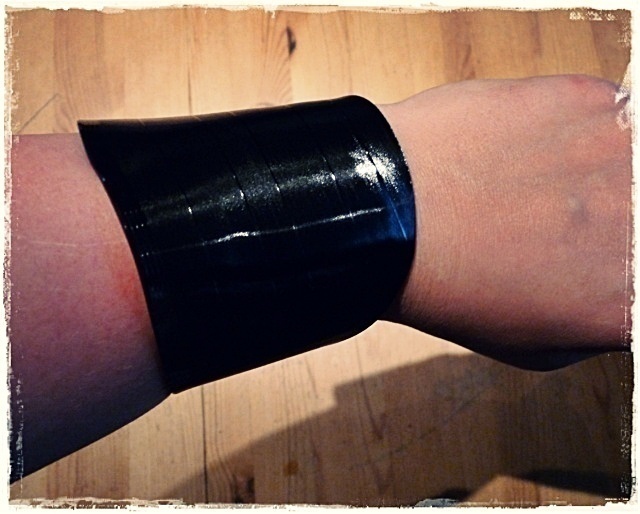
... and start bending in the way you want to have the cuff at the end.
When it is too hot, you also can put another dish towel on the soft cuff piece and then start bending.
Please be careful cause in some cases it can be very hot, but also cools down very fast.