


About
BANG! and then there was origami...
This is a relatively easy project, but it takes awhile. A really long while.
Tags
-
 DehSpieller added The Big Bang! to To do
28 Nov 18:05
DehSpieller added The Big Bang! to To do
28 Nov 18:05
-
 Mathias E. favorited The Big Bang!
24 Aug 18:34
Mathias E. favorited The Big Bang!
24 Aug 18:34
-
 MINT~ added The Big Bang! to To-make list
31 Mar 01:06
MINT~ added The Big Bang! to To-make list
31 Mar 01:06
-
 poohbear p. favorited The Big Bang!
14 Dec 07:07
poohbear p. favorited The Big Bang!
14 Dec 07:07
-
 Ayuni Hamdan favorited The Big Bang!
11 Oct 08:50
Ayuni Hamdan favorited The Big Bang!
11 Oct 08:50
-
Ayuni Hamdan commented on The Big Bang!
11 Oct 08:46
-
 Ichigo M. favorited The Big Bang!
28 Jul 03:37
Ichigo M. favorited The Big Bang!
28 Jul 03:37
-
 Kiko entered their project The Big Bang! to Fashion Origami
31 Mar 20:20
Kiko entered their project The Big Bang! to Fashion Origami
31 Mar 20:20
You Will Need
-
 Step 1
First of all, you'll need 30 square papers. For the sake of sapping my entire origami paper collection, I just cut a bunch of squares into quarters.
-
 Step 2
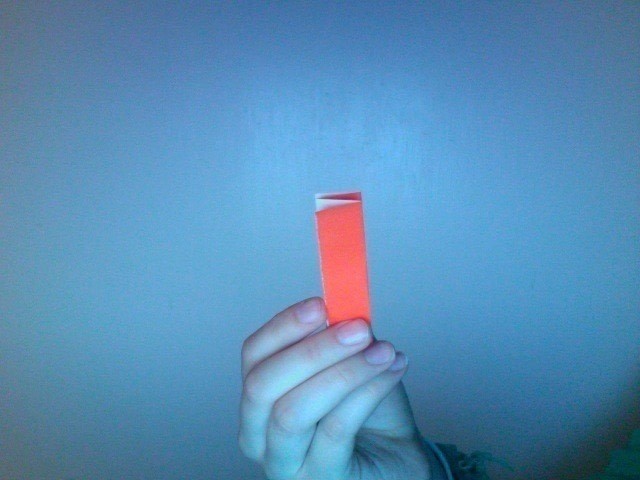
Take a square so that the colored side faces you...
-
 Step 3
And fold it in half.
-
 Step 4
Then fold the side towards you back in half so that color shows.
-
 Step 5
Repeat. It should look like this.
-
 Step 6
Fold one of the corners to the side, (all layers) diagonally.
-
 Step 7
Repeat to the other side so that it looks like this.
-
 Step 8
Where there are approximately 135 degree angles, this is where you will need to fold. Fold a valley fold across both of the 135 degree angles (where the edge is folded). I know this sounds confusing, but when you understand it, it'll be a piece of cake!
-
 Step 9
It should look like this.
-
 Step 10
Now repeat to all 30 pieces. (Grrrrr!!!)
-
 Step 11
To put it all together, you will need to take the flap of one piece and slide it into the slot of another so that the folds match up.
-
 Step 12
The slot is where two creases come together on both sides. You should insert the flap into the slot where those creases are, and the folds of the two pieces should overlap.
(Here's the slot).
-
 Step 13
(Here's the flap).
-
 Step 14
This is what it should look like when you put two pieces together.
-
 Step 15
So put another piece on.
-
 Step 16
And another.
-
 Step 17
And pretty soon you'll have.....
-
 Step 18
A dodecahedron!
Happy folding!


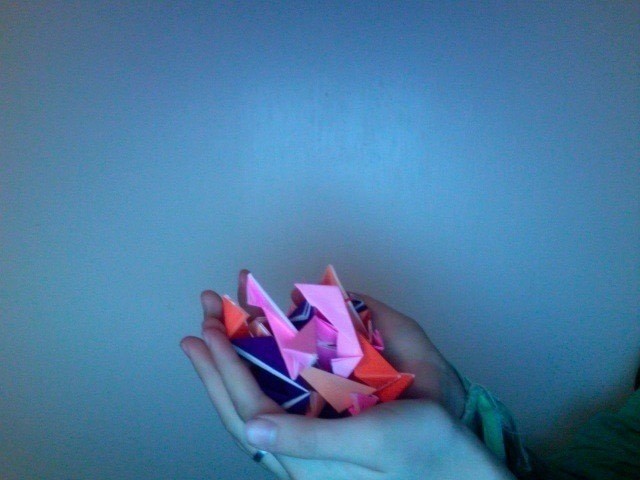


but i had trouble putting them together