About
Make that Souvenir Into Something Useful In The Name Of Fashion!
Ever had an "unusual" souvenir or random object that you loved but didn't know what to do with it? Like it was too cool to just hang on the wall but it was taking up precious space. Well here is a simple solution!
At my homecoming 2 years ago they let us have the decorations. So I took a beautiful Blue and Purple lollipop that had caught my eye. I didn't want to just hang it on the wall or from the ceiling, so for a year it was standing in my room. Well recently since I've been totally overhauling and reconstructing my room a brilliant idea came to mind. The Lollipop is made from Styrofoam, why don't I hang my jewelry from it! And so I did.
You don't have to necessarily make your's a Lollipop. Perhaps you may want to use a stuffed animal, or make a shape out of cardbord or foam? In the end it's your decision.
Side Note to Keep In Mind:
So if I were to rate just my experience with making this would say it was "Flaming Ring of Death", but it was because of what I used as my focal item. HOPEFULLY, you wont deal with the same issues I had. Since the Dowel used for the Lollipop was so small I had support issues. So my BIGGEST warning to you is if you are making it from scratch SECURE THE SUPPORT.
Sorry if this tutorial is a bit confusing, out of frustration I slacked on taking the appropriate amount of picture. Do feel free to ask questions :]
-
 Conner W. added That One Souvenir Turned Jewelry Stand to fashion
31 Jul 20:54
Conner W. added That One Souvenir Turned Jewelry Stand to fashion
31 Jul 20:54
-
Conner W. added That One Souvenir Turned Jewelry Stand to craft ideas
31 Jul 20:54
-
Conner W. added That One Souvenir Turned Jewelry Stand to gift ideas
31 Jul 20:54
-
 Miss_Fit added That One Souvenir Turned Jewelry Stand to Stands
31 Mar 01:49
Miss_Fit added That One Souvenir Turned Jewelry Stand to Stands
31 Mar 01:49
-
 Step 1
First things first choose your focal item and theme!
Mine was a Lollipop from my senior year homecoming dance which was Willy Wonka and the Chocolate Factory. So to keep it authentically like a souvenir, I kept with Wonka Candy.
I DID NOT make the Lollipop, however if you'd like to make one of your own its simple in design:
- The foam has a diameter of 11½"
- It requires a Dowel for the stick [GET A BIG STABLE ONE FOR SUPPORT]
- The Stick is stabbed into the foam circle and sealed by Hot Glue Gun
- Paint Foam with desired design and/or decorate with glitter -
 Step 2
Get a Cardboard box place the piece through or on top of the box.
Stuff the box with filler paper or whatever material you have till it is very tightly filled.
-
 Step 3
** If your piece goes through the box:
Place a foam or cardboard piece to the bottom of the support or dowel.
Then secure this area. This is better done with a complete box since you just close the other end.
-
 Step 4
Now Plot out how you shall decorate your box. Since I had a theme I decided to make mine look like a candy bar. This is the source image I based it off of.
-
 Step 5
I used both spray adhesive and Glue all for different parts.
The adhesive was used for bigger surfaces.
I also used a Glue stick for the letters later.
-
 Step 6
I had huge pieces of construction paper so using the stray adhesive I wrapped the purple around in one swoop very cleanly.
Let this dry and move onto to details.
-
 Step 7
Draw out the other pieces onto the paper you are using.
This is the Yellow Banner of the Wonka Bar. I also drew out and cut out the hat, and flowing chocolate.
-
 Step 8
Same as step 7 except these were the letters. I tried to imitate the Wonka font
-
 Step 9
Cleanly and carefully cut out the letters as such!
Optional:
The Wonka Letters had a purple shadow, you can cut out construction paper for this as well or do what i did and use marker. Sharpie works best as it bleeds less, but I didn't have a purple sharpie so I used Crayola markers. They bleed quite a bit :/ -
 Step 10
Using the Glue stick, paste the letters onto the banner portion as desired
-
 Step 11
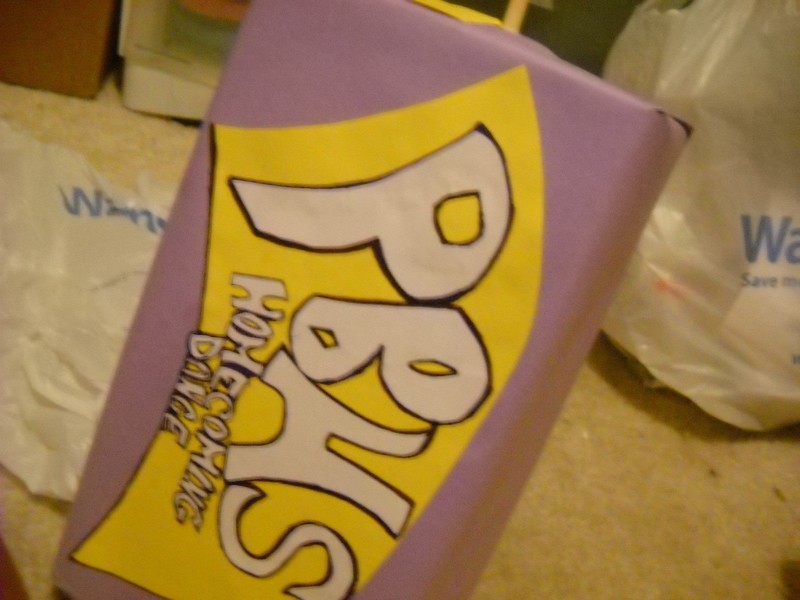
Paste the now completed banner onto the dry box surface.
Make sure to only put paste on the lower half for now unless you don't wish to add detail.
-
 Step 12
Cover the sides and any revealing or exposed areas of the box.
**OPTIONAL:
If you decide to do Step 16, you can get creative with the bottom cover. I cut mine out to look like it was an open side of the bar [trapezoid-like] so it sticks out -
 Step 13
Now remember how I said to only paste half of the image in step 11? This is why.
Paste the chocolate fountain onto the box.
Then paste the banner on top of this.
Lastly, place the splash at the bottom as desired. Mine overlapped the banner. -
 Step 14
Place the hat accordingly, it folds over to the side.
-
 Step 15
Now with a Sharpie [or if you have the patients you can cut this out too] write the other little details of the bar.
For the Ounces I wrote the date of the homecoming
Where the Chocolate description was I put the them of the homecoming
And even where the little trademark sign is I put my Classes year :]
-
 Step 16
**OPTIONAL
In all my anger I decided that I deserved a Golden Ticket! SO, if you have a gold colored or metallic material you can add your own golden ticket to the bottom.
I used some Roché Candy wrappers I found 0-0
-
 Step 17
**OPTIONAL
You can do things tot he other sides if you wish. On the back I worked on mimicking the ingredients and what not. I actually wrote down that years King and Queen and w/e would be considered memory worthy. I only did it to be more souvenir-like, otherwise it's not necessary XD
-
 Step 18
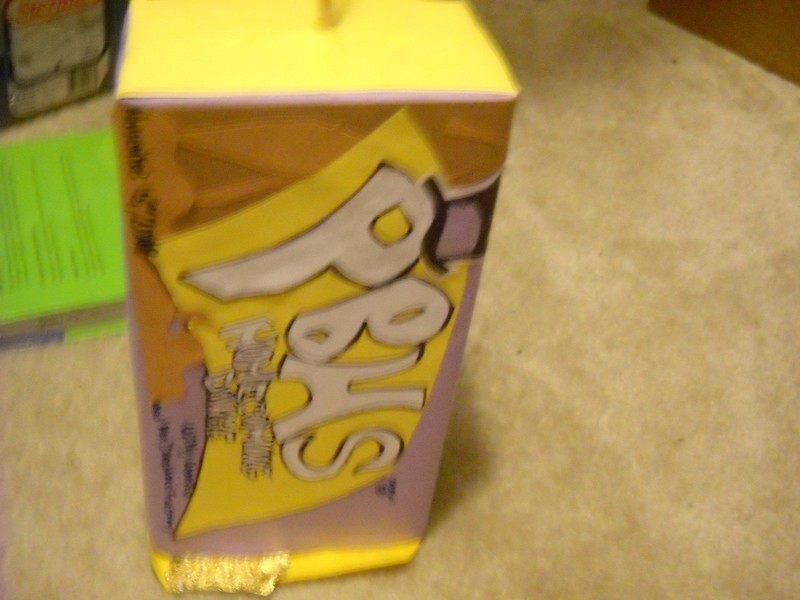
This is the finished product of the bottom box. That ends the bulk of the work!
-
 Step 19
**Optional Upper Portion Ideas:
For the upper portion its up to you to decide.
Originally I had planned to put a bow since it's a Lollipop and all, as shown in this picture. But due to the issues I had with support later on I removed it in order to cover my dowel with a filler paper stuffed gift wrap roll [as seen in the main final product pics] Lucky for me it was white so it had the wrapped paper effect of lollipop sticks :]
Because I added the thick roll I was able to attach two "hooks"* to the side and those hold my necklaces
* The "hooks" are actually the metal clips found in pants hangers. If a pants hangers break I always save them because they happen to be very versatile.
-
 Step 20
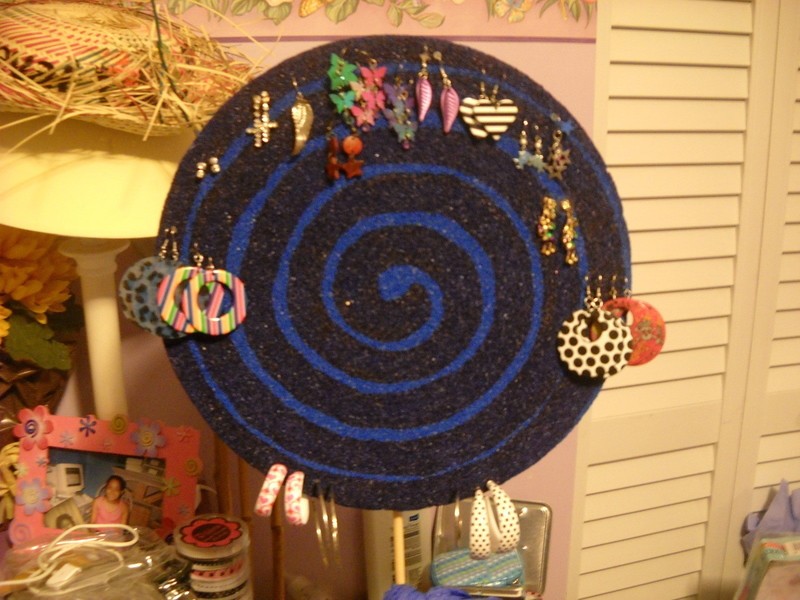
When your done just push your earrings into the surface of your item as shown. Don't worry it won't ruin the design.
VOILA AND ENJOY and remember this is just one way to go about it. Get inventive get creative and make this project your own :] Thanks for reading :]