

Temporary Tattoos
Extract from Microcrafts: Tiny Treasures to Make and Share • By Margaret McGuire, Alicia Kachmar, and Katie Hatz • Published by Quirk Books

About
Microcrafts by Margaret McGuire
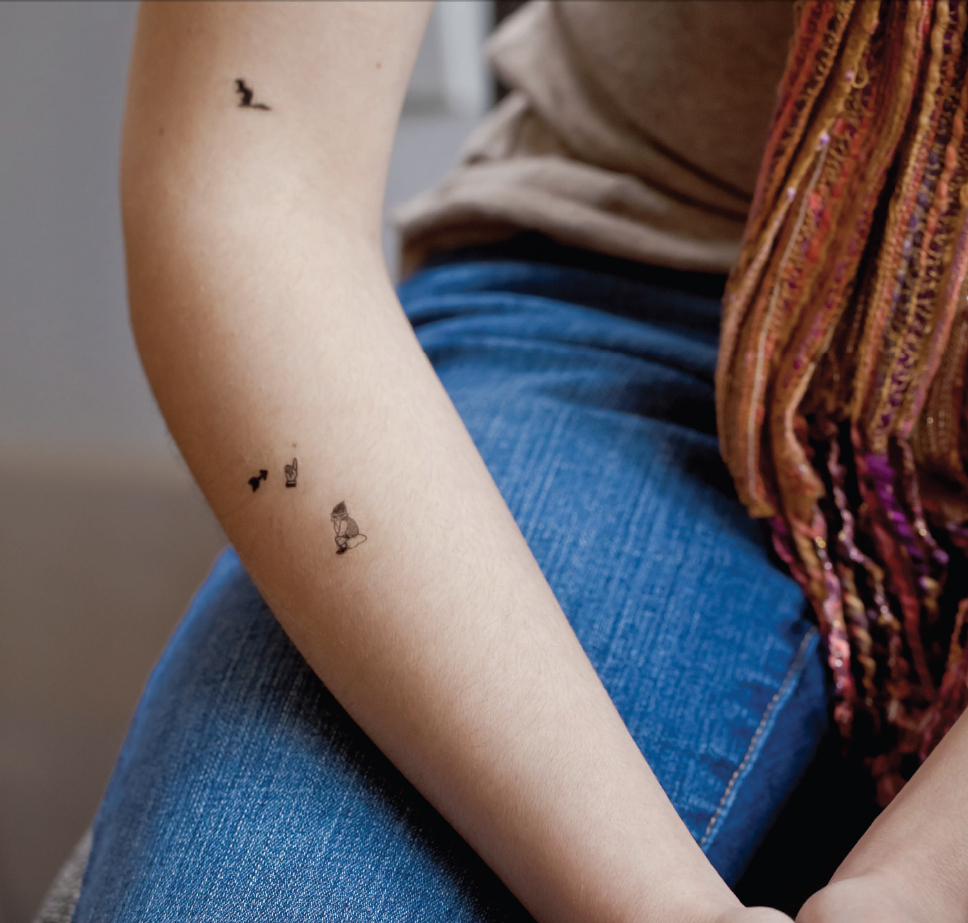
Only the most careful observers will notice a pony-shaped beauty mark on your face or a raccoon crawling across your foot! But your mom has eyes like a hawk. With these temporary tats, you won’t risk being disowned. Getting inked is easy—and painless!—when special decal paper is put to the task
-
 Paul H. favorited Temporary Tattoos
12 Mar 10:21
Paul H. favorited Temporary Tattoos
12 Mar 10:21
-
 Daniel Cunningham favorited Temporary Tattoos
30 Apr 08:32
Daniel Cunningham favorited Temporary Tattoos
30 Apr 08:32
-
 autumn rose l. favorited Temporary Tattoos
13 Aug 22:25
autumn rose l. favorited Temporary Tattoos
13 Aug 22:25
-
 Crafterella added Temporary Tattoos to Amy Winehouse
13 Jun 18:27
Crafterella added Temporary Tattoos to Amy Winehouse
13 Jun 18:27
-
 Marvelgirl .. favorited Temporary Tattoos
17 Sep 21:35
Marvelgirl .. favorited Temporary Tattoos
17 Sep 21:35
-
 Jinx added Temporary Tattoos to Make-up
18 Jun 05:14
Jinx added Temporary Tattoos to Make-up
18 Jun 05:14
-
 Maemi.Gojo added Temporary Tattoos to Make-Up
02 Jun 10:04
Maemi.Gojo added Temporary Tattoos to Make-Up
02 Jun 10:04
-
 Kinhime Dragon added Temporary Tattoos to Art Journal ideas
18 May 17:56
Kinhime Dragon added Temporary Tattoos to Art Journal ideas
18 May 17:56
-
 BloodyRose favorited Temporary Tattoos
12 Apr 16:02
BloodyRose favorited Temporary Tattoos
12 Apr 16:02
-
 minus m. favorited Temporary Tattoos
22 Mar 20:12
minus m. favorited Temporary Tattoos
22 Mar 20:12
-
Step 1
Print your images using an inkjet printer and plain paper as a test run. When you’re satisfied with how they look, print the images on the glossy side of the decal paper. Print 1 sheet at a time to avoid jams.
-
Step 2
Allow the ink to dry fully, about a few minutes. Remove the clear side of the adhesive sheet and apply it to the printed decal paper. Cut around each tattoo design.
-
Step 3
Ink yourself! Choose a spot for your tiny tattoo. Remove the adhesive backing from the decal paper and apply it to your skin, pressing firmly for about 20 seconds. Use a sponge or cloth to wet the paper for 60 seconds and then peel away the paper to reveal the design.


Do you have a name for decal paper? I've never heard of it.