

About
A spacey cake for my friend
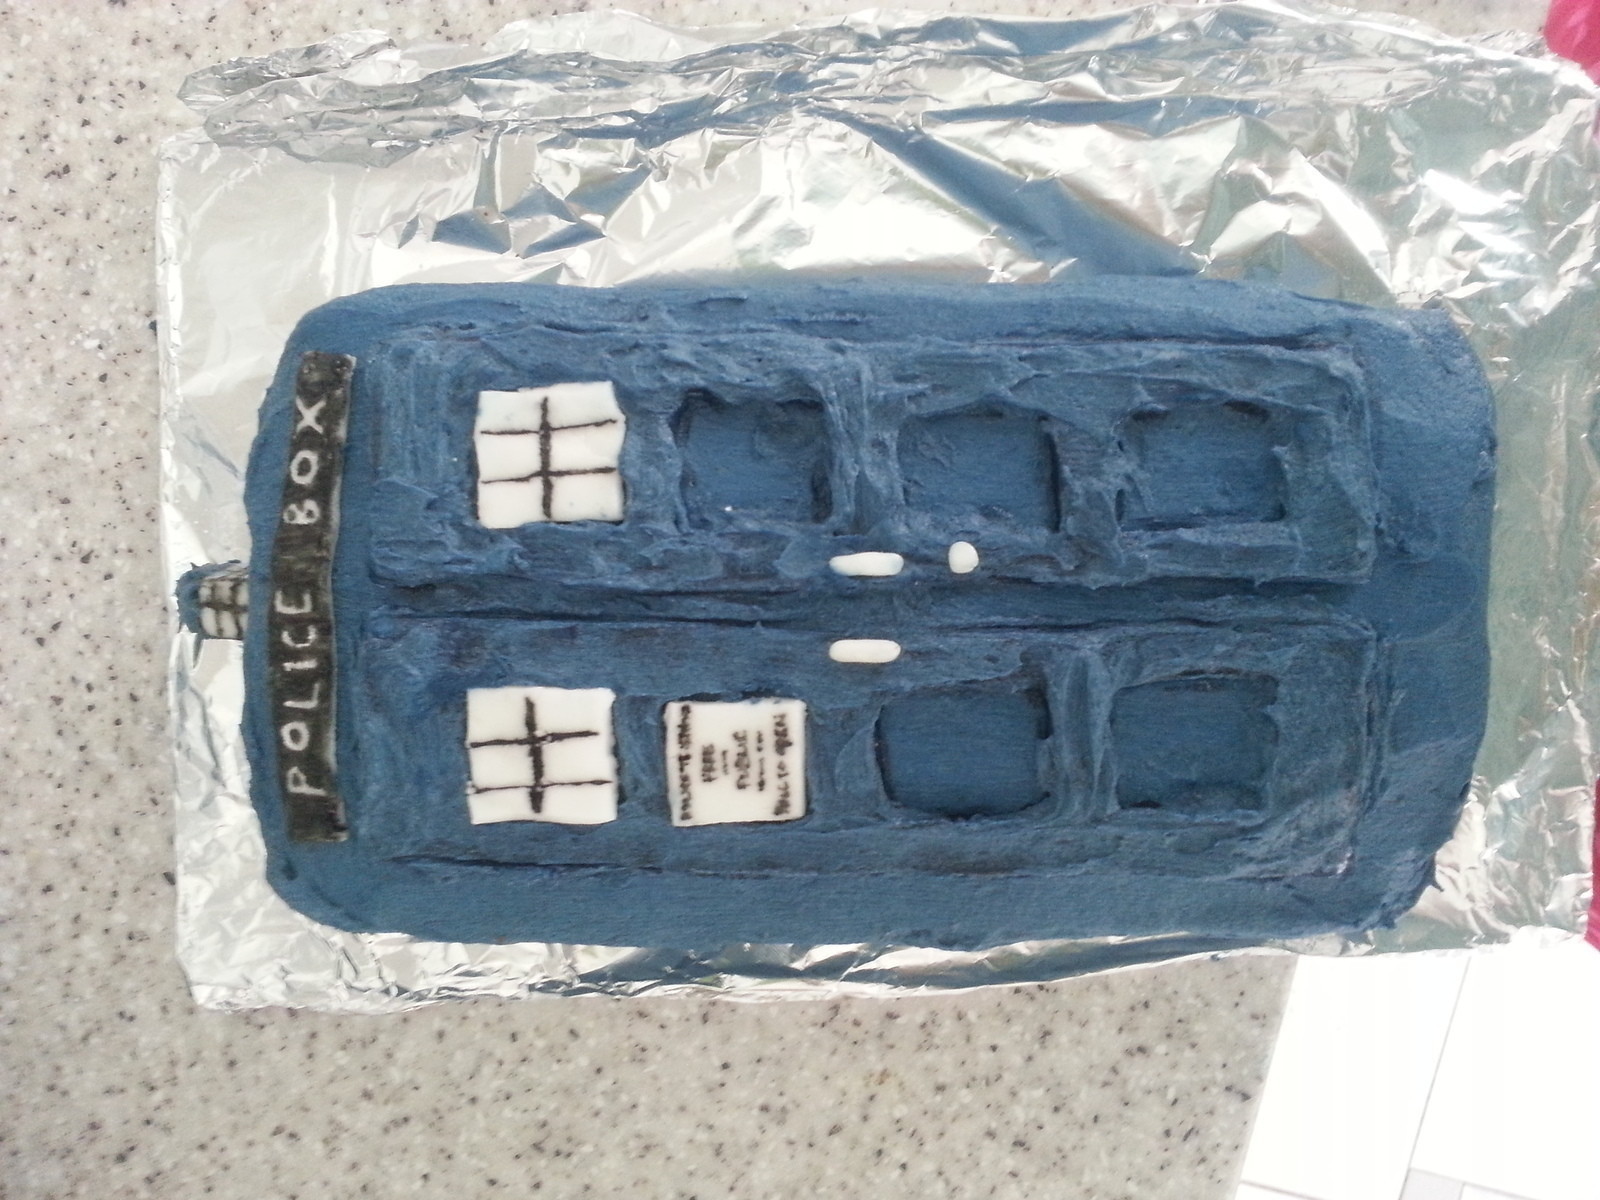
My friend threw a Doctor Who themed birthday party so I made her a cake of the lovely Tardis!
Tags
-
 Knittin' Kitten entered their project Tardis Cake to The Confetti Bar
06 Oct 13:05
Knittin' Kitten entered their project Tardis Cake to The Confetti Bar
06 Oct 13:05
-
Knittin' Kitten entered their project Tardis Cake to Actual Film Votive
01 Sep 12:48
-
 Kim favorited Tardis Cake
22 Feb 18:27
Kim favorited Tardis Cake
22 Feb 18:27
-
 Jess W. commented on Tardis Cake
19 Jan 00:06
Jess W. commented on Tardis Cake
19 Jan 00:06
-
Jess W. favorited Tardis Cake
19 Jan 00:06
-
 amanda.shillito favorited Tardis Cake
14 Dec 23:04
amanda.shillito favorited Tardis Cake
14 Dec 23:04
-
 Shantelle t. added Tardis Cake to gifts
08 Dec 07:09
Shantelle t. added Tardis Cake to gifts
08 Dec 07:09
-
Shantelle t. added Tardis Cake to food!!
08 Dec 07:09
- Dianna Reed commented on Tardis Cake 29 Aug 20:00
-
 mpanda favorited Tardis Cake
13 Aug 19:28
mpanda favorited Tardis Cake
13 Aug 19:28
-
 Step 1
I baked a very simple sponge with cocoa powder in. Can't find the recipe though unfortunately! I cooked it in a bread load tin, left it to cool before putting it in the fridge for a few hours, then I cut it in half with a bread knife.
-
 Step 2
I covered one side with a generous amount of home redcurrant and blackcurrant jam - yum!
-
 Step 3
After sandwiching them back together, I covered it completely with buttercream icing with blue food paste.
-
 Step 4
To get the outline of the door, I rolled out some icing to the right size and shape and then cut out the squares. Ideally I would have done this with a craft knife but didn't have a suitable one so used a knife instead.
-
 Step 5
I put the door outline on the cake and then covered it lightly with some more of the buttercream to blend it in a bit.
-
 Step 6
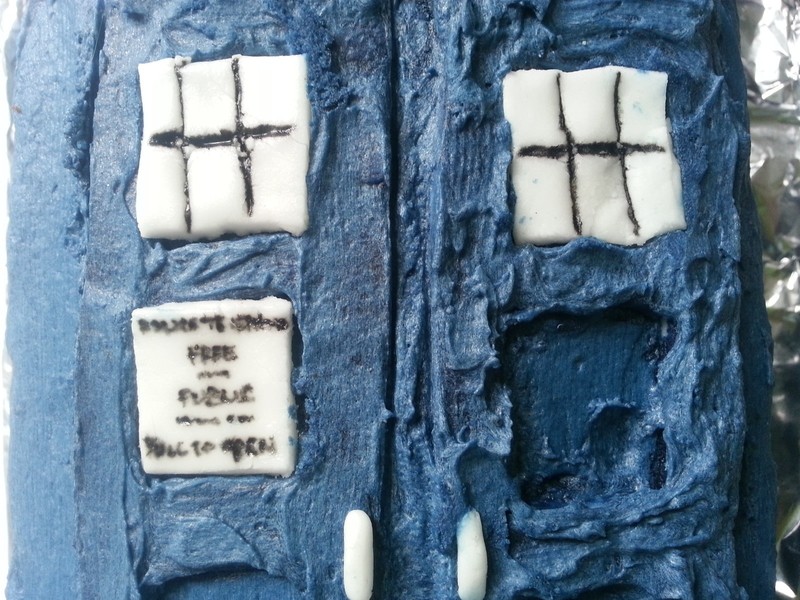
I used the cut out squares from the outline to make the window details. I just drew the design on with an edible pen, most of the writing was scribbled, then I slotted them back in where they were cut out which was nice and simple.
I used tiny bits to do the handles as well. -
 Step 7
I made the little lamp on top from icing, glued it on with the buttercream and put a bit more on top to get the right colour.
I then cut out a small thin strip of the rolled icing and drew out the outline of the letters, filling in the rest so only they were left. And that's it!


CO + K User