


About
A box Bursting with memories!
I found this tute on my early days exploring tipnut.com. I used the basic design and added a few things to make it more personal (scrap booking embellishments, small gift). These were used a mother/father/grandparents gift for my wedding. I included embroidered hankies but you can put any light gift in them if you so chose. I got lots of tears and hugs from these, it was waaaaay better than any store bought gift. ***Note*** This is kind of a two part tute as you will construct the box and the lid!
-
 Nina L. favorited Surprise! Photo Box
07 Aug 11:53
Nina L. favorited Surprise! Photo Box
07 Aug 11:53
-
Dee D. added Surprise! Photo Box to misc
06 Feb 21:07
-
 Christa D. favorited Surprise! Photo Box
13 Apr 07:27
Christa D. favorited Surprise! Photo Box
13 Apr 07:27
-
 Sarania H. favorited Surprise! Photo Box
11 Mar 10:57
Sarania H. favorited Surprise! Photo Box
11 Mar 10:57
-
 buttercup303 added Surprise! Photo Box to paper boxes
06 Jan 13:43
buttercup303 added Surprise! Photo Box to paper boxes
06 Jan 13:43
-
Laura G. favorited Surprise! Photo Box
12 Nov 23:27
-
 Rebecca D. added Surprise! Photo Box to To-make list
02 Nov 17:55
Rebecca D. added Surprise! Photo Box to To-make list
02 Nov 17:55
-
 rouge s. added Surprise! Photo Box to Gift Ideas
28 Oct 04:49
rouge s. added Surprise! Photo Box to Gift Ideas
28 Oct 04:49
-
 Ginger.Passion favorited Surprise! Photo Box
26 Oct 13:09
Ginger.Passion favorited Surprise! Photo Box
26 Oct 13:09
-
Ashley T. favorited Surprise! Photo Box
20 Jul 13:55
-
 Step 1
I started by making templates out of craft paper. For illustrative purpopses the blue is the template and the red is the part you cut out. Measure 3.5 inches from the left corner and mark. Measure the same distance from the right corner and mark. When you cut out the four corners the "plus sign" left will measure 5 inches on each side. (12in-3.5in.-3.5in.= 5 in.)For the next size template measure 3.75 inches and the "plus sign" gets smaller. Repeat by increasing by quarter inch increments as many as you like (I use three sizes and find it's a perfect size).
-
 Step 2
Whew! That's a lot of reading! you have just completed the most labor intensive part of the project; measure, cut, measure, cut! I have lots of plus signs because I made six at a time. Make sure you keep and use the cutout squares for use with this or other projects.
-
 Step 3
Next take your trusty T-square/ruler/bok edge and optional bone folder. Line up the plus sign so you can score the paper and make an easy, beautiful fold.
-
 Step 4
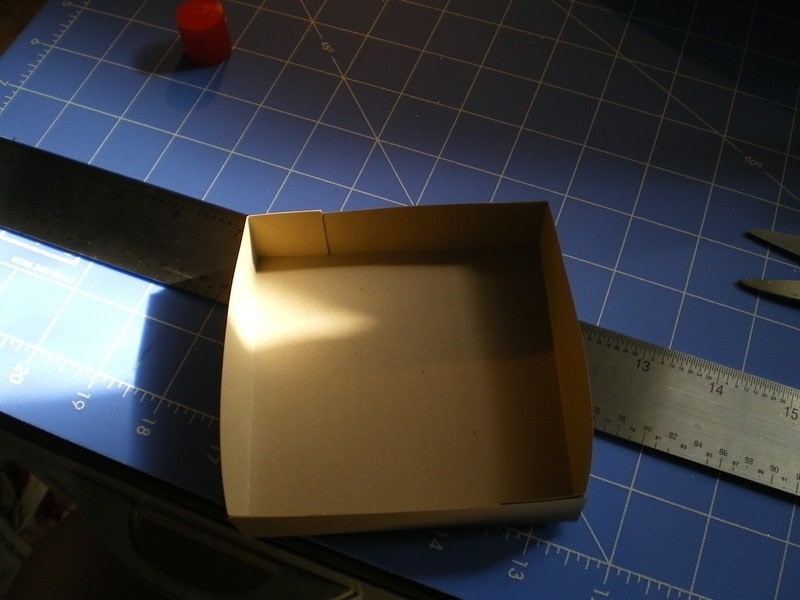
Once all four sides are scored, fold them up to form a loose box.
-
 Step 5
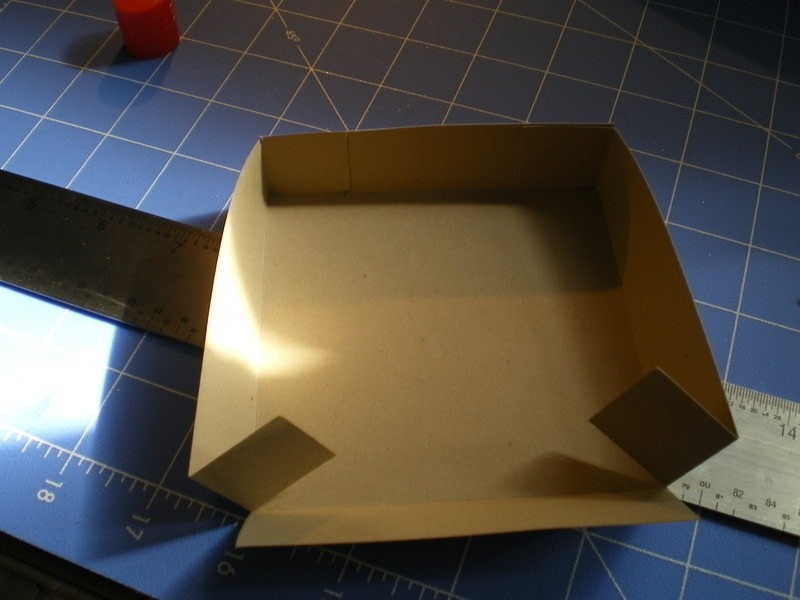
Repeat for each "petal." As you can see from the pic, I rounded the edges off. To get a uniform curve I lined a quarter up (25 cents) so that it touched both edges near the corner and traced then cut off. You can leave this step out but I think it gives a finished look.
-
 Step 6
********Before you add embellishments and photos on; this is the mini tute for the box top. Start by cutting out a piece of craft paper 2 inches longer than the longest "petal", in this case 7 inches.********
-
 Step 7
Take your bone folder again and score the square 1 inch all the way around. When you make your cuts (4 of them) make sure you cut across from each other as pictured (if that makes sense)
-
 Step 8
fold the little wings in and glue to the long piece. While you are adding your embellishments set this aside to dry.
-
 Step 9
To decorate the "petals" pick out your photos or pictures and embellishments (gems, gromits etc.) and glue to each "petal." You can decorate the outer-most "petal" but I choose not to (pictured next).
-
 Step 10
To put the "petals" together, start with the smallest plus sign and glue the BACK of the CENTER of the plus sign. Line it up with the next biggest plus sign and and press down to secure. -OR- use a gromit to secure the middle pieces. I did both.
-
 Step 11
Almost done! now that you have lovingly decorated your petals glued/gromitted together, add your small gift before your place the lid on and secure it all with ribbon or twine.
-
 Step 12
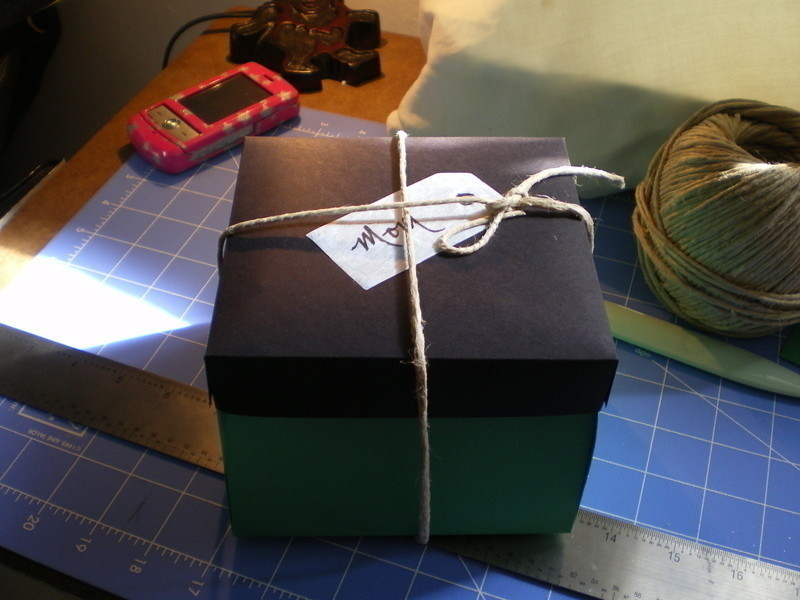
Voila! this pretty box can also be decorated on the outside. It is worth the effort to see the look on the recipients face when they untie the ribbon and take the top off to find a mini scrap book full of happy memories!


LOVE THEM!!!
I'm going to do this with little notes, concert tickets and keepsakes my boyfriend and I have collected together, with some pictures to go with.
Yay for giving me an idea for his birthday! ^_^
Much better than a common scrapbook ^^