

About
recycled summer dress
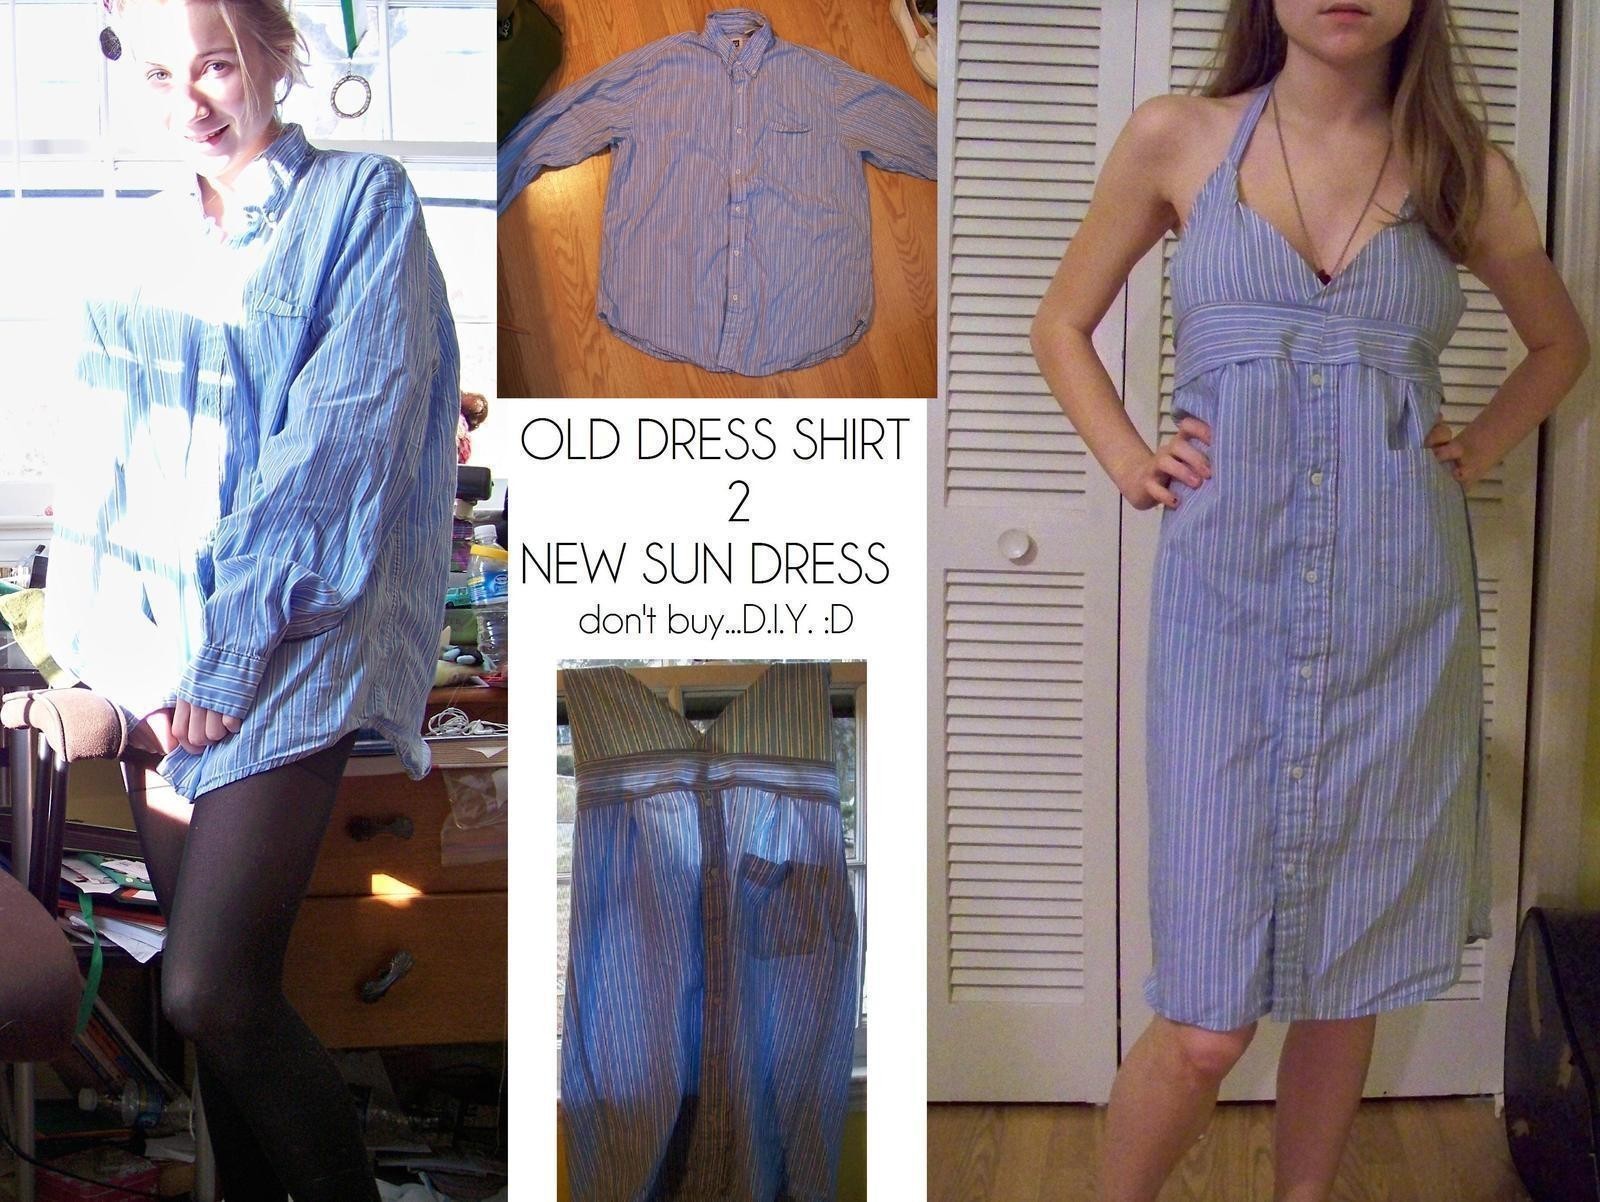
I had bought a couple of dress shirts from goodwill will all intent of making a dress shirt dress with one of the tutorials on here. But I couldn't find one with the top I wanted. So I created my own. It's not hard at all..I mean if I can do it (This is my second time making clothing), then you can too. XD It's a 12 step program! hahahaha
-
 Key West Witch favorited Sun Dress Dress Shirt
12 Sep 12:31
Key West Witch favorited Sun Dress Dress Shirt
12 Sep 12:31
-
 eimat favorited Sun Dress Dress Shirt
09 Aug 16:57
eimat favorited Sun Dress Dress Shirt
09 Aug 16:57
-
 Alma added Sun Dress Dress Shirt to Dresses
25 May 16:23
Alma added Sun Dress Dress Shirt to Dresses
25 May 16:23
-
Alma added Sun Dress Dress Shirt to Recycling T-shirts
22 Dec 00:08
-
 susan.maccombie favorited Sun Dress Dress Shirt
23 May 14:35
susan.maccombie favorited Sun Dress Dress Shirt
23 May 14:35
-
 Denise H. favorited Sun Dress Dress Shirt
16 May 14:23
Denise H. favorited Sun Dress Dress Shirt
16 May 14:23
-
 gwen.filipski favorited Sun Dress Dress Shirt
29 Mar 21:41
gwen.filipski favorited Sun Dress Dress Shirt
29 Mar 21:41
-
 vicky.mcnair.1 favorited Sun Dress Dress Shirt
19 Dec 16:30
vicky.mcnair.1 favorited Sun Dress Dress Shirt
19 Dec 16:30
-
Emma K. favorited Sun Dress Dress Shirt
14 Aug 03:01
-
Virginia D. added Sun Dress Dress Shirt to recycle fashion
23 Mar 23:09
You Will Need
-
 Step 1
Get yer' self a dress shirt. I would just go to goodwill and pick up a nice big one. This one was an extra large.
-
 Step 2
Now chop it up like so. Save all the pieces. The arms will end up being the top of the dress and the straps.
-
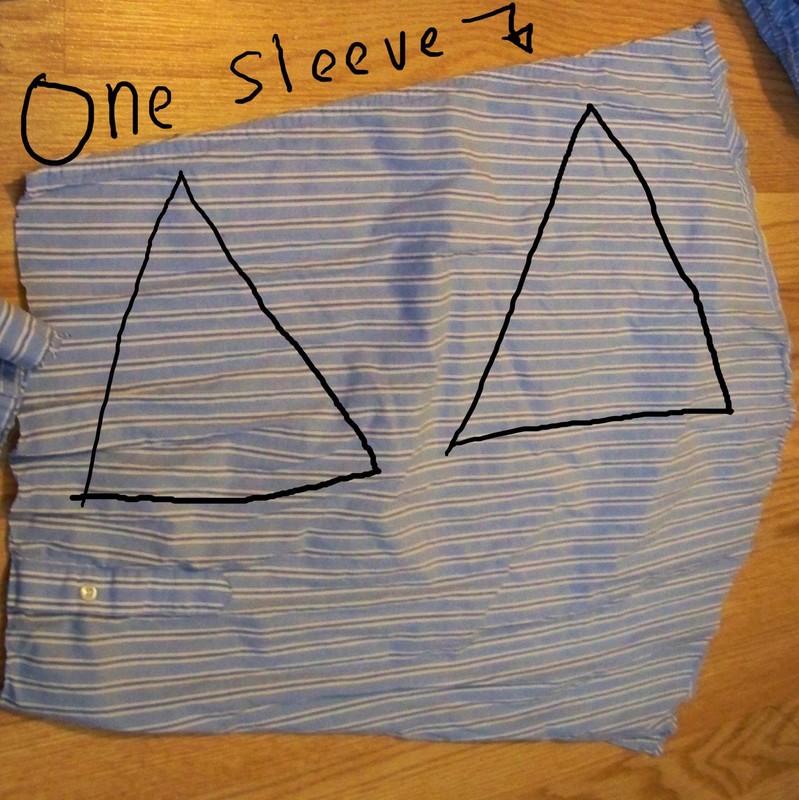
 Step 3
These are your sleeves that you cut off. You should take the sleeves and cut down the seam so you have a larger piece.
The one on the left is what it looks like when you cut it off, the one on the right is what what it will look like when you cut down the seam of the sleeve. -
 Step 4
To make the top part of your dress you need to draw out a pattern (unless you want to freehand it i suppose) I measured a top that fit well and used that as the basis for the pattern.
-
 Step 5
On one sleeve you should be able to cut out the upper part of your dress.
I added a lining on the back of mine...just so they wouldn't be so thin. :) -
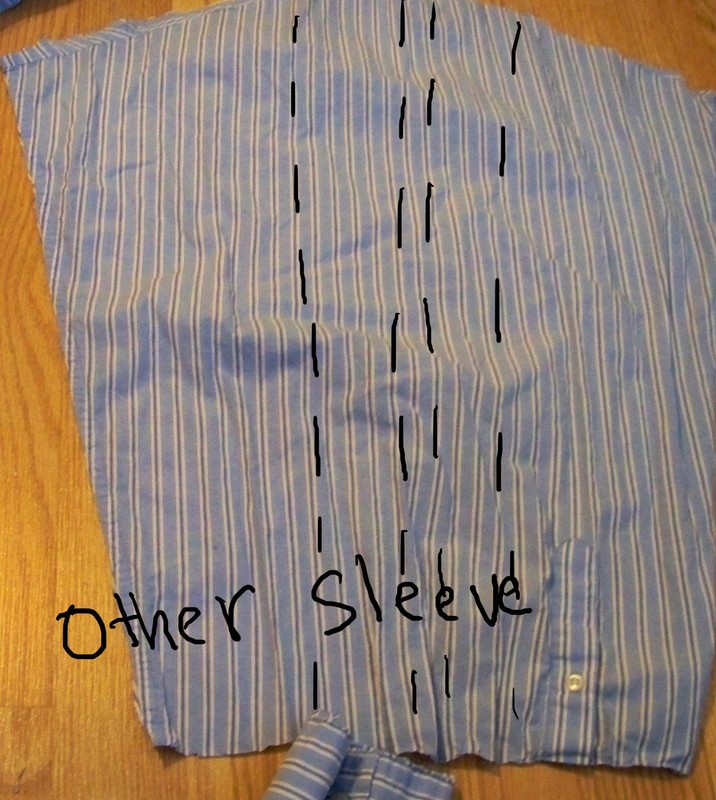
 Step 6
On the other sleeve you cut two strips from the longest part...this will be a belt part that you will attach the top part of the dress to the bottom part.
-
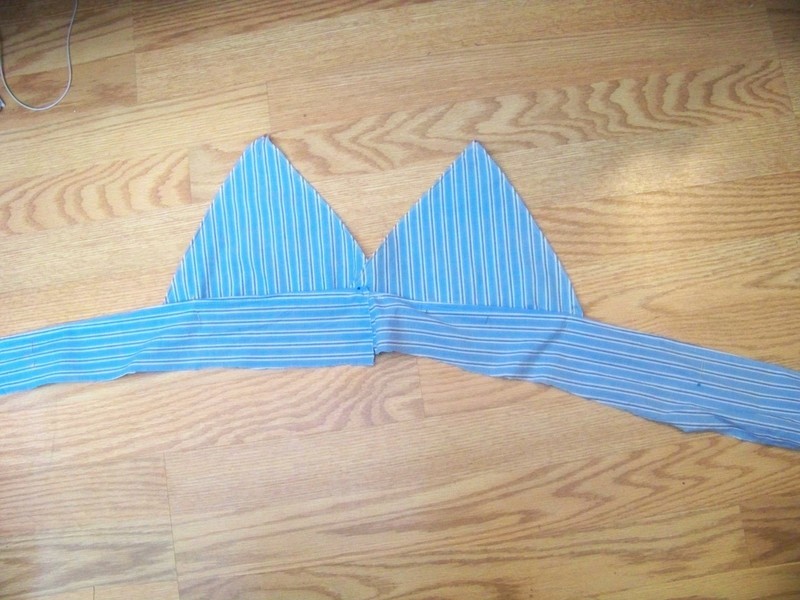
 Step 7
Sew numbers 5 and 6 together so it looks like this. I sewed the two long strips together at the ends to make on long strip and then attached the top part.
-
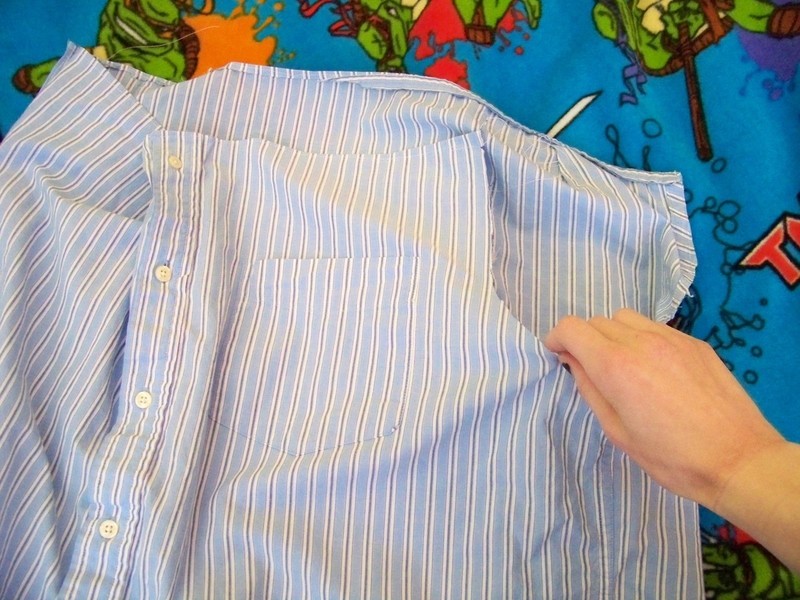
 Step 8
This is the body of the shirt. You will have these weird circles from where you cut the shirt most likely, so what I did was cut down that funny bit all the way down to the bottom and hem it closed.
-
 Step 9
This is it hemmed. :D almost done...yay!
-
 Step 10
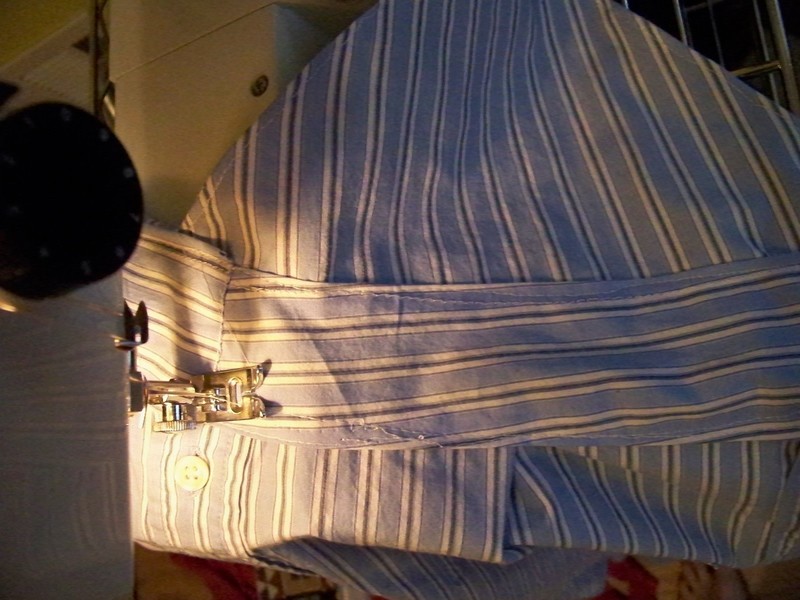
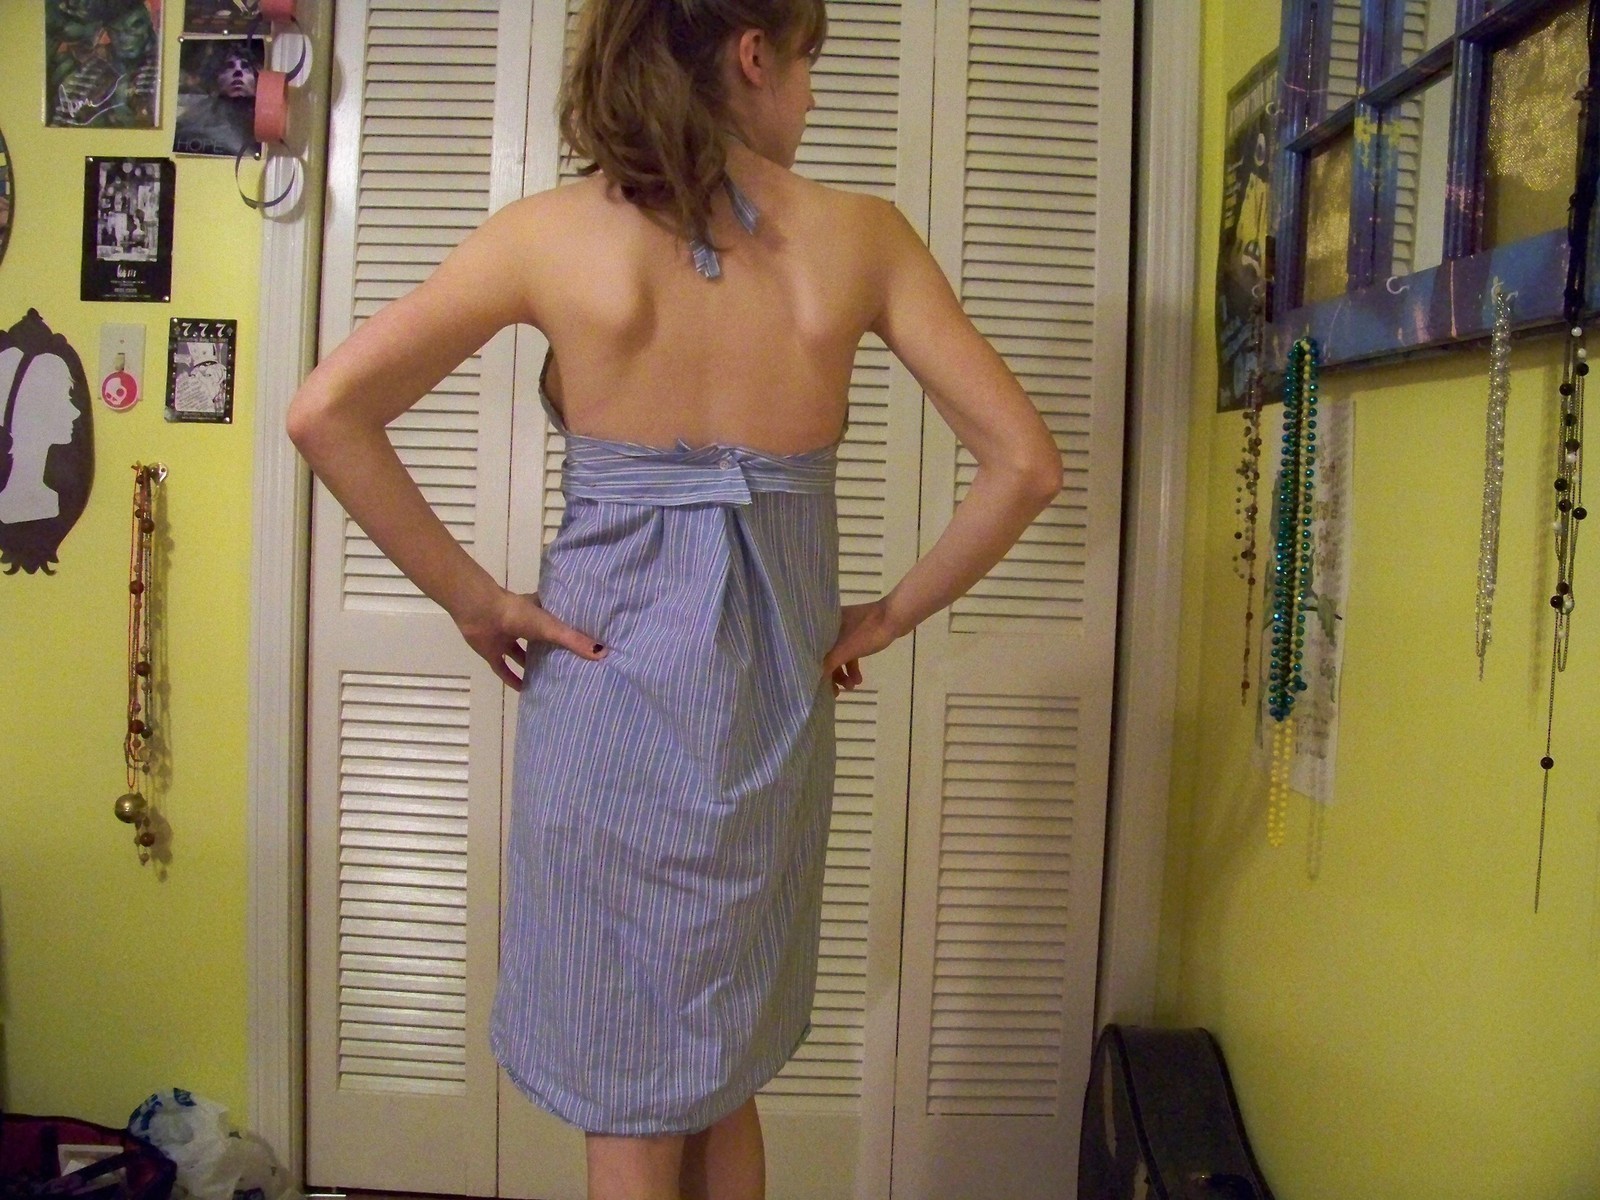
sew the top part to the bottom part. you might want to pleat the bottom part first and then sew the belt/top on. BUT!!! Don't sew all the way around the dress.just sew the front part. Leave a bit open in the back so you can add a button so it fits.
-
 Step 11
sewn together it should look something like this...YAY. ONE MORE STEP.
-
 Step 12
Try your dress on and mess with the back of the belt(the part you didn't sew together) to figure out how you want the dress to fit. Once you do that, sew a button on one end of the belt and cut a hole in the other. If that makes sense. Add straps and you're done! :D