


About
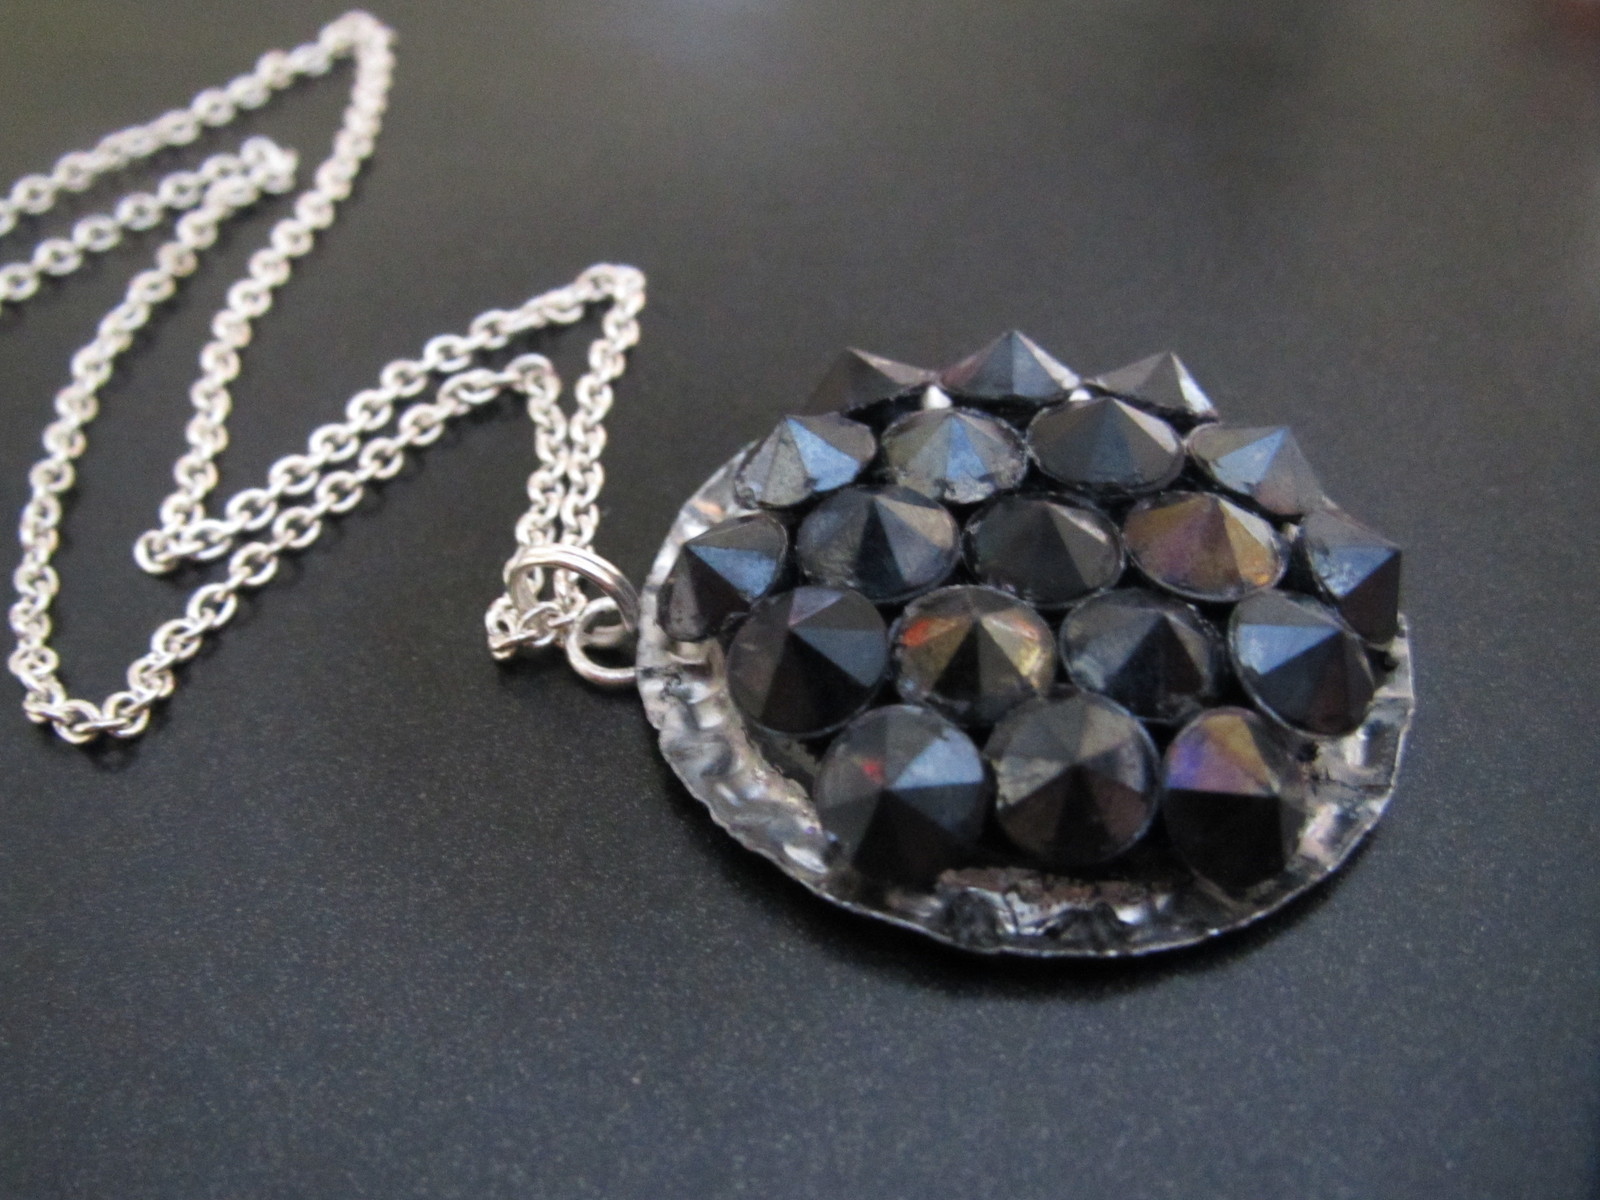
Rocker - glam necklace for those who want, but don't have studs
I've seen a lot of bottle cap lockets on here, but none were bad-ass enough for me...
These bracelets I had (look at the first how-to picture) happened to have rhinestones that look a lot like studs, so I flipped 'em over and glued them down the wrong way :P This is yet another project that cost me absolutely NOTHING! I had everything in my house already (woo!)
If you have actual studs (or spikes... ooh ^.^), then use those if you want! Really, you can glue any type of charm/picture/design thingy to the bottle cap. So if you do a version, lemme see it! :D
This is really easy, so have fun and get creative with it! xD
Tags
-
 Tierra T. favorited "Studded" Rhinestone Bottlecap Pendant
26 Oct 16:40
Tierra T. favorited "Studded" Rhinestone Bottlecap Pendant
26 Oct 16:40
-
 Verlaine R. favorited "Studded" Rhinestone Bottlecap Pendant
12 Oct 00:07
Verlaine R. favorited "Studded" Rhinestone Bottlecap Pendant
12 Oct 00:07
-
 Jessy added "Studded" Rhinestone Bottlecap Pendant to Wicked
03 Oct 10:27
Jessy added "Studded" Rhinestone Bottlecap Pendant to Wicked
03 Oct 10:27
-
 jenifer.crandell favorited "Studded" Rhinestone Bottlecap Pendant
30 Aug 08:07
jenifer.crandell favorited "Studded" Rhinestone Bottlecap Pendant
30 Aug 08:07
-
 Kaylie H. favorited "Studded" Rhinestone Bottlecap Pendant
07 Jan 09:01
Kaylie H. favorited "Studded" Rhinestone Bottlecap Pendant
07 Jan 09:01
-
 Emily Z. favorited "Studded" Rhinestone Bottlecap Pendant
24 Dec 18:26
Emily Z. favorited "Studded" Rhinestone Bottlecap Pendant
24 Dec 18:26
-
 reblav added "Studded" Rhinestone Bottlecap Pendant to jewlery
16 Dec 19:08
reblav added "Studded" Rhinestone Bottlecap Pendant to jewlery
16 Dec 19:08
-
Megan M. added "Studded" Rhinestone Bottlecap Pendant to DIY Charms
04 Dec 19:03
-
 zoegirl221 added "Studded" Rhinestone Bottlecap Pendant to Jewelry
16 Sep 01:58
zoegirl221 added "Studded" Rhinestone Bottlecap Pendant to Jewelry
16 Sep 01:58
-
 Vermin Jerky added "Studded" Rhinestone Bottlecap Pendant to Adam Lambert
07 Aug 07:28
Vermin Jerky added "Studded" Rhinestone Bottlecap Pendant to Adam Lambert
07 Aug 07:28
-
 Step 1
This is what I mean by a "Rhinestone link bracelet".
I have SO MANY of these from when I was younger and I never wear them now, so this was a good use for them.
-
 Step 2
Use your fingernails/pliers to loosen and pick out the rhinestones.
I used about 20, but you can use less if you want.
-
 Step 3
Take 'em out!
-
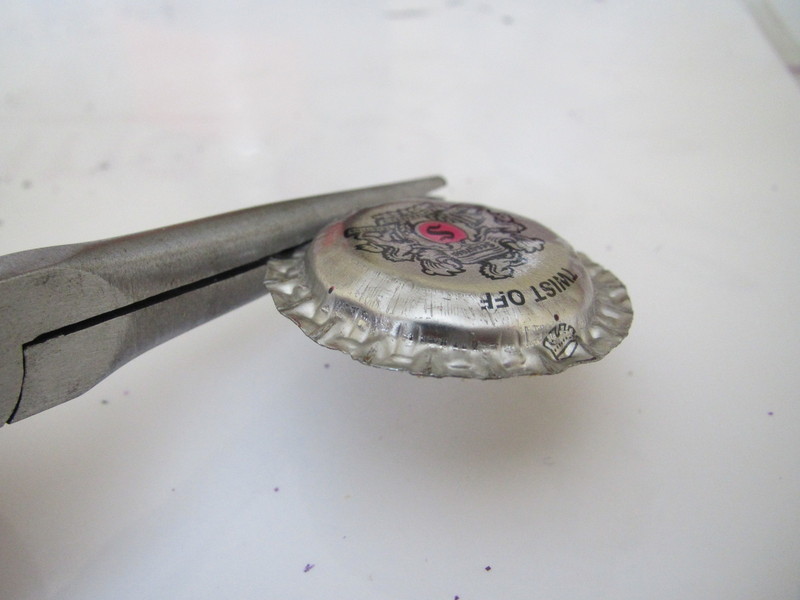
 Step 4
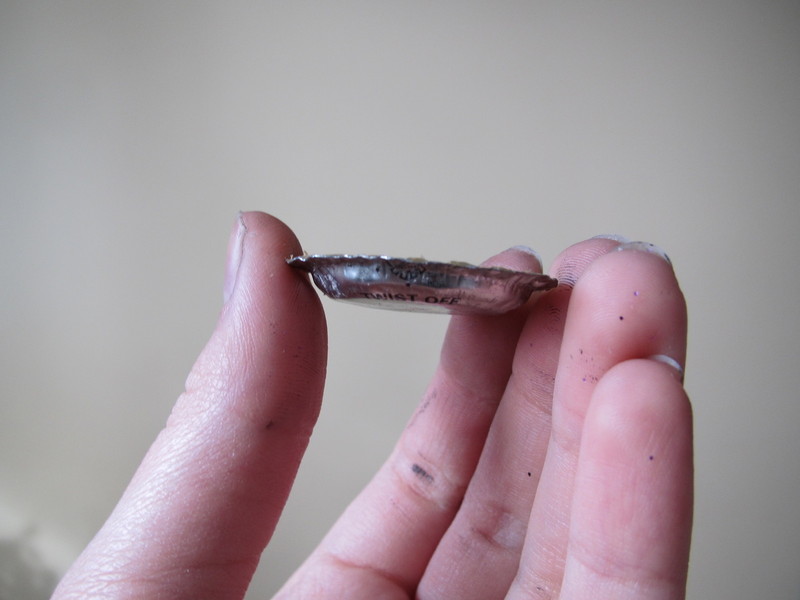
Now get your bottle cap and flatten the edges out, so it sorta looks like a top hat/UFO :P
-
 Step 5
Now curl the edges up just a bit.
-
 Step 6
It'll basically look like this :)
-
 Step 7
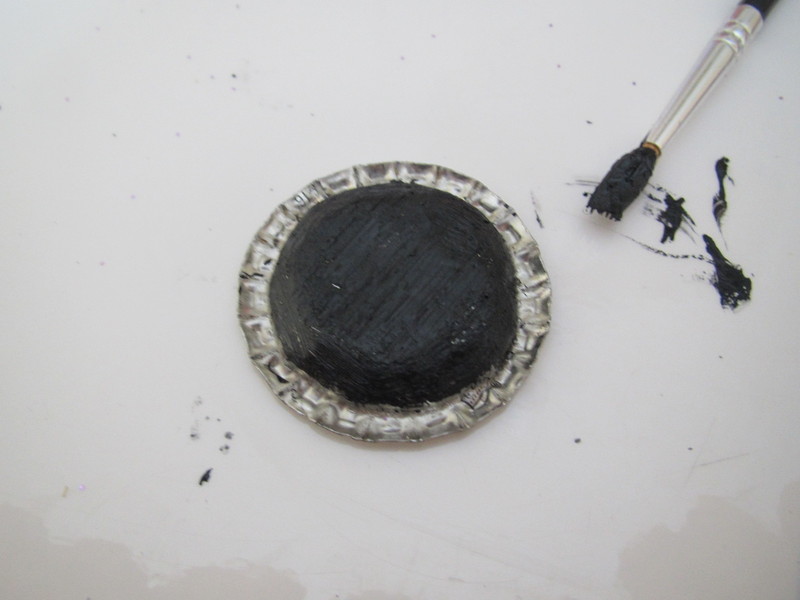
Now paint the middle of the bottle cap.
Leave the bumpy outer bits plain, unless you really don't like the design on there.
-
 Step 8
I found it looked a lot better if i put on a few layers on nail polish :)
Really, at this point you could glue on any charm or number of beads or anything of that sort.
-
 Step 9
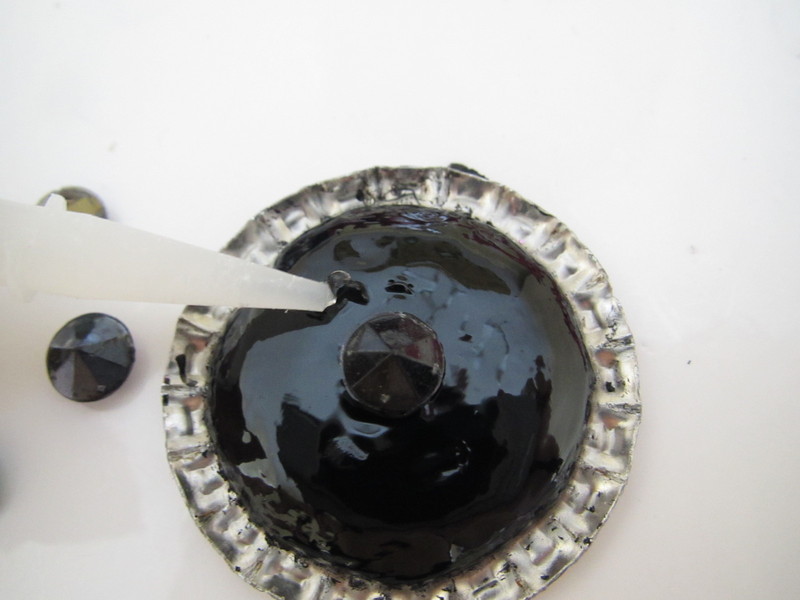
Turn your rhinestones upside down (pointy side-up) and arrange them as you like.
This is the glue I used. It's basically just super/crazy glue.
-
 Step 10
Stick some glue to your rhinestone and place the first one closest to the centre as possible.
This will make it easier to glue the other ones around it.Don't forget this stuff can dry fast! So place it in the right spot, because it's difficult to move!
-
 Step 11
Adding them around starting from the centre...
You can stop here if you like, but i wanted to fill it up :P
-
 Step 12
Arrange the next "layer"...
-
 Step 13
... And glue it on :)
I added one more "layer" of rhinestones after this picture, but my camera died.
-
 Step 14
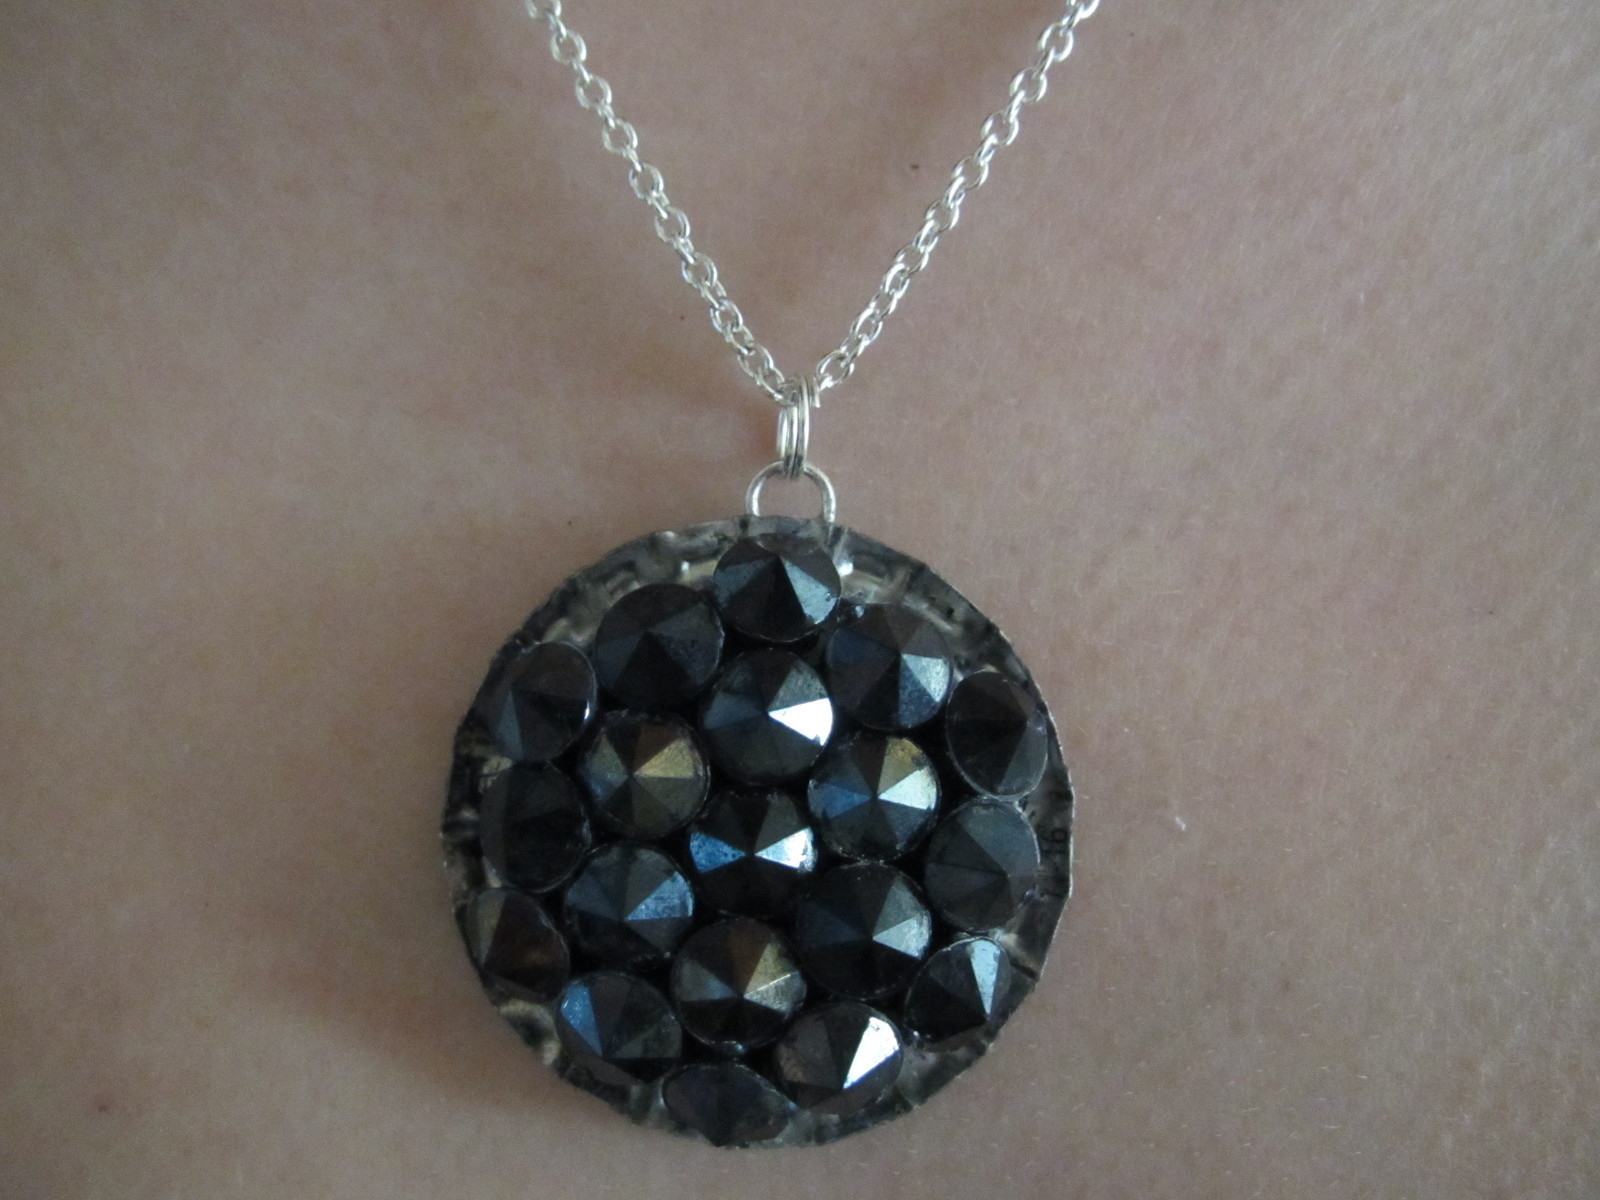
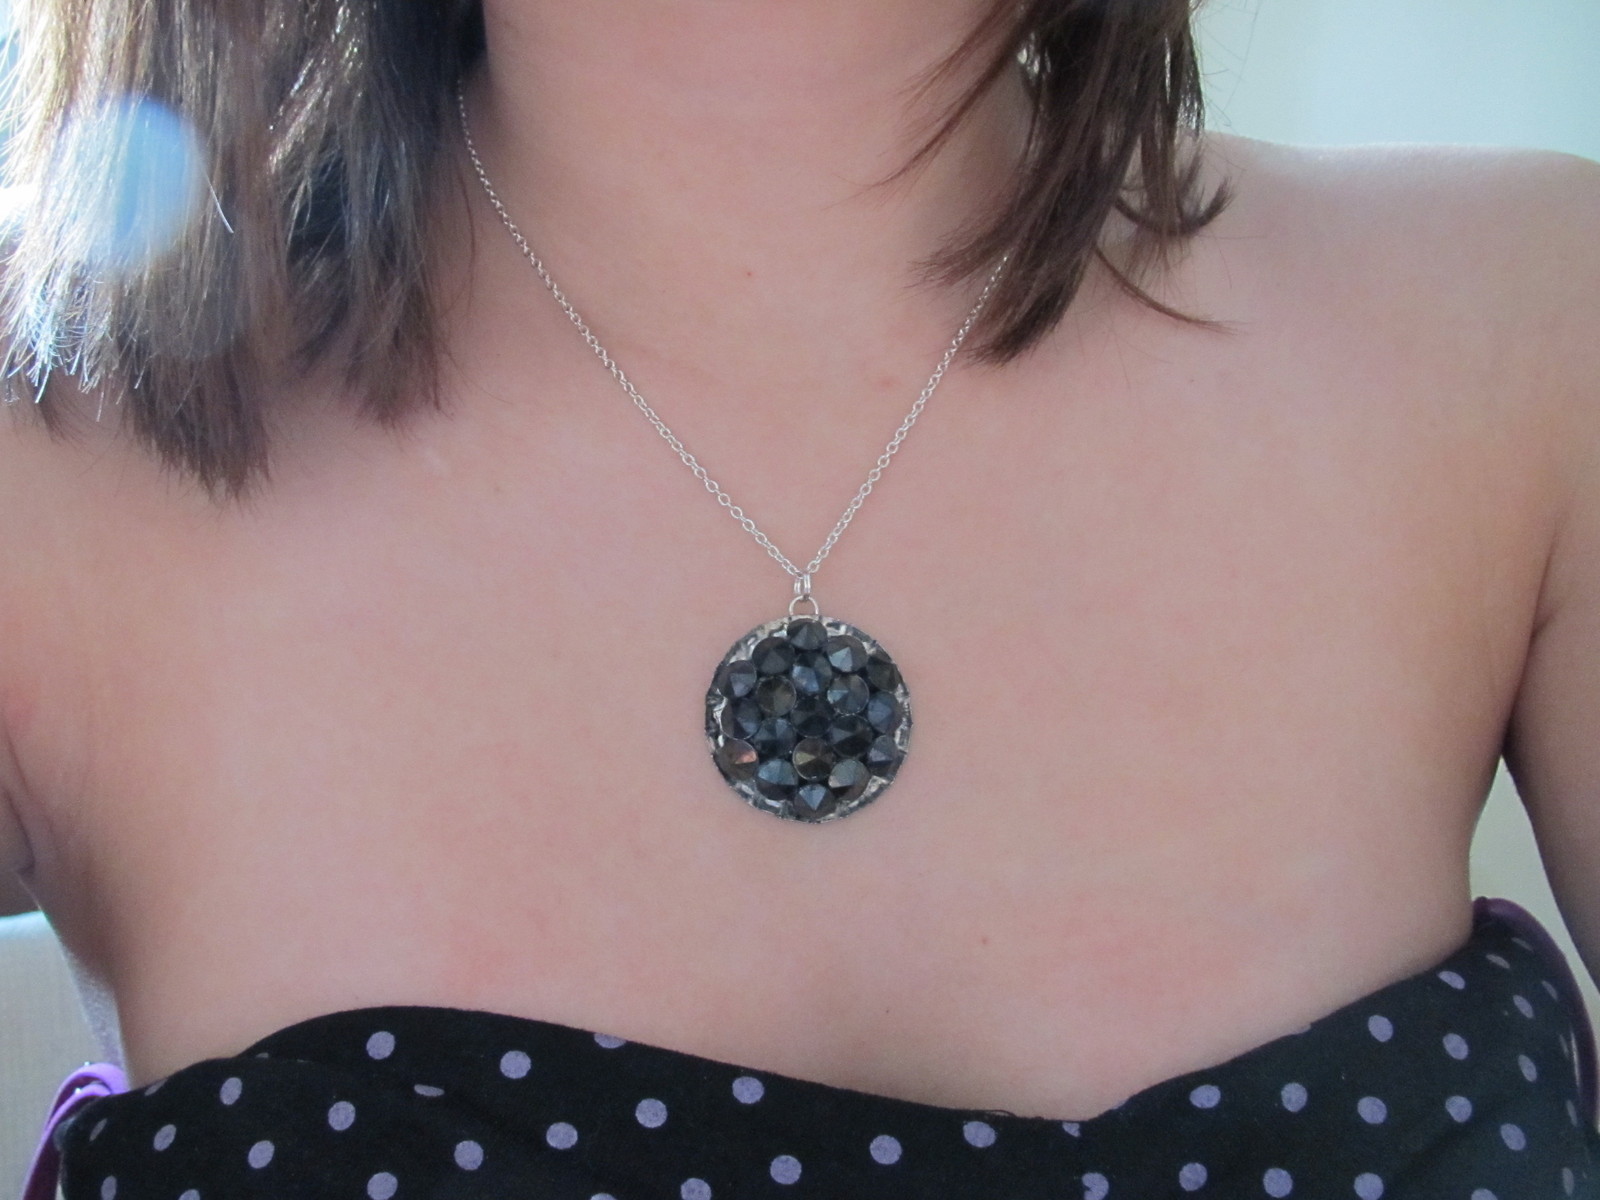
Superglue a jump ring to the top and put a chain through it - it's ready to wear!
Enjoy! :D


Versions


Comments


