


About
Super Cheap!!
Styling Tips:
1. There are tons of ways to arrange the studs on this bracelet...get creative!!
-
 daisiescan favorited Studded Duct Tape Bracelet
22 Feb 07:07
daisiescan favorited Studded Duct Tape Bracelet
22 Feb 07:07
-
 Bianca favorited Studded Duct Tape Bracelet
07 Nov 03:03
Bianca favorited Studded Duct Tape Bracelet
07 Nov 03:03
-
 Vermin Jerky added Studded Duct Tape Bracelet to Adam Lambert
08 Aug 01:40
Vermin Jerky added Studded Duct Tape Bracelet to Adam Lambert
08 Aug 01:40
-
 dominique H. favorited Studded Duct Tape Bracelet
08 Dec 02:51
dominique H. favorited Studded Duct Tape Bracelet
08 Dec 02:51
-
 Funkinfurdro added Studded Duct Tape Bracelet to Must make asap
24 Nov 20:48
Funkinfurdro added Studded Duct Tape Bracelet to Must make asap
24 Nov 20:48
-
Funkinfurdro favorited Studded Duct Tape Bracelet
24 Nov 20:47
-
 cristinakilljoyway favorited Studded Duct Tape Bracelet
22 Nov 19:47
cristinakilljoyway favorited Studded Duct Tape Bracelet
22 Nov 19:47
You Will Need
-
 Step 1
Gather materials.
-
 Step 2
Rip off a piece of duct tape that will fit around your wrist. Make sure to leave a little extra space for the velcro/snap overlap.
-
 Step 3
Fold over one side as shown.
-
 Step 4
Fold over the other side as shown.
-
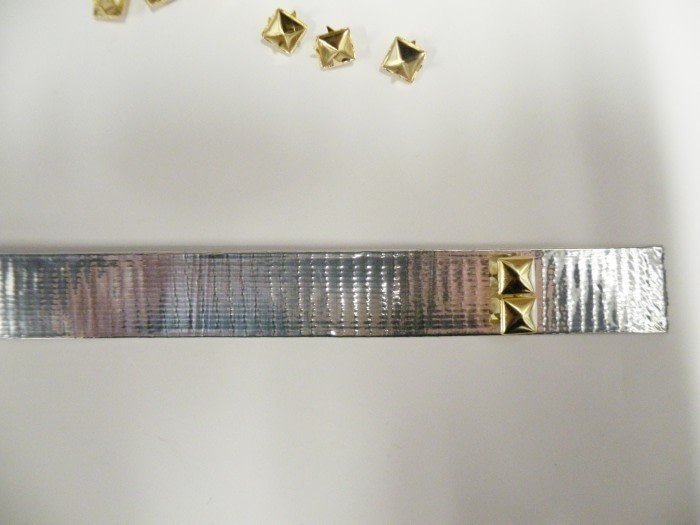
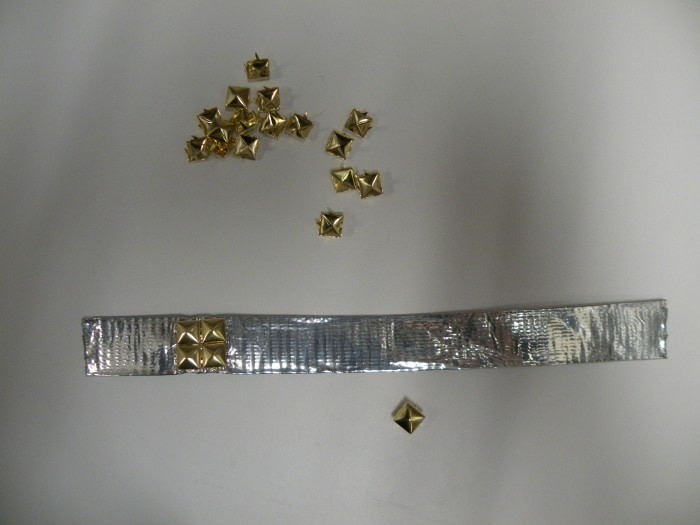
 Step 5
This is what the duct tape should look like. Now begin laying studs down. This is just for show, so that you can see what your bracelet will look like.
-
 Step 6
Once you know where you'd like the studs, push them through the duct tape one at a time as shown.
-
 Step 7
Fold the prongs into the middle so that the stud is in nice and sturdy.
-
 Step 8
Continue studding your bracelet as shown...
-
 Step 9
This should be enough...
-
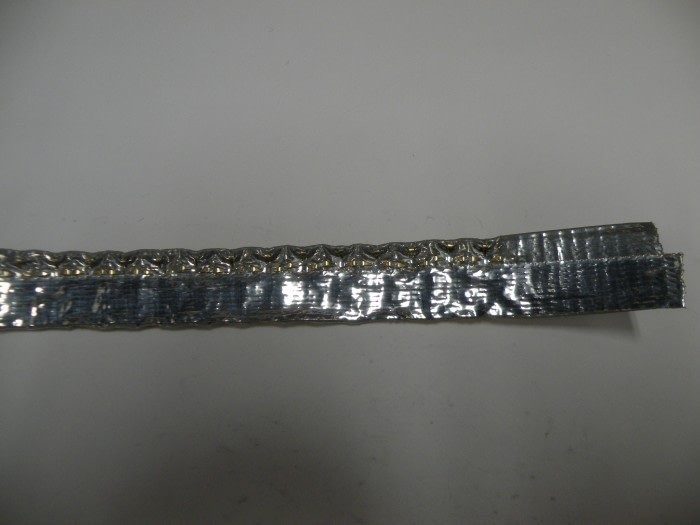
 Step 10
Here is what the back will look like.
-
 Step 11
We took narrow/long pieces of duct tape and covered the back of the bracelet. This will prevent your skin from getting itchy.
-
 Step 12
We used snaps, so we prepared our snaps. A hammer is needed as well. We recommend velcro as well, either works :)
-
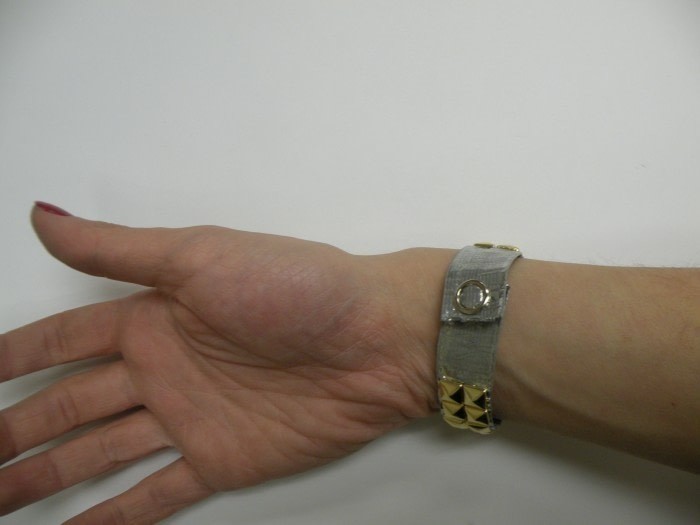
 Step 13
Once we got the snaps on, I tried it on!!
-
 Step 14
Everyone at NYDS is ooooing and ahhhing over this bracelet! It's SO fun and SOO easy :)
-
 Step 15
Another view...


I have a Fashion DIY link party every week on my blog.
check it out and link this up
~L~
AvidAccents.blogspot