
About
steampunk jewelry using Embellie Gellie
For those of you with shaky hands like me, Embellie Gellie is a great product. I made this pendant using it to pickup and place tiny objects on my pendant. Steampunk jewelry is so much fun to make!
Tags
-
 Key West Witch added Steampunk Necklace to Jewelry
30 Jun 01:35
Key West Witch added Steampunk Necklace to Jewelry
30 Jun 01:35
-
 Rebecca M. favorited Steampunk Necklace
13 Jun 02:30
Rebecca M. favorited Steampunk Necklace
13 Jun 02:30
-
 SF B. entered her project Steampunk Necklace to Secret Santa
10 Dec 16:43
SF B. entered her project Steampunk Necklace to Secret Santa
10 Dec 16:43
-
Alexandra A. favorited Steampunk Necklace
04 Nov 17:15
-
 Chudames favorited Steampunk Necklace
17 May 20:44
Chudames favorited Steampunk Necklace
17 May 20:44
-
SF B. published her project Steampunk Necklace
15 May 15:22
-
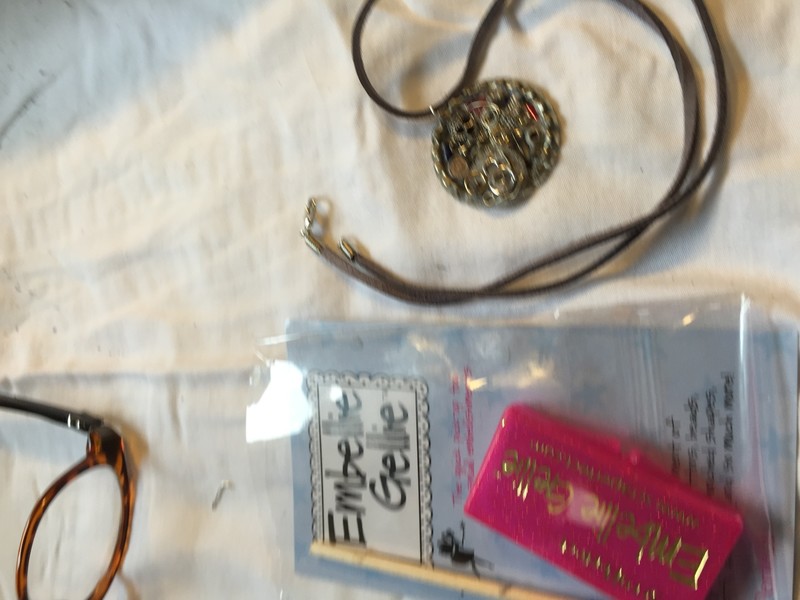
 Step 1
Here's a picture of what I used to make my pendant. I tried making my own rub n buff with glue and eye shadow but it wasn't all that great. I recommend buying the real thing.
-
 Step 2
After punching a small hole on the edge of the bottle cap, I put a generous amount of E6000 glue in it. I generally put the glue on with each piece I add but since this cap is small, I put all the glue at one time.
-
 Step 3
Using the Embellie Gellie, I can place even the tiniest bead!
-
 Step 4
I snipped the loop off this skull charm and placed it in the cap. You will basically be layering things on the piece, so put the larger pieces first.
-
 Step 5
After adding other bits and pieces I added a watch cog. Steampunk jewelry always seems to have some watch parts on them! The Embellie Gellie comes with a stick to use, but I like to have a few toothpicks handy too.
-
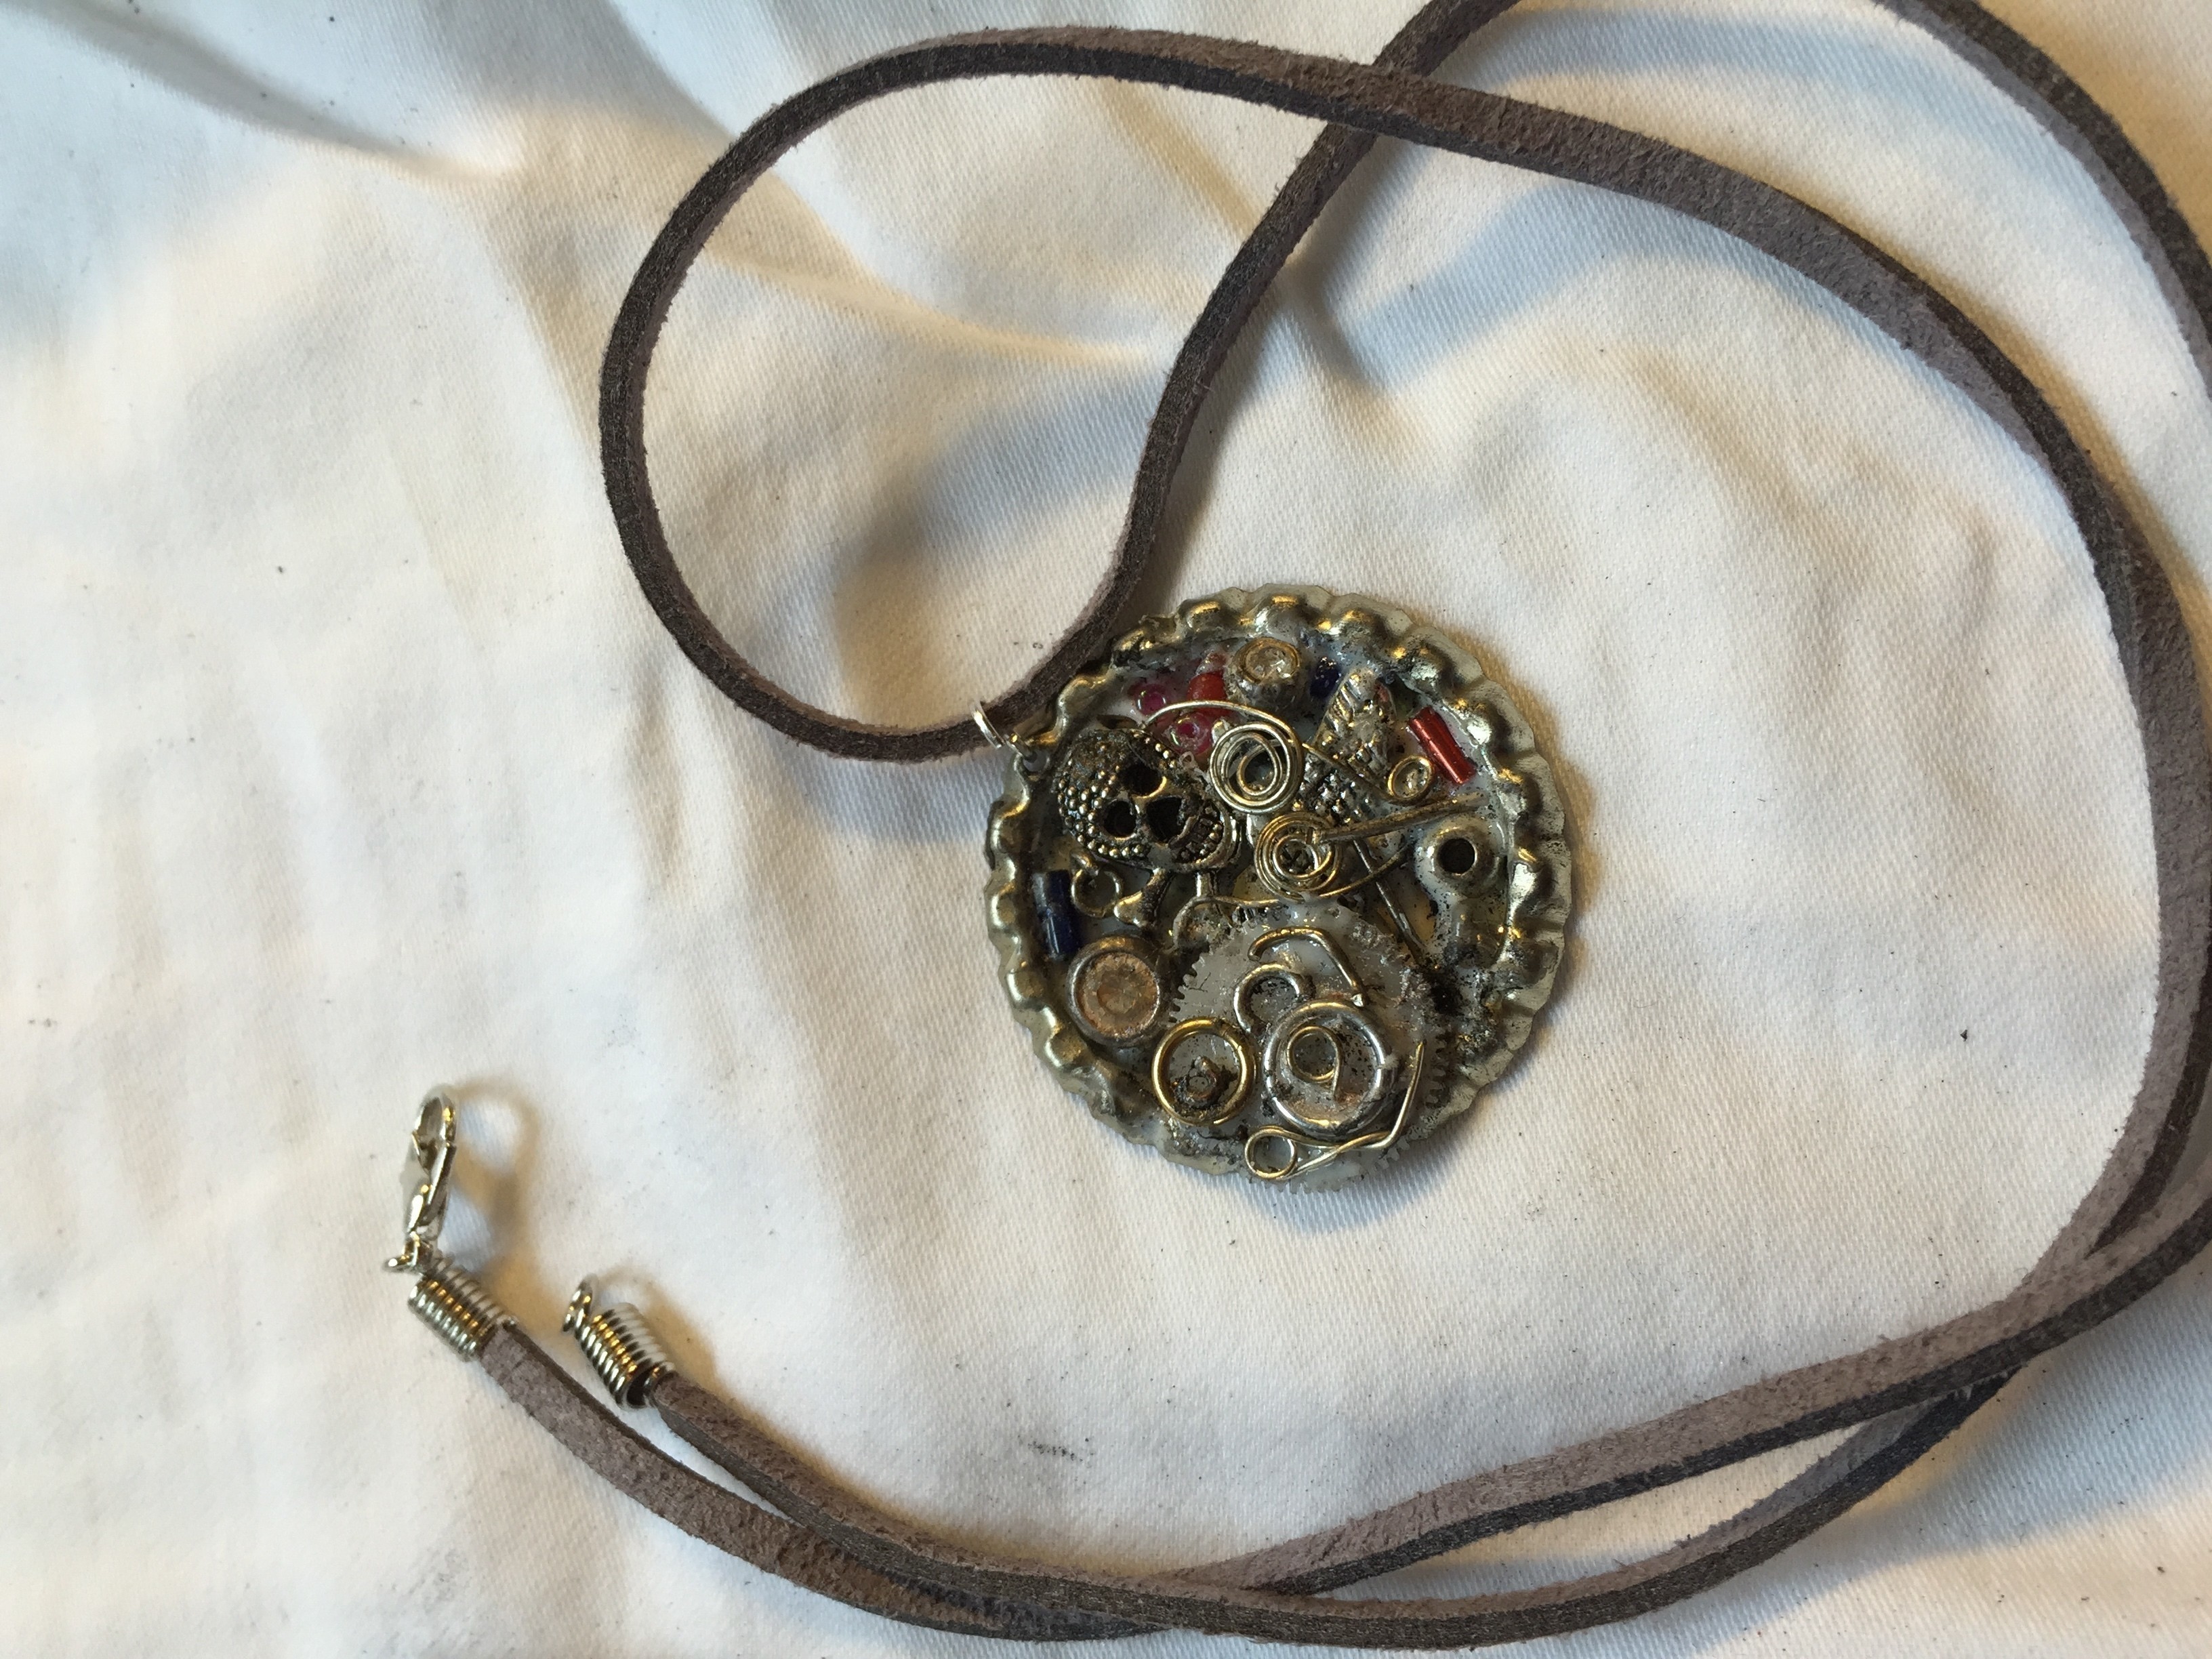
 Step 6
I added a cord to my finished pendant. Not to bad, I thought.
-
 Step 7
I hope you'll try and make your own. So much fun and easy to do!