


About
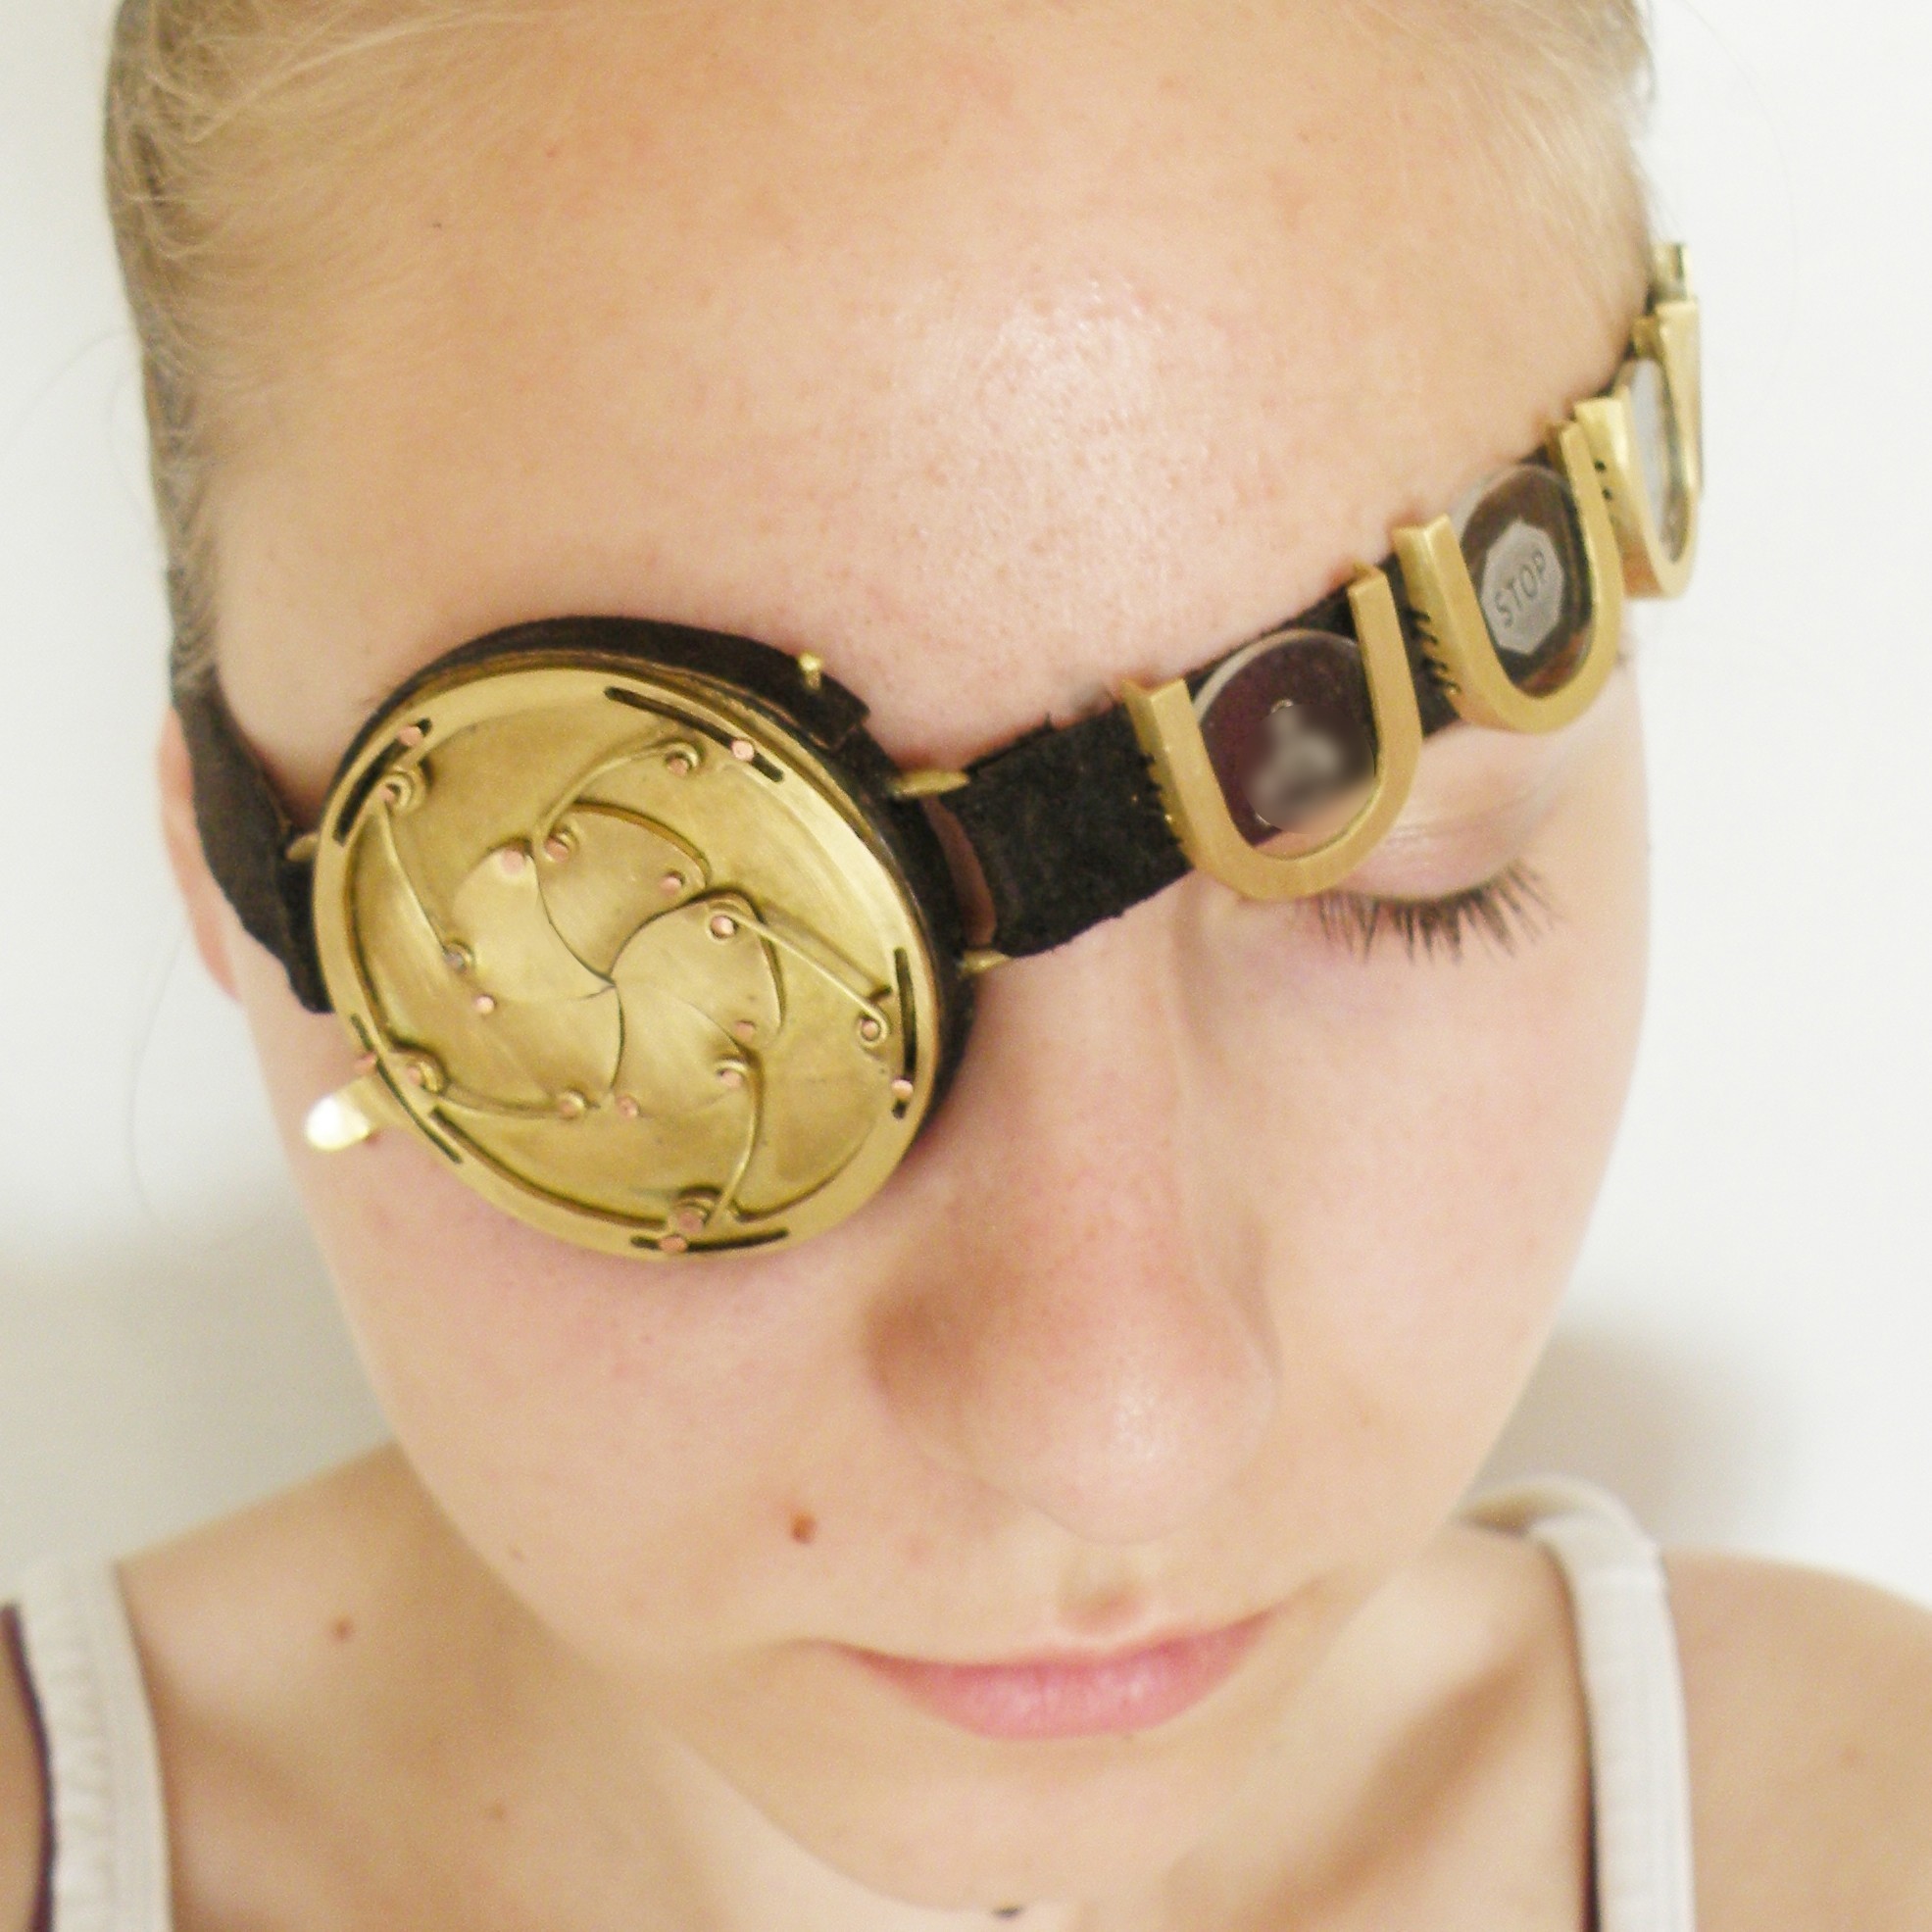
Steampunk inspired mechanical iris eyepatch
This is a project for my university. I wanted to incorporate mechanics in my creations for a long time..
Attitude
Nobody really tells the attitude and the thoughts towards people.
This eyepatch created for silent people, who are straightforward and ironic towards others. Inserted plexiglass lenses show that without words.
The opening is based on an iris mechanism, creating a steampunk look.
Downloads
- 105372_2F2014-11-06-121939-iris+cut+pattern.pdf 7.15 KB [ Download ]
-
 trinity z. favorited Steampunk Inspired Mechanical Eyepatch
13 Dec 17:14
trinity z. favorited Steampunk Inspired Mechanical Eyepatch
13 Dec 17:14
-
Alex Z. added Steampunk Inspired Mechanical Eyepatch to Интересное
12 May 20:05
-
 Collin F. commented on Steampunk Inspired Mechanical Eyepatch
29 Nov 04:51
Collin F. commented on Steampunk Inspired Mechanical Eyepatch
29 Nov 04:51
-
 Kris A. favorited Steampunk Inspired Mechanical Eyepatch
03 Sep 15:45
Kris A. favorited Steampunk Inspired Mechanical Eyepatch
03 Sep 15:45
-
Lisa A. favorited Steampunk Inspired Mechanical Eyepatch
11 May 13:58
-
 ArteinterrogantE favorited Steampunk Inspired Mechanical Eyepatch
02 Dec 10:40
ArteinterrogantE favorited Steampunk Inspired Mechanical Eyepatch
02 Dec 10:40
-
 scalesandfishnails favorited Steampunk Inspired Mechanical Eyepatch
23 Nov 23:23
scalesandfishnails favorited Steampunk Inspired Mechanical Eyepatch
23 Nov 23:23
-
 neimie added Steampunk Inspired Mechanical Eyepatch to Costume Ideas
19 Nov 23:34
neimie added Steampunk Inspired Mechanical Eyepatch to Costume Ideas
19 Nov 23:34
-
 Penny F. added Steampunk Inspired Mechanical Eyepatch to COSTUME ideas!
14 Nov 10:29
Penny F. added Steampunk Inspired Mechanical Eyepatch to COSTUME ideas!
14 Nov 10:29
-
 dippydiscoball favorited Steampunk Inspired Mechanical Eyepatch
12 Nov 03:32
dippydiscoball favorited Steampunk Inspired Mechanical Eyepatch
12 Nov 03:32
You Will Need
-
 Step 1
For the iris mechanism I used this template, found on the internet (see attachments). You can also research on Google how the mechanism works
-
Step 2
Cut out all the shapes out of the brass sheet, sand the sharp corners and edges.
Then, I made three extra pieces, so I could make mechanical iris box for the eyepatch. A back piece and a wall (around 7 milimeters wide) with an opening for the lenses to hold them together. Also, a piece, that holds the plexilass inside.
Also, two handles on the sides so I could attach it. -
 Step 3
After soldering the box, I started assembling the mechanism. Instead of the cut out parts in the template I used brass wire.
After lots of adjustments i riveted everything in. -
 Step 4
Also I made some plexiglass holders on the strap.
-
Step 5
As for the lenses, I went to a printing company and asked them to laser etch the pictures, but you can make your lenses out of anything. I thing colored lenses would look cool. Or even without them you are pretty bad ass looking.
-
Step 6
I got a long leather strap, where I sewed everything on with a simple thread. Oh, and I also put a thin strap of leather to hide all the imperfections and hide the opening for the lenses.
-
Step 7
Sand, polish and you're done!

Comments

