About
inspiration: playing too much super mario ♪♫
It's been a while since I made a plushie and I thought that after that reversible jean tote bag tutorial that I would not want to sew for a while, but I'm really fired up to do something cute...<3 Really you don't have to use felt, use whatever fabric you want....but after this I want to make a plushie crescent moon tutorial...that way my bed can be (somewhat) full of stars ~~~~~*daydreaming*~~~~~~Oh! sorry...(heh) have fun!~
Tags
-
 Xandrianne K. added Star Plushie to Kawaii
21 Aug 18:13
Xandrianne K. added Star Plushie to Kawaii
21 Aug 18:13
-
 rashma m. favorited Star Plushie
28 Nov 22:55
rashma m. favorited Star Plushie
28 Nov 22:55
You Will Need
-
 Step 1
Ok let's start with first making a pattern; if your good at drawing then it's easy, but for those who aren't so good... get an image of a star enlarge or have it in whater size you want, grab paper & pencil adn trace from the screen...cut it out
-
 Step 2
ok grab some chalk and your desired fabric put the pattern down and outline it with chalk or pencil (doesn't matter really)..all right when you cut fold the fabric in half and keep a point connected (look at bottom piture)
-
 Step 3
allright now grab one of the yellow star and flip it over on it's neat side (leave it aside)...
-
 Step 4
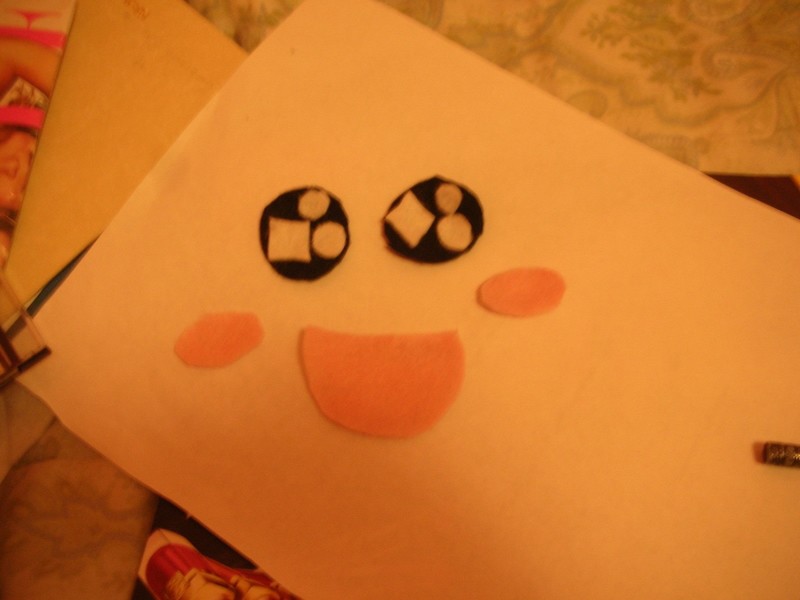
grab your pencil & felts (black, white, pink) (for black use a white colored pencil or chalk)
Black Felt: for the eyes; really it can be any size but I put mine like this
<-White Felt: actually is for the sparkle in the star's eyes (for cuteness)
Pink felt: for mouth & cheeks...ok (^x-)
-
 Step 5
sew all the white in the stars eyes...
-
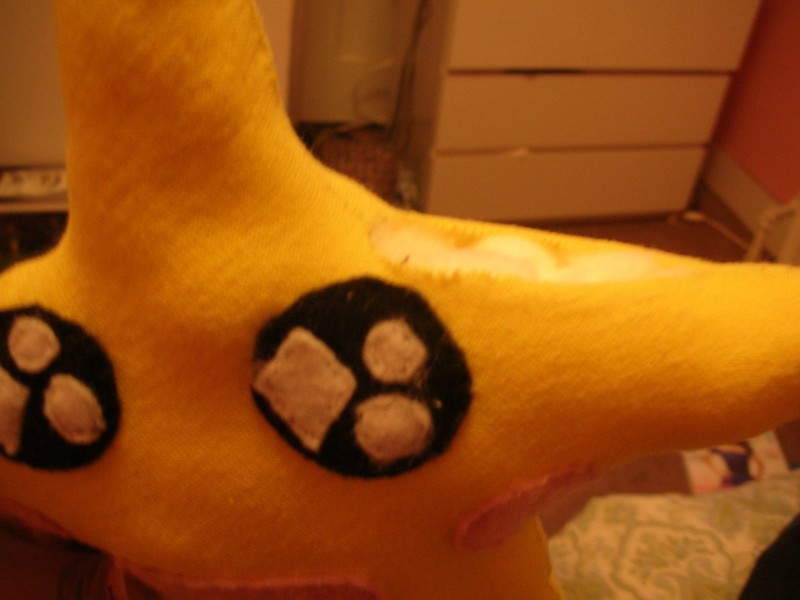
 Step 6
then after that grab the neat side of the star fabric and pin and sew them onto it....after you'r done put the face down on the other side of the other half of star
-
 Step 7
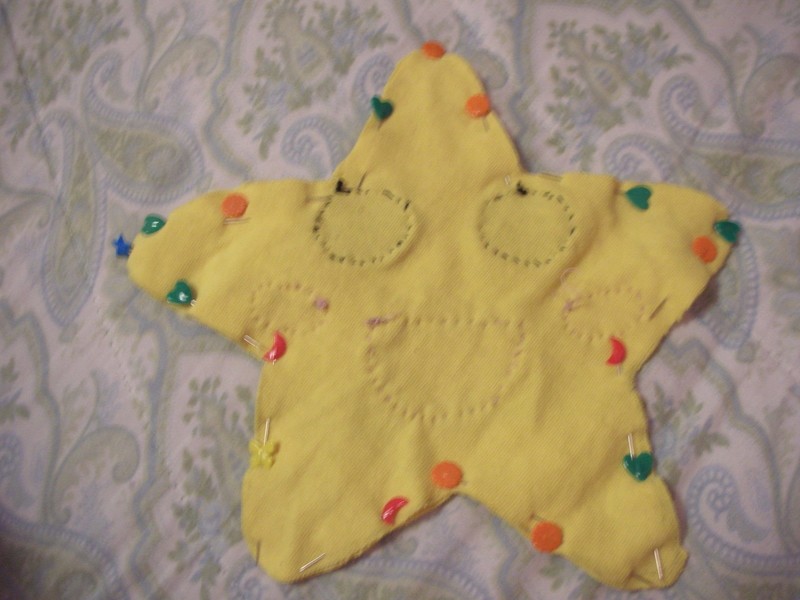
take the two star pieces together and pin it around grab your threaded needle and sew a blanket stitch around it (it's kinda like circles...)***NOTE!! be sure to leave a medium sized hole opn to flip inside out
-
 Step 8
done sewing....making sure the holes's open turn it inside out and then grab a bag of cotton bals and stuff till nice and soft ~~ also for the hard to reach places use a pen or your toothbruch to puchh the cotton into the corners
-
 Step 9
sew the hole shut and you're done!!
OPTIONS!!: you don't have to have this as a plushie, but use it as a resource to make something different LIKE:
(1) a kechain (just sew a string on the inside before flippin it inside out)(2) hair clip ornament...(you can or don't have to stuff it..)look at my hair bow tutorial
(3) X-mas tree ornament...(use both option 1 and whole tutorial)
....and that's it...if there's other options anyone's thought about please comment me (>3<) byesies!