


About
Just to show off =D!
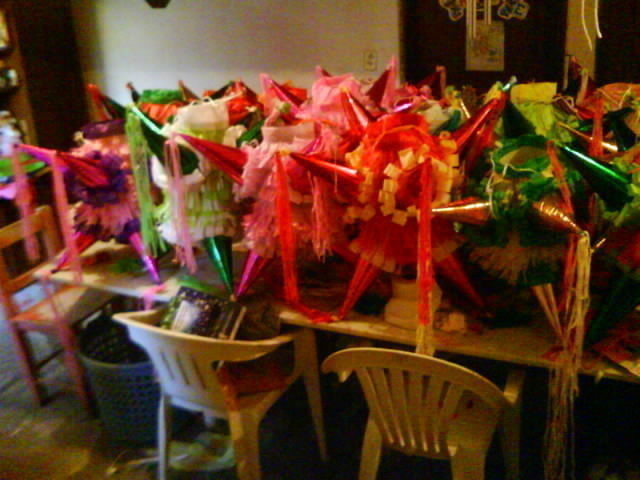
Each year, my father buys 25 pieces and usually gift them for his costumers during Christmas, and buying them done is a little expensive, considering what is charged is the crafting work, I decided to make them by myself and save for my family like 70% of the total cost. Unfortunatelly, this year it was impossible because of mayor unpredictable issues we had during the year end, but these are the ones I did for Christmas 2008. You take like 2 or 3 hours each, depending on the amount of materials you have in hand. The last picture shows how they look hanging, but those were only half of them =D. HOW TO: I made these instructions for my dear friend Jet, hope it's useful my greatest friend =D I've seen some how to-s about piñatas, but this is just the way I do them =>
Tags
-
 gleyse s. favorited Star Shaped Piñata (Classic One, 7 Cones)
25 Jan 04:03
gleyse s. favorited Star Shaped Piñata (Classic One, 7 Cones)
25 Jan 04:03
-
 Step 1
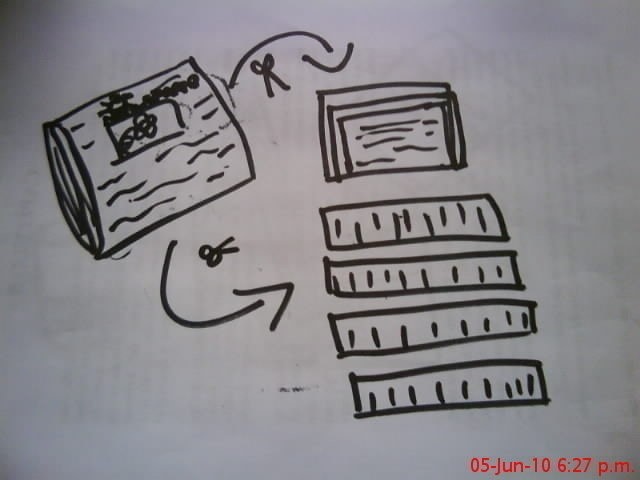
Take an Old newspaper and cut a lot of squares and strips. Don't bother about the size that much, the squares have to be more or less the size of your hand and the strips a little bit longer.
-
 Step 2
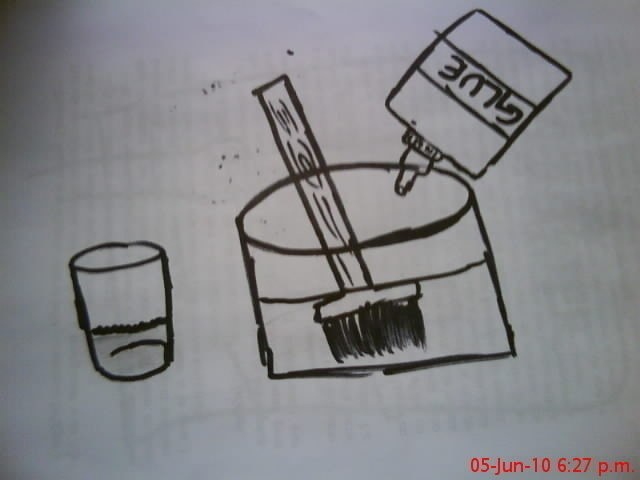
Prepare in an old bowl a bottle of carpenter economic glue and 1/3 of a glass of water. Mix it with a brush, or a little paintbrush, whatever you have in hand =D
-
 Step 3
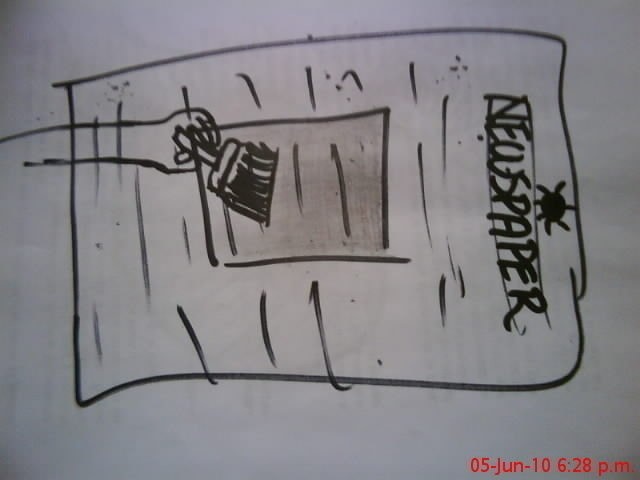
Ok, blow up a balloon (size 9 prefereable) Use some newspaper pages to protect your table, because you need to drench the squares you already cut with glue, only by one side, as it is drenched, you don't need to varnish the other side of the square.
-
 Step 4
We start the pot from scratches, so, start pasting the squares to the balloon, leaving a neck in the top of the balloon. Paste 4 coats of newspaper squares over the balloon. CAREFUL! The first coat is against the balloon, so, it is possible that it pops, you just have to blow up another one and be more careful about the friction =D.
-
 Step 5
While the 4 coats of newspaper dries, you start cutting the Cereal Box. Open it and cut off the flaps. You can also use a un Courier cardboard envelope (DHL, FEDEX) this can be really prefereable.
-
 Step 6
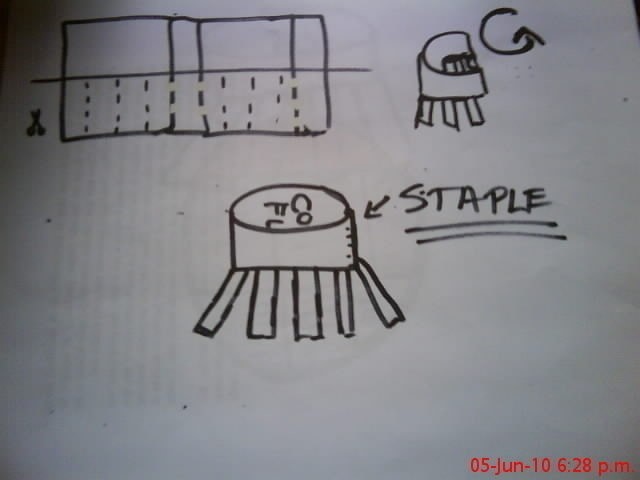
Bend it in half and cut some strips to one side of the box. Bend the upper collar to the inside in a circle. Staple the edges together. Be careful not to staple yourself. Be sure to leave the ads of the cereal box in the inside, mainly because on the cardboard part is easier to paste the newspaper strips.
-
 Step 7
Glue (drench) the strips of the cardboard neck and place your new cardboard neck over the neck you left in the balloon. Press the strips against the newspaper coats, remember I told you the ads side is not easy to paste? I was not overreacting =D LOL! (Just be careful with the pressure, do not loose the balloon in this step or you will have to start over the complete process =S...
-
 Step 8
Drench glue over the strips, just as much as you are sure they are completely pasted over the newspaper coats.
-
 Step 9
Remember the newspaper strips? Well, use them to make your cardboard neck stronger, put 2 or 3 coats of nespaper strips over the neck and the cardboard strips, then put another newspaper coat over all the pot. Now that the neck is fresh, you can make two holes with scissors one against the other in the neck part, leave like 4 centimeteres from the top of the neck to the hole, if you leave less space, your string will not resist the weight of the pot (if you pretend to full the piñata)
-
 Step 10
Now your pot is ready! Take it out to a balcony or your courtyard an leave it drying in the sun for AT LEAST two hours and no more than 6 hours, the more time you leave it to the sun, the dryer and stronger your pot will be. When the pot is dry you can pop the balloon, take out the remains of the balloon. About my note on the picture... I'm not kidding! That was the easy part LOL!
-
 Step 11
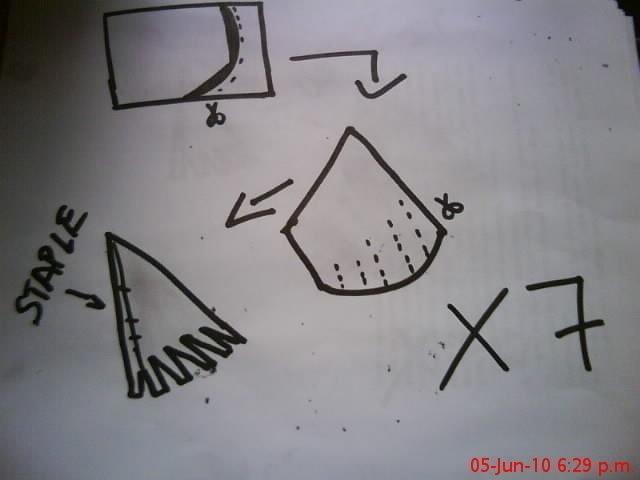
While you wait for the pot to be dry, you can start making the cones, take a cardboard and make the cut as shown in the picture, it looks like some kind of triangle, I'm not sure of the name, sorry! Make some cuts as shown, please notice that the cuts go from small to big throw the longer side of the triangle. Bend the cardboard to the inside and staple the edges. Leave the flaps without staples. You need 7 cones.
-
 Step 12
Cut the metallic paper just the same as the cones and wrap each cone with the shiny paper.
-
 Step 13
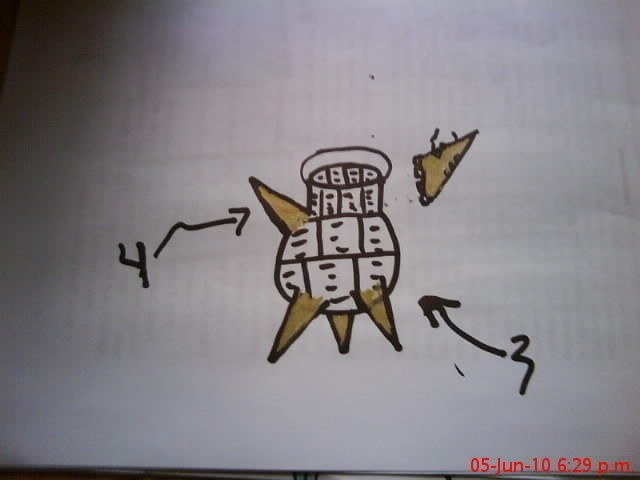
When your pot is ready start pasting the cones over the pot. Drench the flaps of the cone and paste them with a little pressure, be patient, the weight of the cone will make this part difficult, so you have to keep the pressure until the flaps dry a little. The reason you cannot paste the cones before drying the pot is because of the weight of the cones, you need the pot to be strong to make pressure. Your cone has a diagonal cut when is done, so paste the smaller part of the cone facing upside. This will make your cone point up. You need 4 cones in the upper part of the pot. For your three cones left, make sure they point down.
-
 Step 14
This is a picture I got during the week in a market here in Mexico. Your piñata will look something like the one on the right when you are done pasting the cones.
-
 Step 15
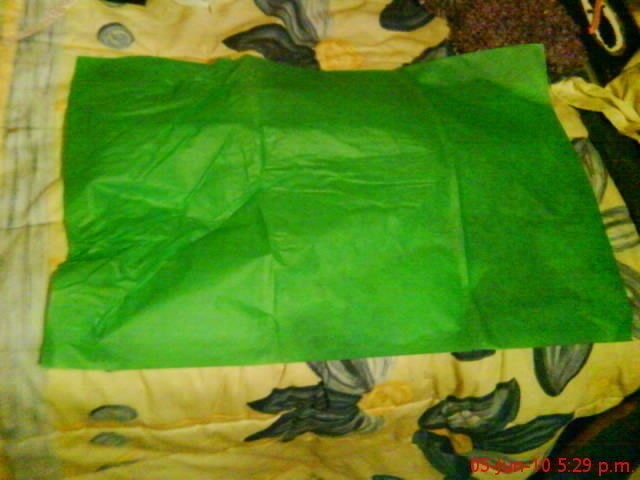
Cut 2 tissue papers in small squares or pieces, and get 7 strips of tissue paper by the length of the tissue board.
-
 Step 16
When you are done cutting, your squares will look like this, you can cut the squares in a leave shape if you want.
-
 Step 17
If you prefere you can cut some strips in the little squares, they give more a piñata look to your project, the only thing is that you have to invest a little more of time in the cutting. But these are the ones I use =D
-
 Step 18
This is your tissue board.
-
 Step 19
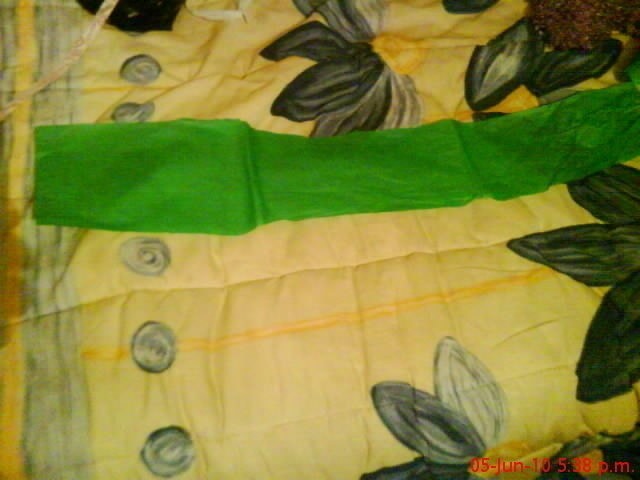
Cut the board in four strips as shown here.
-
 Step 20
Bend each strip in half and then make two bends by the length.
-
 Step 21
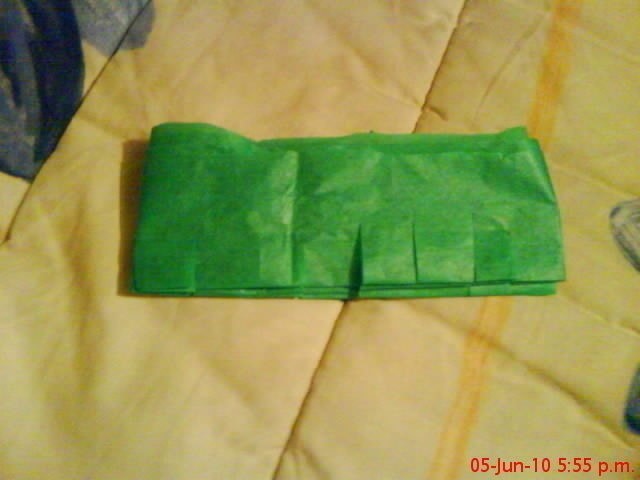
Cut some strips over the bended paper. Careful: The cut is only to the half of your bended paper.
-
 Step 22
Now, about the 7 strips that you need... I'm gonna give a step by step because this cut is a little complicated ok? It is called blowed paper. NOte: I don't know if this sounds like an offense in any country, I mean no offense to anybody ok? This is just the way it's called in here =<.
-
 Step 23
Your unfolded paper will look this way.
-
 Step 24
Turn it around and blow over it, you can make this separeted from your table, actually it's preferable.
-
 Step 25
Bend in half your cutted paper like this and paste all the upper edge.
-
Step 26
I made this video with a cone that was not attached to a pot, but the process is the same, actually once the cone is pasted to the pot, this step is easier. Paste an end of the tissue paper to the cone, and wrap it around the cone, paste the other end of the tissue paper wherever it fits. You can paste all the strip to the cone if you want, it doesn't make a difference =D. NOTE: I've seen that there is a problem to view this video, I'm checking it, meanwhile, if you cannot see it here, I send you the direct link:
http://www.youtube.com/watch?v=OB4zQ-1vihU
-
 Step 27
Now, once you have your cones and your strips, start with the small tissue squares, start pasting from down to up. NOTE: Just paste the upper side of the square. This will give the full effect.
-
 Step 28
For the tips of the cones, cut a tissue board in strips by the length. Bend it in four and make very tiny strips leaving a flap without cutting. Wrap the uncut flat to the tip of the cone (you can even paste it with magic tape). Make some tiny blowed paper strips and cover the paper you already pasted.
-
 Step 29
Now, in this drawing I put a cut line, but I meant a bend line, just bend the tissue board and wrap the neck of your almost finished piñata.
-
 Step 30
You can cut the bended paper in half and wrap the neck from string hole to string hole. And your piñata is done. Remember, the colors of the tissue and metallic paper can be any you want, you can have a metallic color and two tissue paper colors, like the ones shown in the very beginning of the project, or make the piñata in a single color, it's completely up to you.


and i will tell all me friends of your how to. and i 'm still like them sooo colourfull and cheerful. i'm very glad with this tute and so well done. i like it no even more because i can endly make them myself;-D
thank you my dearest friend.;-D and a lot of XO's !!!!;-D