

About
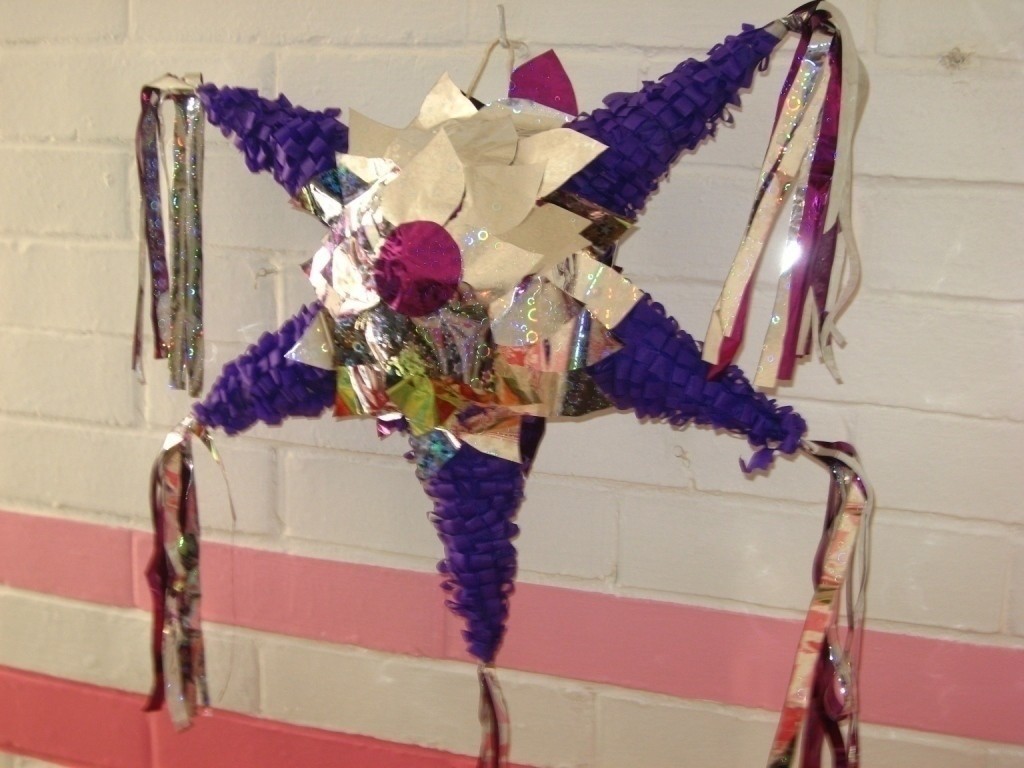
A piñata for the holidays.
The original piñata had 7 cones, they simbolized the 7 sins. Piñata making is an art, and the limit is your imagination, you can do any design that you want. I've done about 20 piñatas and started since I was 14. it's really fun. So, let's make one!
i know, it's a bunch of steps but once you're done, you'll be happy with what you've acomplished.
it takes about a day to let the body dry and another day to decorate.
-
 Gaby R. entered her project Star Shaped Piñata to The Confetti Bar
18 Oct 13:44
Gaby R. entered her project Star Shaped Piñata to The Confetti Bar
18 Oct 13:44
You Will Need
-
 Step 1
First cook some paste (engrudo), you can learn how to here http://www.cutoutandkeep.net/projects/paste-engrudo
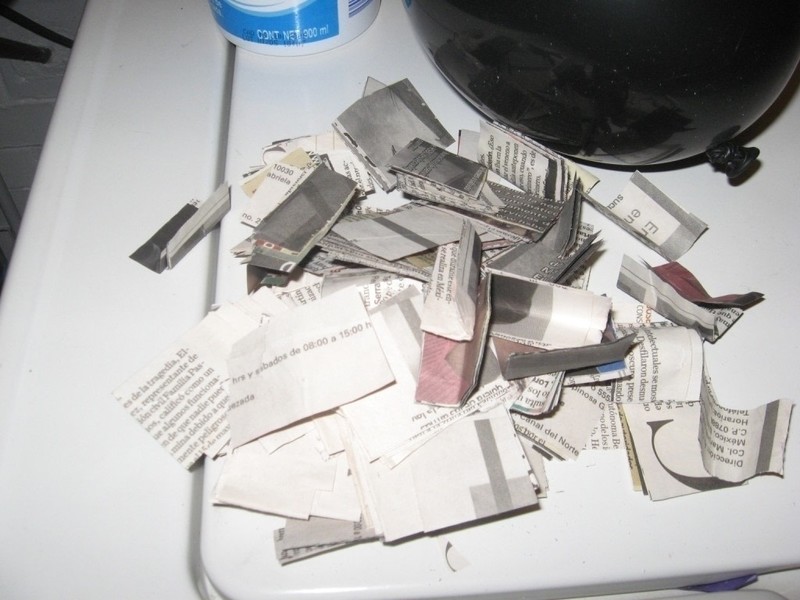
While you're letting it cool, cut out a lot of newspaper squares, cuz this is going to be the body of the piñata -
 Step 2
once you have your materials ready, blow up your ballon.
Rub some paste around the balloon, and put some in your hands. Take one square and rub it so it's a little wet. then start overlaping squares all over the ballon.
Start from the top leaving some space to add the candy.
it's really important not to leave spaces between each square, cuz if that happens, your piñata is most likely to last 1 minute. -
 Step 3
once you have a first layer, it's time to add the string. place it as close to the opening as possible. To secure it add more newspaper over and around it.
-
 Step 4
Add two more layers for a mild strengt piñata. If you want it stronger add 2 more layers, but don't do more than 7 cuz' it wont break but all your candy will. I've tried. If little kids are going to play with it, 3 to 4 layers should do it.
-
 Step 5
Make a cone out of the cardboard. twist it around and pull and tape it together.
-
 Step 6
To attach it to the piñata body, make several 3/4 of an inch cuts around the open side of the cone. bend them a little so it'll look like this
<--- -
 Step 7
for this particular one you're gonna need 4 more cones. cut around the smallest part so you'll have a gap. this i'll explain later.
-
 Step 8
To add the cone to the body, put some paste around the tabs. Overlap more pieces of newspaper to keep them in place and cover the cone too. Be careful, since it's cardboard, it'll get wet really fast. Don't worry, just try not to squeeze it.
-
 Step 9
Let it dry overnight. You'll know when it's ready cuz it'll sound hollow. If it feels a little damp, let it dry a little bit more.
-
 Step 10
Here comes the trickiest part. Double the tissue paper in half,and repeat 'till you have a 1 to 2 inches strip.
-
 Step 11
cut from the close side stoping at 1/4 of an inch from the open side. i'm not sure how to make this sound better so you won't get confused.
-
 Step 12
Cut along the red line (this is the open or not so open side) to separate all the pieces.
-
 Step 13
I forgot to ta pic but it'll look like this. The withe lines are the cuts and the green one is the fold.
-
 Step 14
glue right sides together. to do this just add some glue to one side (the 1/4 of an inch that hasn't been cut) and slightly fold the other side.
-
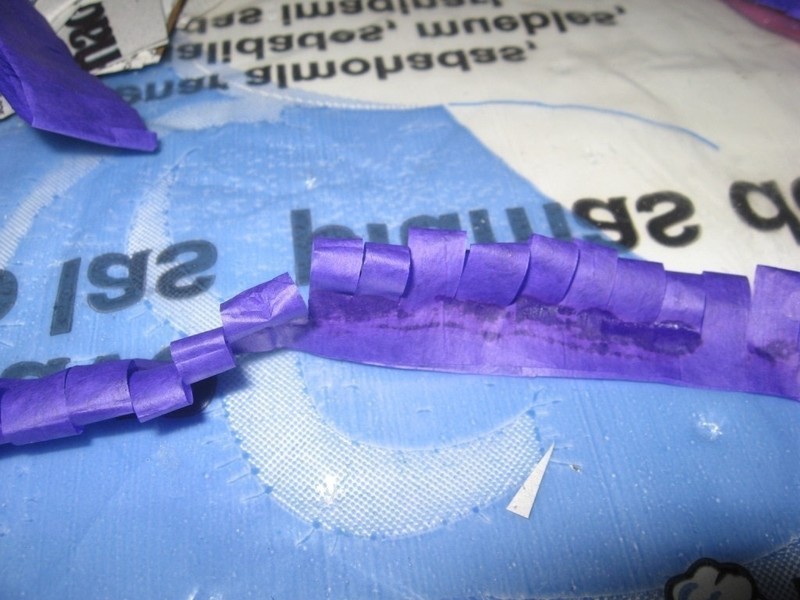
 Step 15
Make a bunch of strips, enough to cover the cones. Start in the middle and cover in circular motion. you're suppoused to see only the puffy paper.
-
 Step 16
it'll look like this. now it's time to add small strips in between the cones. just to hide the newspaper.
-
 Step 17
Cut some leaves out of the holographic paper. I used the silver side instead the colored one. You can do this with tissue paper or even aluminum paper.
-
 Step 18
Place the leaves around the uncovered parts, i tried to do a flower, but you can do it some other way.
-
 Step 19
once it's done, glue the center. so far it's good. i'f you like it like this, then you're done. i'll keep going.
-
 Step 20
Ok, i'm not sure what is this called. i used a metallic paper rectangle and cut strips of 1/4 of inch. I left 1 inch uncut. Then twisted it around.
-
 Step 21
Put some paste in the hole that has been cut before in the cones. then insert the thingies that you just made.
-
 Step 22
and now you're done!! let it dry some more. Then pierce the balloon and take it out. Fill with candy and go enjoy!!
I hope that you liked my project, and I apologize if my english is poor.


Comments


