


About
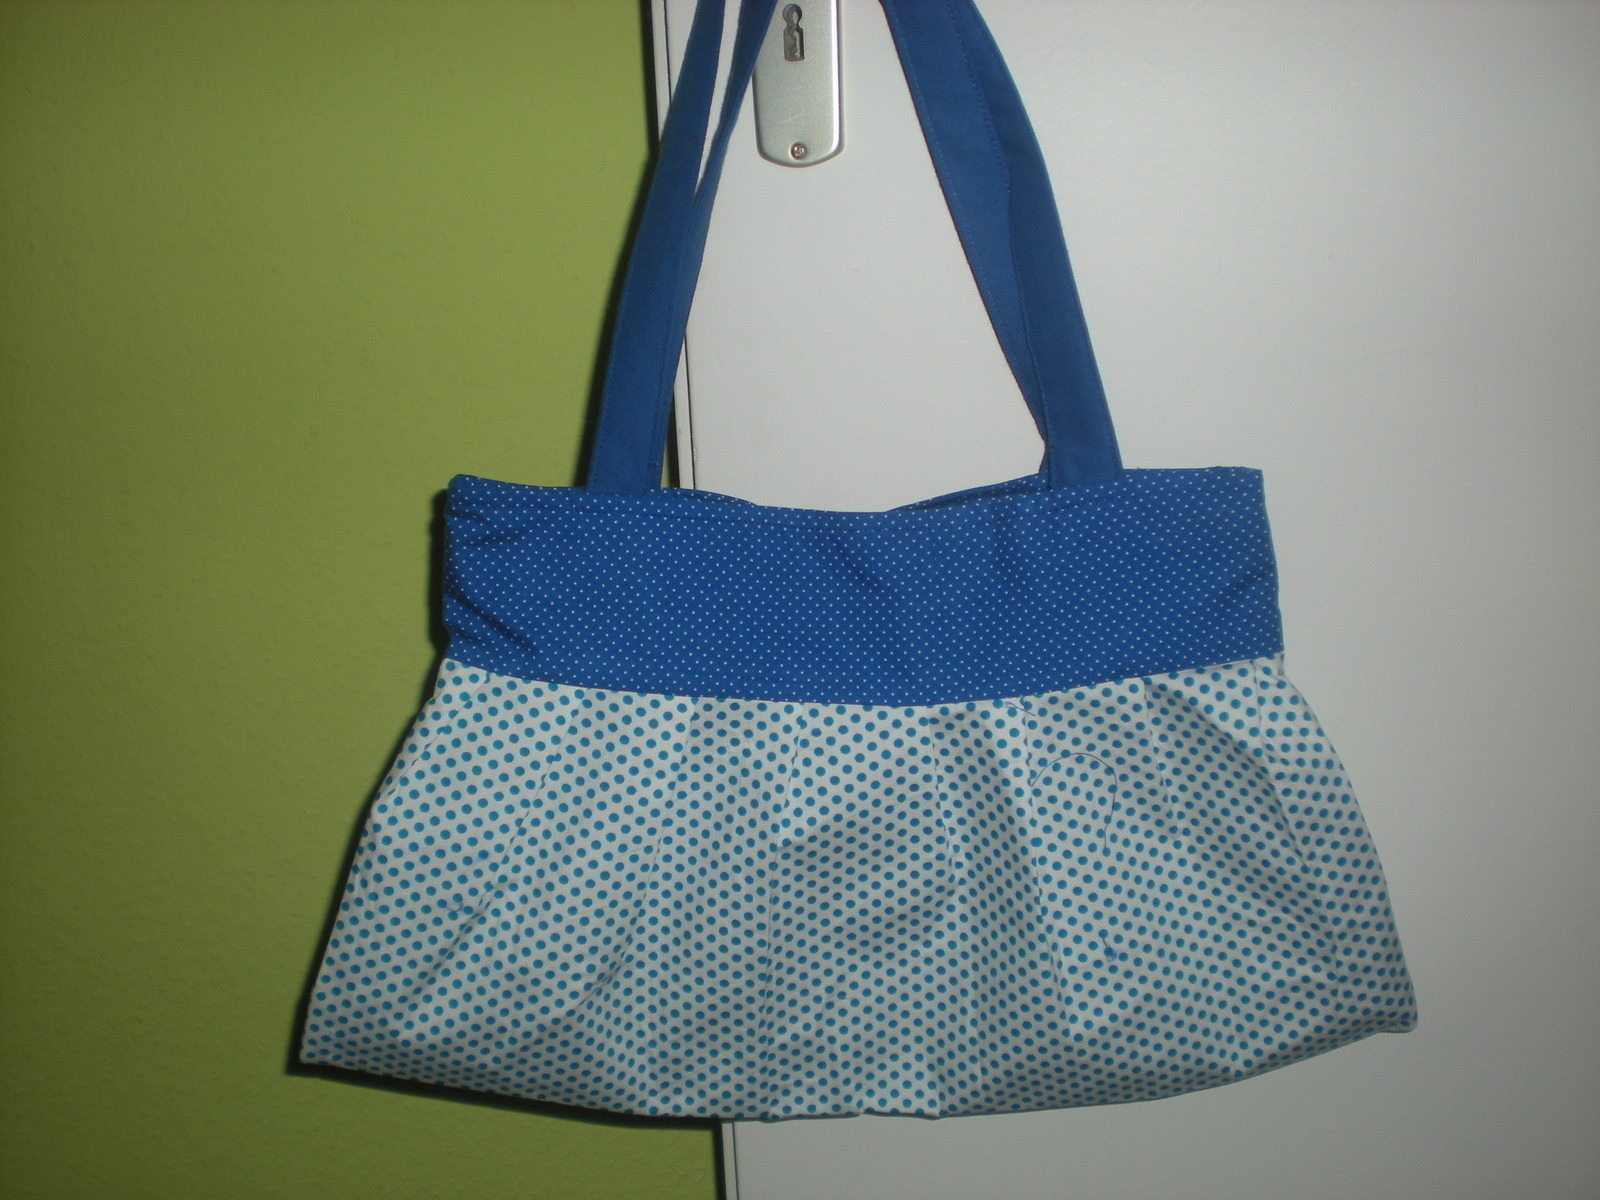
funky handbag with hidden zip and inner pocket
This is a birthday present my my best friend. It didnt turn out quite how i wanted it to but hey it doesnt look too bad :)
-
 Step 1
Okay time to start measuring! Grab your ruler and chalk and lets go!
you need to cut out:
a) 56x23 cm of exterior 1(white with blue dots) X 2
b) 9x38 cm of exterior 2(blue with white dots) X 2
c) 36x7 cm of exterior 2 X 2
d) 21x15 cm of exterior 2 X 2
e)56x23 cm of lining X 2
f) 9x38 cm of lining X 2
g) 7x38 cm of lining X 2
h) 4x38 cm of exterior 2 X 2btw i hadnt cut everything out yet...sorry!
-
 Step 2
Grab 1 piece of a) and one of b). Pin them together right sides facing. Add in pleats so they are the same length at the top. Now sew them together. Take out the pins and press the seam flat and the top of the pleats. Now do this with the other a) and the other b).
-
 Step 3
Match up the seams then pin the sides and bottom. Now sew around the 3 sides. Then get a corner and pinch it like in the picture. Measure 2.5cm up from each side and match up the points. Sew across to give the bag some 3-D shape. Repeat for the other side.
-
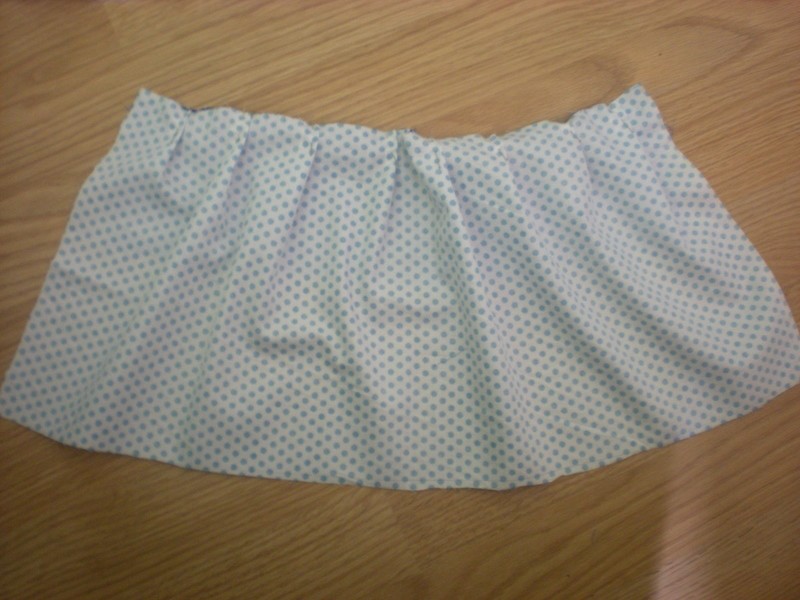
 Step 4
It should now look like this
<---------- -
 Step 5
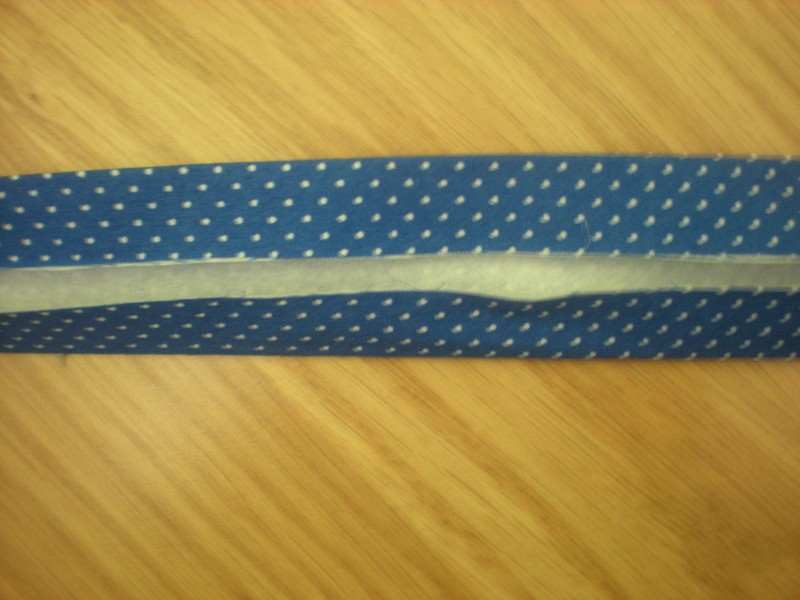
Okay...now onto the zip. Its a "hidden" one because you cant see it from the outside because its dropped a few cm from the top. Get one piece of c). Press it in half lengthways then open it up again. Fold one side into the middle and press. Do the same to the other side. Then fold them inwards along the first crease you made.
-
 Step 6
okay my computer wiped the rest of the pics so we are gonna have to do without :(
okay now pin and sew along the "open" side, then along the other side (the second side is just for decoration)
-
 Step 7
Repeat steps 2-4 with the lining. (remember to leave a roughly 10cm hole in the bottom for turning later on) Take both D pieces, sew them together right sides face but leave a 5-8cm gap at the bottom (for turning inside it). Now turn inside out, press, then sew onto the lining in the center. As you sew around the 3 sides, sew the hole shut.
-
 Step 8
Now you should have a lining, and outer and 2 straps, all nice and ready for assembly. Place your outer piece into the lining, right sides facing. Position the straps in between the lining and outer, and tuck them out of the way. Pin everything and sew once around the top. Double/triple stitch over the straps. Blue is the outer, pinky red is the lining, pinky pink are the ends of the strap.
-
Step 9
okay take the h) pieces. Sew a casing for the zip. Then sew this onto the lining, about 5cm down from the top. http://u-handbag.typepad.com/uhandblog/2008/08/easy-tutorial---how-to-insert-a-concealed-top-edge-bag-zipper.html is a great tutorial.
-
Step 10
Okay remember that hole we(hopefully:P) left in the lining? Turn everything right side out through that. Now top stitch around the top to keep everything in place.
-
Step 11
Last step: Using a ladder stitch close the whole and voila, your done :D


So either your instructions are wrong or the tutorial does not match your description.
It looks fine with buttons, though...