About
Smart Plate Instructions
Smart Plates: A surface on which to draw and print from, similar to a lithographic stone.
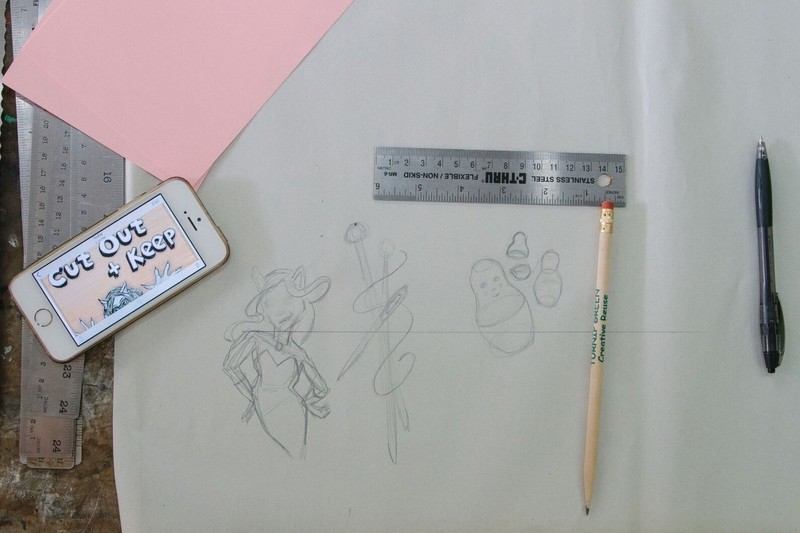
The surface is smooth and transparent which makes it easy to trace.
An image can be made on the computer and then printed on the smart plate using a laser printer.
Smart Plates can be purchased at Takach Press website. Packages run close to $20-50 depending on size and how many.
-
 Alissa B. favorited Smart Plate Printing
30 Jul 21:51
Alissa B. favorited Smart Plate Printing
30 Jul 21:51
-
 Chudames favorited Smart Plate Printing
27 Jul 08:55
Chudames favorited Smart Plate Printing
27 Jul 08:55
-
 Anjeanette Illustration published their project Smart Plate Printing
23 Jul 06:00
Anjeanette Illustration published their project Smart Plate Printing
23 Jul 06:00
You Will Need
-
Step 1
How to Process Smart Plates
Pick up your smart plate by the edges, touching just the very tips of the plate so no grease transfers from your fingertips.
-
 Step 2
Draw any image using a Sharpie marker, or Bic Atlantis Pens. Leave a half inch margin of blank plate space around your drawing.
-
 Step 3
Let your drawing sit on your plate for 15-20 minutes.
-
 Step 4
Gather a sponge, a bucket for water and a glass surface. * The glass can be recycled from an old piece of glass from a picture frame!
-
Step 5
Fill up the bucket with 1 quart of water.
-
 Step 6
Put 1 ounce of gum arabic in the bucket.
-
Step 7
Mix this together well.
-
 Step 8
Get Gamblin Lithographic Shop Mix Black Ink, No. 2244. This ink works very well for the process and shouldn’t require any additive for printing. **Replacements and additives are listed below.
-
 Step 9
Use your ink knife and lay out a few strips of ink.
-
 Step 10
Take your brayer and make sure your brayer is covered evenly with ink. It should make a soft velcro sound.
-
 Step 11
Take your sponge and put a little water on the glass surface.
-
 Step 12
Put your plate, drawing face up, on the glass surface so that it sticks.
-
 Step 13
Immediately sponge the top of your plate, keep it wet the whole time you print. It needs to be kept wet, but not drowned in water.
-
 Step 14
Count 4 times rolling ink on your brayer, and 4 times inking your plate. Repeat this until you can tell your image is filling in evenly with ink.
-
 Step 15
Take a blank piece of paper and set it aside. Turn over your plate on top of the paper so that you can see through your plate.
-
 Step 16
Gently sponge the back of your plate with water. Take your bonefolder and gently rub the back until you’ve covered the whole drawing area.
-
 Step 17
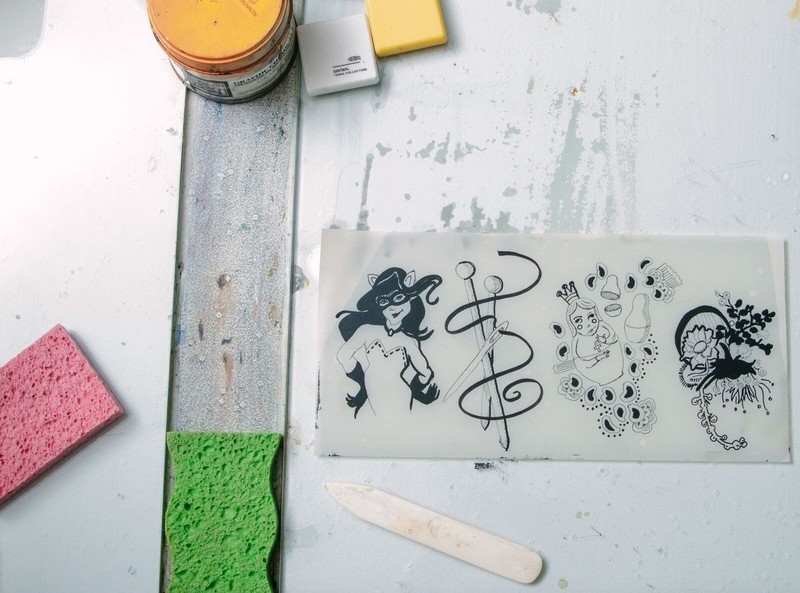
Turn over your plate back over onto the wetted area and reveal your image!
-
Step 18
Repeat all these steps until you’ve completed your edition!
Websites for stuff:
www.takachpress.com-- for sponges, smart plates and ink
www.hollanders.com-- for papers, bonefolder and other bookmaking suppliesAny other supplies you can find cheap at places like Hobby Lobby if you’re looking to experiment with less expensive materials. :)