


About
Super Easy, Super Quick Cushion Cover.
We have horrid cushions on our sofa. Marks, dirt (especially from when the cat was sick). None of them match - it is truly most shocking.
So time to do something about it?
That meant a day trip to IKEA, imagination and a bit of sewing. x
My instructions are dead simple. I say things twice but that's only because I love you and it's important. Have fun with the materials, size etc. And enjoy the wave of 'Oh .. I like you cushions Love' and 'Really? You made those?!' comments. x
Rough Cushion Fabric Size:
Front: 40cm x 40cm
Back (w/10cm flap): 50cm x 50cm
Will fit a cushion 2-3cm larger e.g. 53x53 cushion = 50x50cm cover
Tags
-
 judithchen added Simple Cushion Cover to Kourtney
24 Nov 11:14
judithchen added Simple Cushion Cover to Kourtney
24 Nov 11:14
-
 carryfiasco favorited Simple Cushion Cover
18 Apr 11:46
carryfiasco favorited Simple Cushion Cover
18 Apr 11:46
-
 Bec M. favorited Simple Cushion Cover
27 Nov 15:56
Bec M. favorited Simple Cushion Cover
27 Nov 15:56
-
 Claire C. favorited Simple Cushion Cover
20 Nov 17:19
Claire C. favorited Simple Cushion Cover
20 Nov 17:19
-
 Len favorited Simple Cushion Cover
07 Aug 17:52
Len favorited Simple Cushion Cover
07 Aug 17:52
-
 angellynx favorited Simple Cushion Cover
17 Jul 22:30
angellynx favorited Simple Cushion Cover
17 Jul 22:30
-
 Jeffacar :3 favorited Simple Cushion Cover
15 Jul 20:15
Jeffacar :3 favorited Simple Cushion Cover
15 Jul 20:15
-
 Step 1
Grab all your bits and pieces.
I am using thick green cotton for the back and the white thin cotton with the pattern on it for the front. -
 Step 2
Pick a nice section of the fabric if you are using a patterned one.
Lay out the fabric nice side down and draw on 38x38cm square (or a square 2/3cm smaller than the size of the cushion you are using).
TIP: Use tailors pencil as it will not show through.
TIP: Cut any selvedge’s off of the fabric before you draw the square.
-
 Step 3
Cut out the square by going along the lines.
This is the covers' front.
-
 Step 4
If you want to embroider a part of the cushions' pattern or add patches etc - this is the time.
-
 Step 5
Now the back. You could use Velcro, zips, buttons etc but we are going to do the popular 'tuck in' method.
Get the other material and lay it nice side down. Measure 38cm along the bottom on the fabric, 30cm up, 38cm across and 30cm down to make a rectangle.
(<.< Sorry if you can't see my lines)
-
 Step 6
Cut along the lines.
This is the larger flap.
-
 Step 7
If you've got half a meter of fabric you should have about 20cm left. Measure and cut the 20cm x 38cm section.
This is the smaller flap.
-
 Step 8
Now you should have three pieces?
-
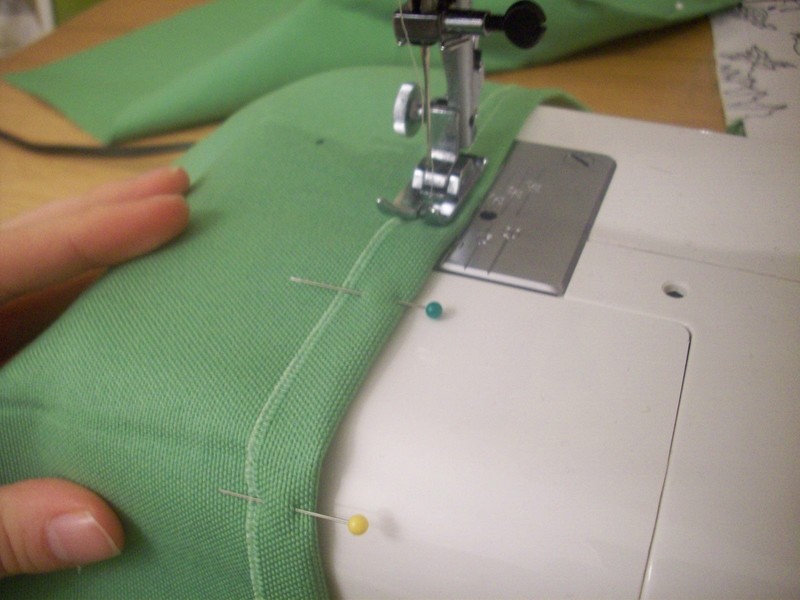
 Step 9
On the flaps. Fold over, to the wrong side, one 1cm hem on a 38cm side.
Pin it down (tack it if you need to).
-
 Step 10
Sew it.
Do the same on the other flap piece.
-
 Step 11
Decide which flap you would like showing on the top. Most cushions have the larger flap on top (must be males!). So the smaller flap should be sewn first; and the larger one second slightly over lapping.. get it now?
Pin the smaller flap to the top-end of the cushion. Leaving the bottom open
-
 Step 12
Sew the three pinned sides.
-
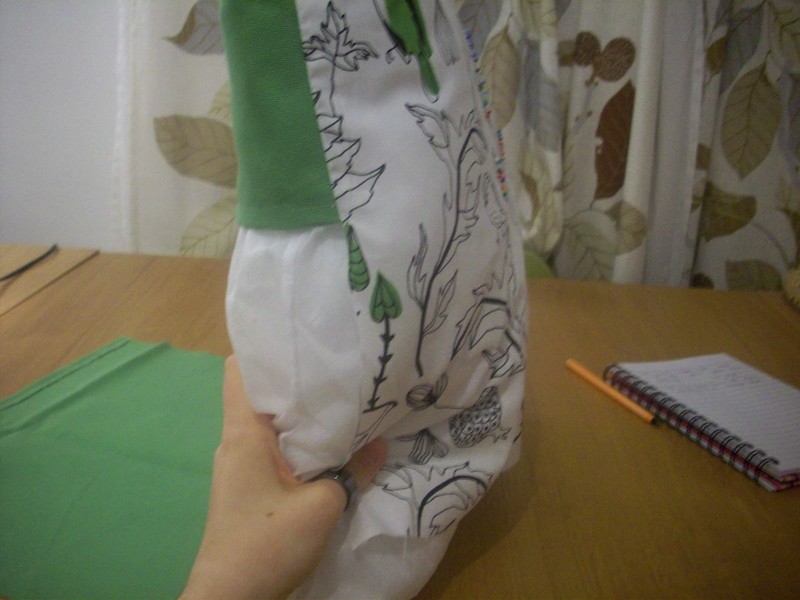
 Step 13
You should have something that looks like this <.<
Turn it inside out and see it fits nice a snug.
TIP: If it is a bit lose make a bigger seam, by just sewing it again.
-
 Step 14
Turn back inside out. Take the larger flap and do the same, laying it over the top of the smaller flap. Leave the bottom open again.
There should be a overlap of about 6-8 cm.
Pin in place.
Note: I think I am only demonstraing the edge and point to stop sewing. (But I could be pointing to any number of things..).
-
 Step 15
Sew along the three pinned sides, making sure you sew over the overlap.
-
 Step 16
Turn everything inside out for the last time.
Stick a cushion in.
And admire.
x


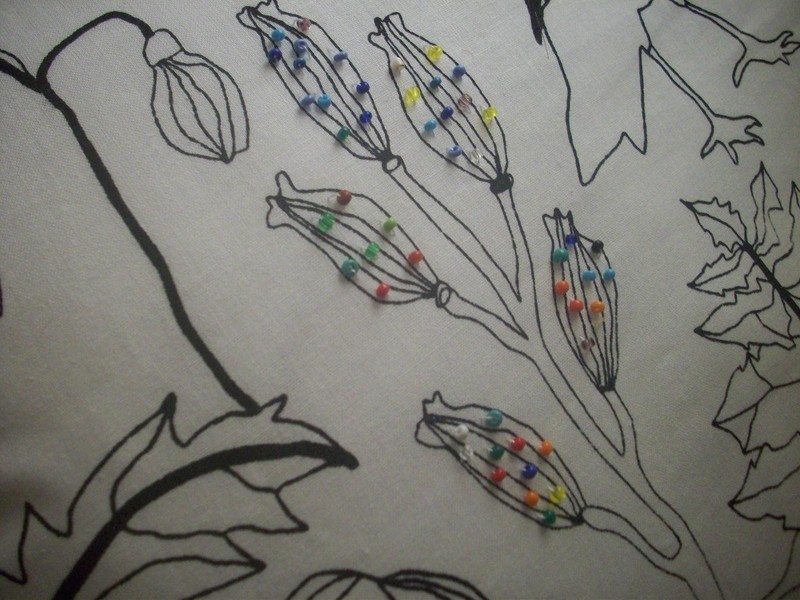


The beads are awesome, I'll totally add some to my cushions now! 8D