

About
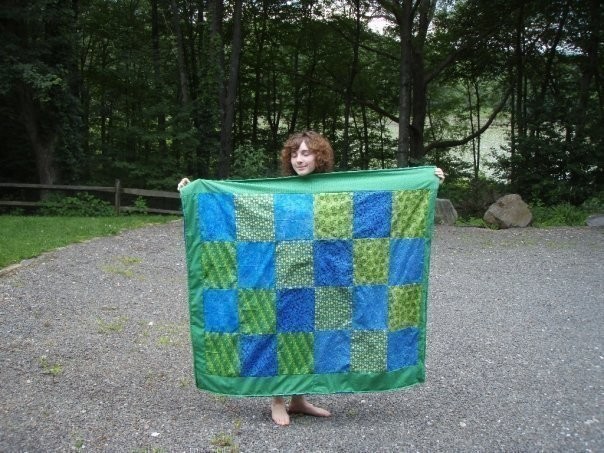
An easy first quilt.
I made this with little knowledge at all of quilting. My boyfriend is moving so I made it for his new room in his favorite colors.
Hopefully my instructions are clear. I wish I could remember to take pictures for how-to's!
-
 TheSewingMaven favorited Simple Patchwork Quilt (No Batting)
01 Sep 03:48
TheSewingMaven favorited Simple Patchwork Quilt (No Batting)
01 Sep 03:48
-
 kah728 favorited Simple Patchwork Quilt (No Batting)
08 Oct 05:23
kah728 favorited Simple Patchwork Quilt (No Batting)
08 Oct 05:23
-
 BothAtHome added Simple Patchwork Quilt (No Batting) to Baby Related Projects
26 Aug 19:44
BothAtHome added Simple Patchwork Quilt (No Batting) to Baby Related Projects
26 Aug 19:44
-
 silentband favorited Simple Patchwork Quilt (No Batting)
05 Aug 10:33
silentband favorited Simple Patchwork Quilt (No Batting)
05 Aug 10:33
-
 Step 1
First, you need some fat quarters. I used six. (What is a fat quarter? http://quilting.about.com/od/stepbystepquilting/ss/fat_quarters.htm)
So then I cut my quarters into fourths - easy enough. Just fold in half like a hot dog and cut, put those halves right on top of each other, and fold like a hamburger to cut again.
-
Step 2
Now, arrange your quarters to make a giant rectangle, the way you want them on the quilt. Do it so the wrong side is facing up in preparation for the next step....I arranged mine in a 4 by 6 pattern.
-
Step 3
First, number your columns (or rows, however you want to do it). I did this by taking little pieces of paper with numbers and pinning them to the top piece of each row. Then pin the row together like you're making seams, and the rough side of the fabric is facing toward you (on the wrong side). Make rows or columns, but don't pin everything together yet.
-
Step 4
Now sew your columns.
then pin the columns together on the sides in number order and sew this. Now it basically looks like a backless quilt.
-
Step 5
if you want a border like my quilt, just get measurements to extend the quilt. Like, your first two opposite borders would be the length of the quilt by how wide of a border you want. Then you would sew these on. For your second set of opposite borders you would measure the new width of the quilt (including the first set of borders) and cut that width by how wide you want the border.
-
Step 6
Now you take your backing and sew it on three sides to the quilt, wrong sides together.
After the three sides are sewn, turn the quilt right side out. Take the open side and turn in the edges. Then sew the opening shut.
Now go around the entire edge of the quilt to "finish" the edges.


And Evenl i'm glad that you like the view from my driveway. ;-)