
About
Turn your jewelery into decoration!
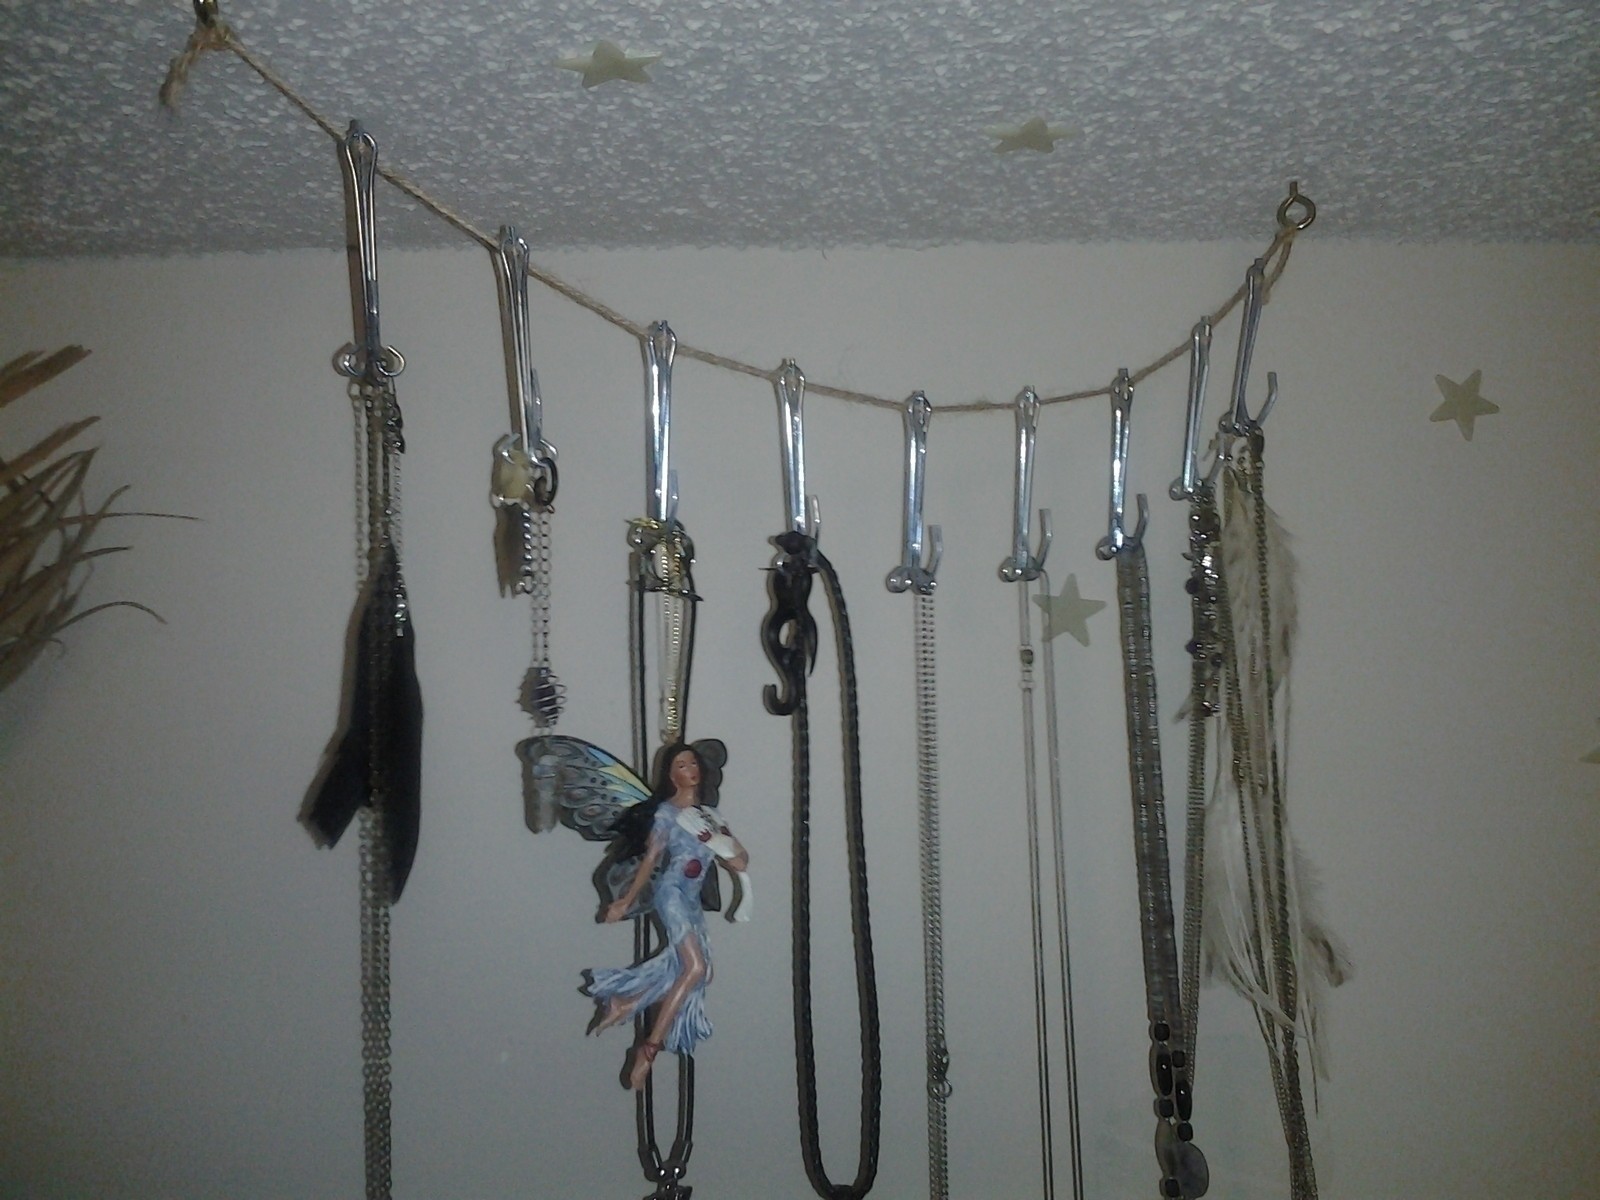
I got the idea from a friend of mine who uses her chain from a lamp hanging on her ceiling to store her earrings. Then I thought why just earrings? I'll use ALL my jewelery as decorations!
This simple idea helps me keep them out of the way but I can show them off at the same time! On top of that I know where they are and it makes it easier to find a specific item as well!
Tags
-
 Conner W. added Simple Hangers For Jewerly to wall ideas
13 Feb 01:25
Conner W. added Simple Hangers For Jewerly to wall ideas
13 Feb 01:25
-
 Taylor K. favorited Simple Hangers For Jewerly
11 Jul 01:06
Taylor K. favorited Simple Hangers For Jewerly
11 Jul 01:06
-
 Ella favorited Simple Hangers For Jewerly
13 Oct 04:31
Ella favorited Simple Hangers For Jewerly
13 Oct 04:31
-
Sarah A. favorited Simple Hangers For Jewerly
09 Oct 14:29
-
 Maemi.Gojo added Simple Hangers For Jewerly to Organize
29 Sep 21:47
Maemi.Gojo added Simple Hangers For Jewerly to Organize
29 Sep 21:47
-
 Step 1
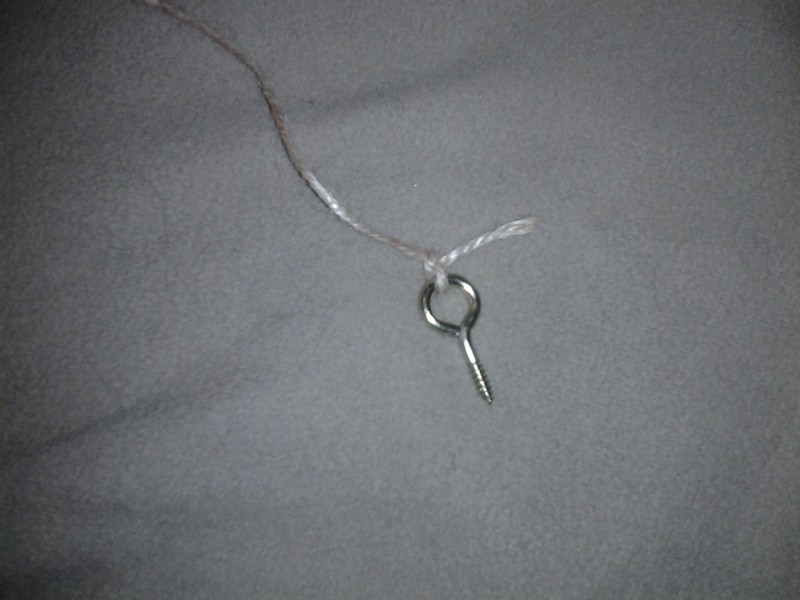
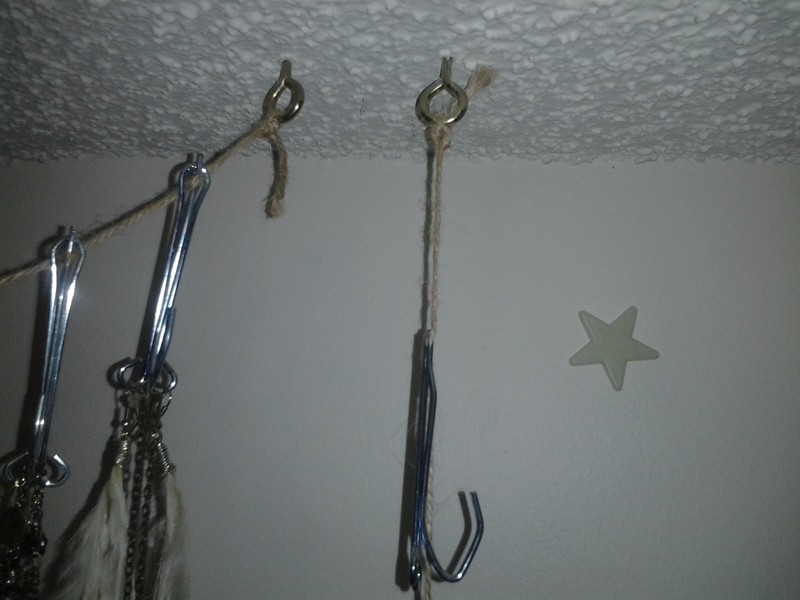
you will need String, hooks, and ceiling loops.
Its really up to you what you use as long as you have something to hang your hooks and something to keep your hanger sturdy.
I'm using hemp string, shower hooks(because they can hang both necklaces and earrings at the same time), and ceiling loopy thingies. -
 Step 2
first connect your hanger to you ceiling loop or hook.
-
 Step 3
its up to you how long your hanger will be. Just keep in mind where you will be hanging it (IE dry wall, wood, etc), how heavy your stuff you will be hanging will be (is it just earrings, is it necklaces, or also bracelets?),
And how strong your hanger itself is.
I'm not going over a meter in this case because I have dry wall hemp string AND I'm hanging all of the above (earrings, necklaces and bracelets). don't connect your hanger to the other loop yet, it will make pushing it into the ceiling or wall difficult.also, if you want it longer than a meter trying adding more loops but the process will be a little different.
-
 Step 4
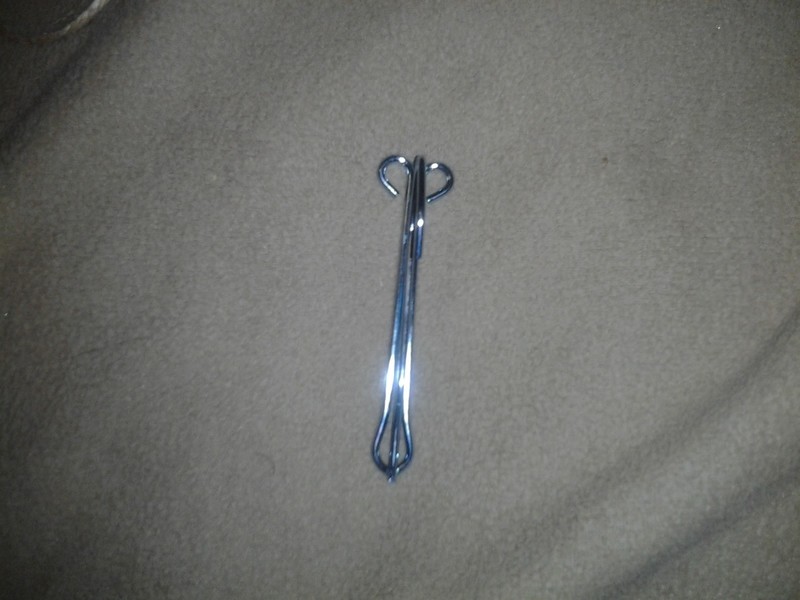
(first image of hook I'm using)
-
 Step 5
Identify what kind of hook you will be using and hopefully it will be easily attachable to your hanger.
In my case its just a shower hook. -
 Step 6
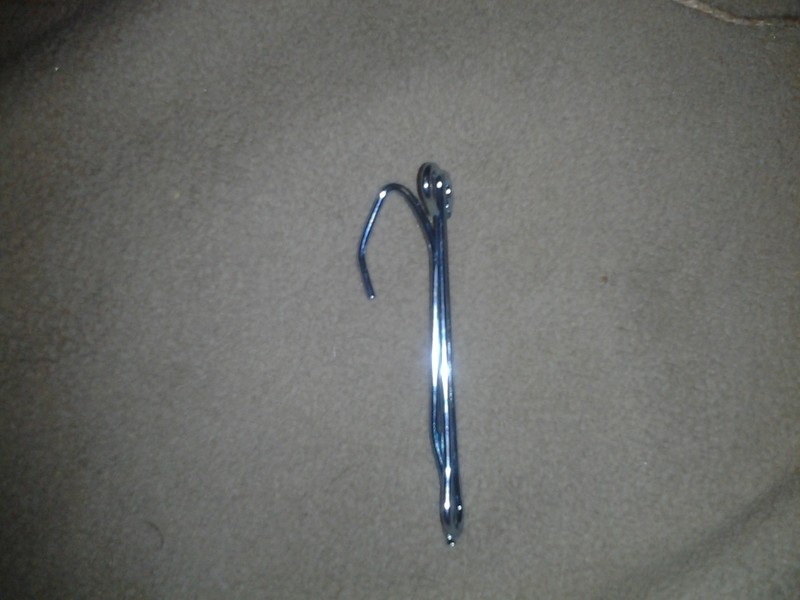
attach your hook to your hanger
if you are using the same hook and string as I am try attaching it to the bottom of the hook (so the hook end is at the bottom). -
 Step 7
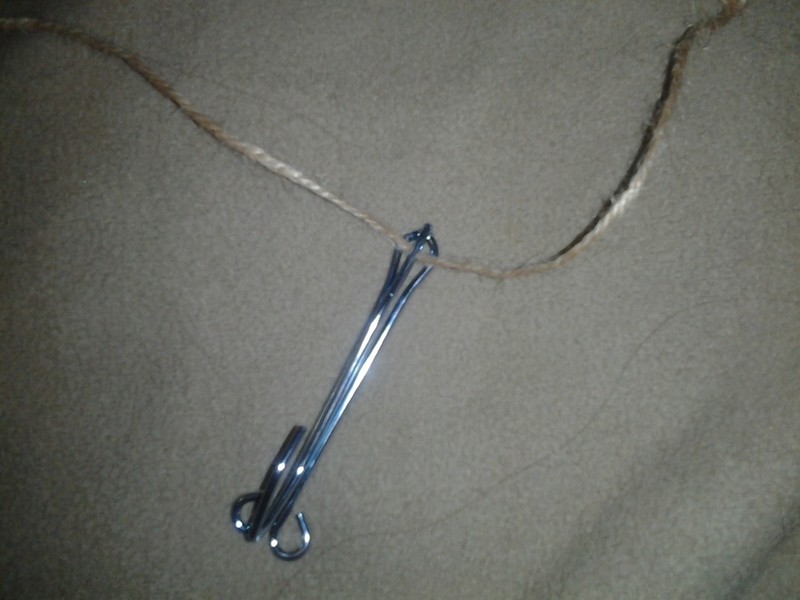
keep attaching your hooks until you have the amount you desire.
-
 Step 8
attach your loop to the ceiling or wall
its time to get creative on where you will place it, you can attach it from ceiling to ceiling, wall to wall, ceiling to wall, or wall to floor, ceiling to floor, btw not floor to floor or you might as well just leave your jewelery on the floor :D.
just remember to leave a nice angle to your hanger as in not straight up and down! (unless your using chain and hooks in which case it will be sturdy enough to pull that off) -
 Step 9
if your using more than a meter and you want more hooks now's the time the add another loop.
attach the loop to the ceiling or wall and run your hanger through it, tie it off and start adding more hooks.if not just attach your other loop or hook to the ceiling or wall and tie it off! cutting off and excess.
-
 Step 10
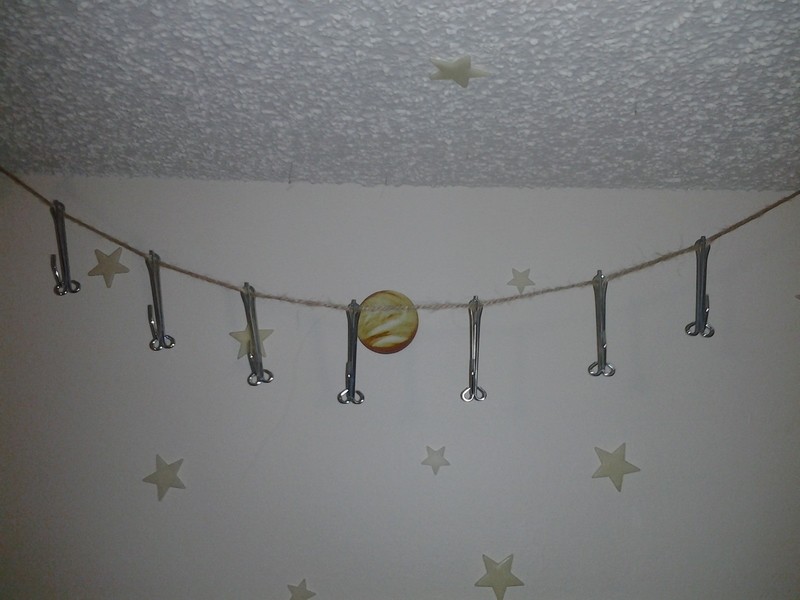
And your done! don't worry about any "drooping" in fact you want drooping to happen. if you have any heavy jewelery and you hung it on a tight hanger it'll be more likely to break that way!
-
 Step 11
I've mentioned this already and I'll mention it again :)
for those people who like neat and tidy looking things don't forget to cut off any excess otherwise it'll look like this!