


About
Unleash the wild side.
I went to the Renascence Festival this past summer and bought a tail. I then decided to make some ears to go with it!
This is my first time ever making a tutorial and I'm writing everything as I go (this is my first time making these ears), so bear with me here and sorry for any confusion.
Tags
-
 earl c. favorited Silver Fox/Gray Wolf Ears
11 Jul 11:18
earl c. favorited Silver Fox/Gray Wolf Ears
11 Jul 11:18
-
 Lilly1977 added Silver Fox/Gray Wolf Ears to Halloween
21 Nov 13:55
Lilly1977 added Silver Fox/Gray Wolf Ears to Halloween
21 Nov 13:55
-
Lilly1977 favorited Silver Fox/Gray Wolf Ears
21 Nov 13:55
-
 Brigit commented on Silver Fox/Gray Wolf Ears
23 Nov 17:57
Brigit commented on Silver Fox/Gray Wolf Ears
23 Nov 17:57
-
Brigit favorited Silver Fox/Gray Wolf Ears
23 Nov 17:56
-
 Rebecca Lea G. favorited Silver Fox/Gray Wolf Ears
23 Oct 16:56
Rebecca Lea G. favorited Silver Fox/Gray Wolf Ears
23 Oct 16:56
-
 Haley D. added Silver Fox/Gray Wolf Ears to Randomly
13 Oct 00:29
Haley D. added Silver Fox/Gray Wolf Ears to Randomly
13 Oct 00:29
-
 BelleandStuff favorited Silver Fox/Gray Wolf Ears
05 May 18:26
BelleandStuff favorited Silver Fox/Gray Wolf Ears
05 May 18:26
-
 jessica.boulanger.10 favorited Silver Fox/Gray Wolf Ears
24 Jan 20:09
jessica.boulanger.10 favorited Silver Fox/Gray Wolf Ears
24 Jan 20:09
-
 FallenBeyond entered her project Silver Fox/Gray Wolf Ears to Singer Christmas Contest
27 Nov 21:33
FallenBeyond entered her project Silver Fox/Gray Wolf Ears to Singer Christmas Contest
27 Nov 21:33
You Will Need
-
 Step 1
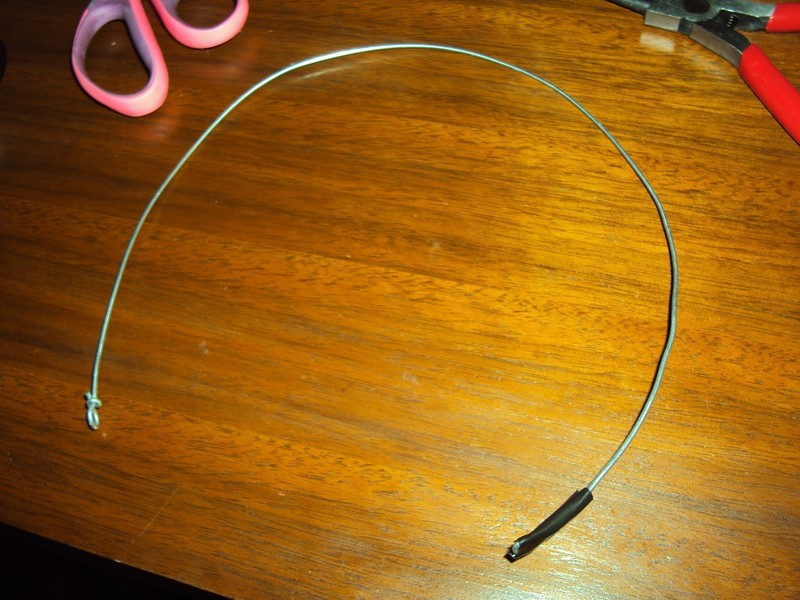
I made my headband out of wire, since I don't have any ready to go. So if you want to do what I did, you can make yours out of wire.
I made mine by cutting one length, curl the ends and then made a second to match and wrapped them together. To keep the structure from collapsing when made into a headband, I connected them with two shorter pieces of wire reinforced with a thinner wire wrapped around them. This took me about half an hour. The electrical tape was to tape off the ends to keep the wire from tangling with my long hair while I was fitting the pieces to my head. I took them off once i was done.
I recommend using an old headband or buying on of those plastic ones at the craft store to save time.
-
 Step 2
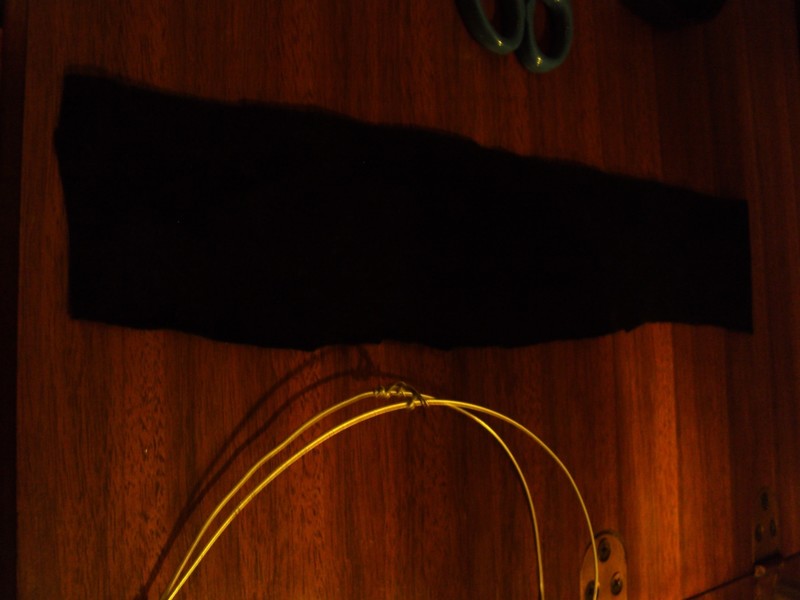
Next, I took my black fabric and measured it to fit my headband. I folded the edges and sewed them so when I hand-stitch them to the headband, the messy raw edges won't show.
-
 Step 3
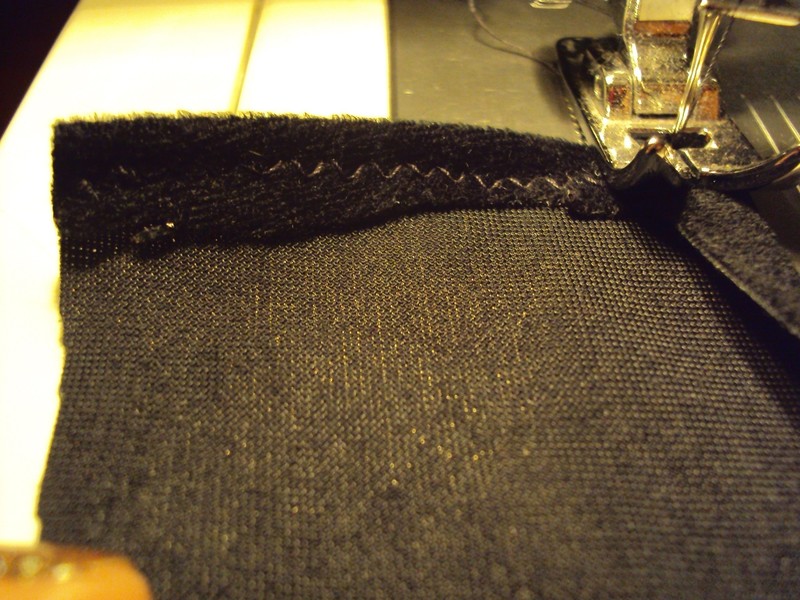
I started in the middle when sewing on the black fabric, that way I won't have more on on end of the headband than the other when I got to the ends.
I folded the edges together and made two stitches before making small stitches out towards the wire there I made stitches tight to the wire (my fabric was stretchy, so I made them very close) and rapped around the wire a few times to keep the fabric from slipping as I sewed and for when I wear the ears. Then I stitched back to where I had to sew the edges of the fabric.
While sewing the fabric shut over the headband, I went out to the edge once or twice to the edge on either side until I finished sewing the fabric. I did it once between the top and the end and then another time at the end of the headband. You only have to worry about sewing to, around, and along the edge of the fabric if you made a wire headband like I did.
-
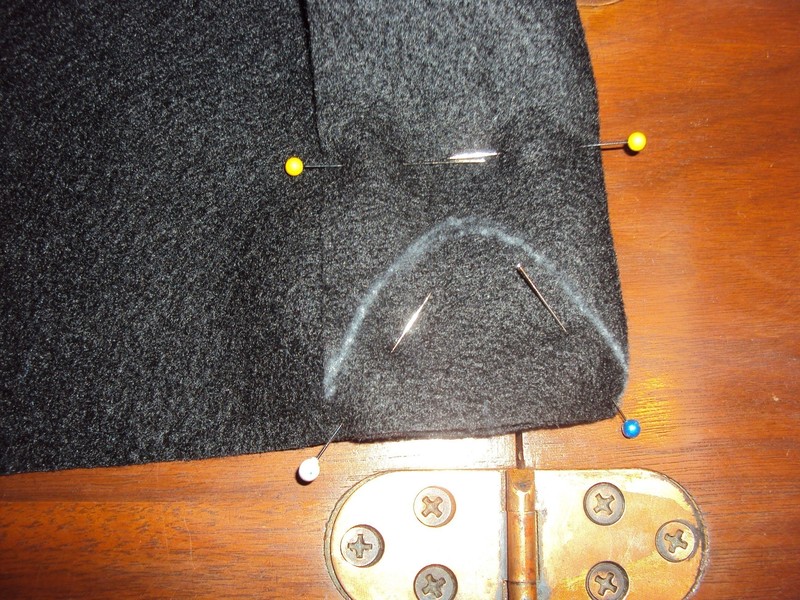
Step 4
Finally! I got the headband sewn nicely. After this, I put it on my head and looked in the mirror. Using my fingers, I plotted out about where I want the middle of my ears to go, then marked the spot with my tailor's chalk.
-
 Step 5
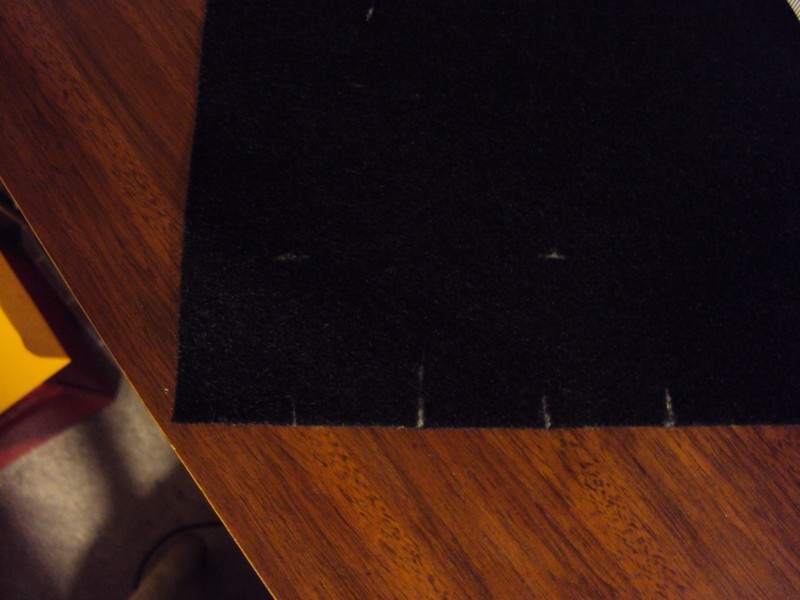
Put that nice headband aside for a moment and pick up on of those squares of felt. This is going to be the base for your ears. I'm using black to match the headband.
Looking in the mirror again, only with my trusty measuring tape this time, I figured out about how wide I wanted my ears to be. You can make yours larger or smaller, but I ended up deciding that 2 1/2 inches (6.35 cm) was perfect. I marked this on my black felt twice for two ears.
-
 Step 6
Back to that mirror with the measuring tape!
This time, you'll be measuring for the depth of your ears. I'm going with 1 3/4 inches (4.445 cm).
Now to mark this on your base felt, find the middle length for each of your ear widths and mark them. Measure your depth from the new marks you made and now you'll have three points to a triangle! (plus a dot)
-
 Step 7
I didn't want fussy pyramid ears, so I carefully connected the points I made with my measurements, curving the lines. I also realized instead of trying to match the lines for the base of one ear, I could just fold the felt.
Haha, oops! Forgot about the magic of folding. -
Step 8
So, folding. I folded on the first mark I made for the ear width. If you followed everything I did exactly up to this point, that will be the middle marking (counting the edge of the fabric as a marking)
-
 Step 9
After folding I pinned.
-
 Step 10
Then cut.
To keep the ears mirror each other as much has I can, I flipped on of the bases over. Then to keep track later for which piece is which, I marked them for left and right. (left and right going by my POV when they're on my head)
-
 Step 11
I marked the headband left and right too.
-
Step 12
Now here is where the furry stuff comes in. If you never worked with fuzzy fabric before, let me warn you, you will look like you morphed into a fuzzy creature and then back with evidence. I've worked with fuzzy green and black fabric, which had short "hairs" but never faux fur. I've been told that it's good to shave off the edges where you're going to sew. Only sew off as much as the seam allowance. I'm going to with 1/2 an inch (1.27 cm).
With all that said, lay your material out with the wrong side up. Make sure you have the nap correct. I'm doing it so that the fur lays flat with the ends pointing up.
-
 Step 13
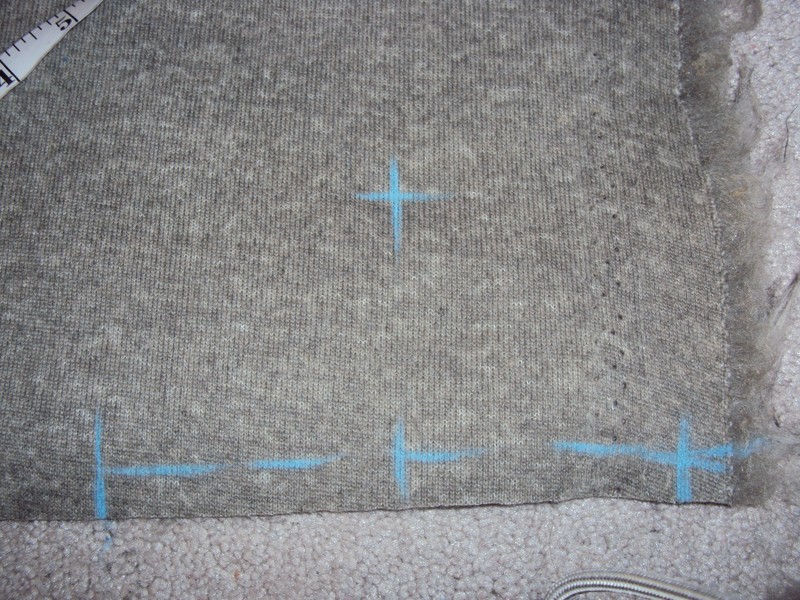
Taking one of your base felt pieces, measure from one corner and around the curvy (the back of the ear) to the other corner. This ended up as 4 1/2 inches (11.43 cm) for me.
Add 2 inches (5.08 cm) onto that. You'll see why we need that extra 2 inches (5.08 cm) later. Since for now 1/2 of an inch (1.27 cm) is my seam allowance, I measured that much in from the edges of the material and marked it. You'll be shaving off this fur later. Mark the total measurement onto the material. My total measurement was 6 1/2 inches (16.51 cm)
Your material should look like this when you've marked everything.
-
 Step 14
Back to the mirror with measuring tape again! Figure out how high you want your ears to stand with about a 1/4 inch (.635 cm) extra.
I decided to make mine 2 3/4 inches (6.985 cm) tall. Added on with the extra 1/4 inch (.635 cm), that's 3 inches (7.62 cm) tall.
Same as you did with the base, find out the halfway measurement of the first measurement you made for the fur (when you went from corner to corner on the base) and mark it. Measure up from that new point and put down your total measurement for the height of your ears.
-
 Step 15
Now measure out and mark 1 inch (2.54 cm) from both sides of your newest point.
-
 Step 16
Connect the points and you'll have a trapezoid marked onto your material.
-
 Step 17
Fold with wrong sides together and pin the fabric.
-
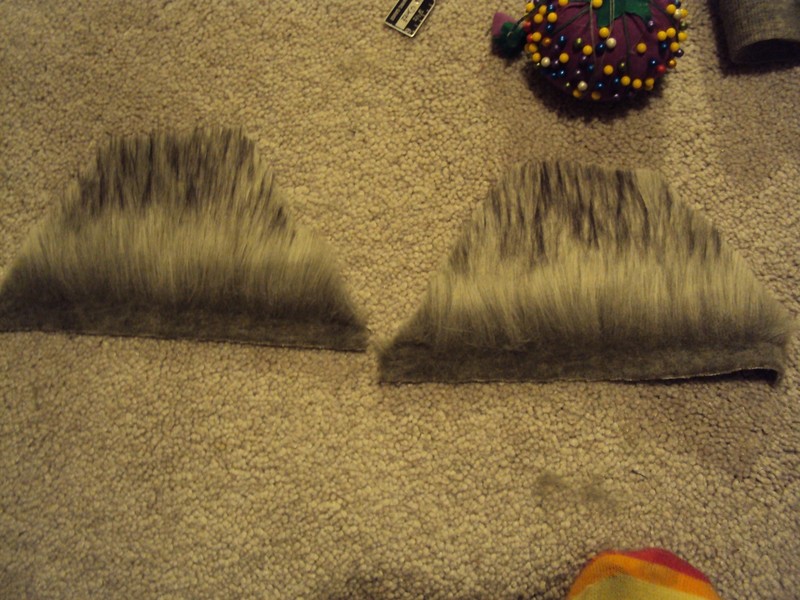
 Step 18
Cut and you'll end up with two furry pieces.
-
 Step 19
Remember when I said to measure and inch into the fabric? This is where we'll be shaving off that 1/2 inch (1.27 cm) from the base of each furry trapezoid. I don't know if there are better tools for shaving faux fur. I just use a pair of scissors.
I marked my 1/2 inch (1.27 cm) with pins. Your trapezoids should look like this when they're done.
-
 Step 20
Now pin the fur to the black bases by finding the middle of the furry material and then pinning out to the corners. I cut some slits in the shaved part to bend the material better. Don't worry about the extra material hanging off just yet.
-
 Step 21
Sew where you pinned to the felt base,but leave 1/2 an inch (1.27 cm) on either end. I hand-stitched.
-
 Step 22
Ok, so since I don't want the raw edges to show when I fold the sides in, I brushed the fur opposite the direction it flows naturally and shaved about 1/2 inch (1.27 cm) and then trimmed the fur diagonally up from then on (so the hairs got longer until it ws the normal length).
-
 Step 23
Fold that top edge and sew. I used my machine.
-
 Step 24
Shave off the sides of the fur for easy sewing.
-
Step 25
Take an ear, and measure out the dimensions of a triangle to fit that opening. You're going to make this triangle with felt and faux fur, or faux fur if you'd like (and shave out a triangle in the middle). I'm going to make mine out of felt and faux fur.
My triangle is going to be 3 inches high (7.62 cm), 2 1/2 inches (6.35 cm) wide, with 3 1/2 inch (8.89 cm) sides. I'm going to make it just a little bit bigger to give myself room for stitches. Probably 1/2 an inch (1.27 cm).
-
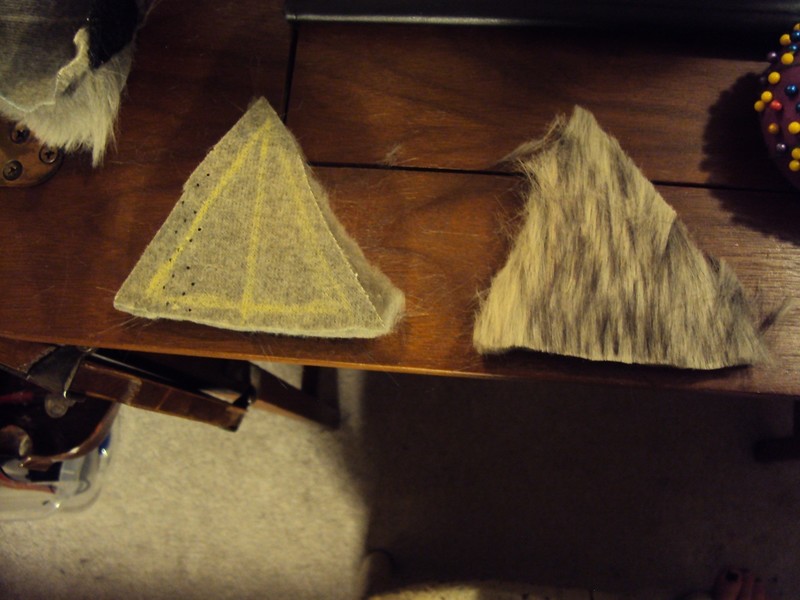
 Step 26
To make this easy on myself, I'm going to make a 2 triangles out of faux fur with these dimensions.
Make sure the fur is the way you want it to be! I forgot this the first time, so I had to cut new triangles.
-
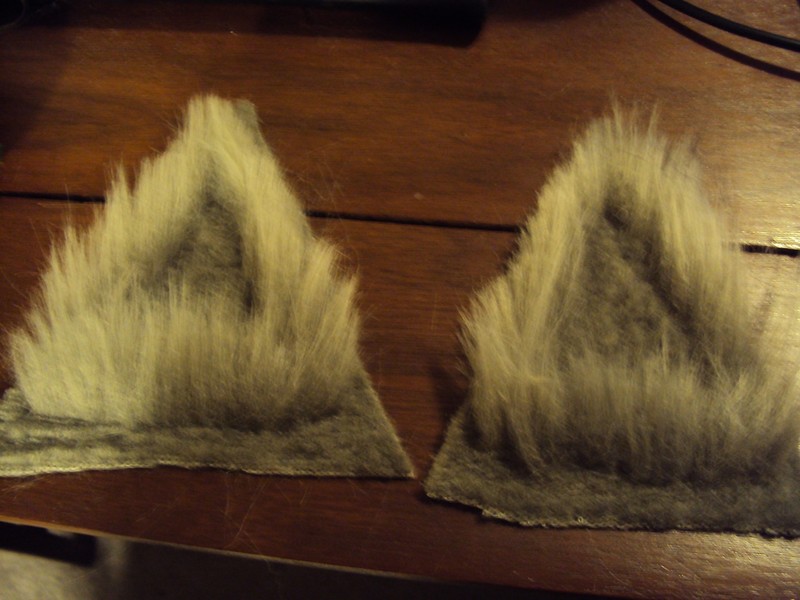
 Step 27
Shave the edges and shave the middle into the shape of a triangle you want to be the inside of the ear.
Since I wanted some of the fur to stay long enough to be the tufts of fur in front of the ears, I combed it back and pinned it to stay out of my way when shaving.
-
 Step 28
If you want to put felt in the middle where you shaved, measure out the inner triangles you made and cut those out, and hand or machine sew them into the center of the ear fronts.
I decided I like how my ears look just shaved versus adding the felt, so I'm not going to use the felt.
-
 Step 29
Remember that part we made with the base felt earlier?
Yeah, that. Take one of those, and flip it so that it's all fuzzy inside and take that triangle we just made all nice and ear-looking. Fit it and pin it with the right sides together and sew the faux fur edges together, but LEAVE THE BOTTOM OPEN.Trim extra fabric where you sewed as needed.
-
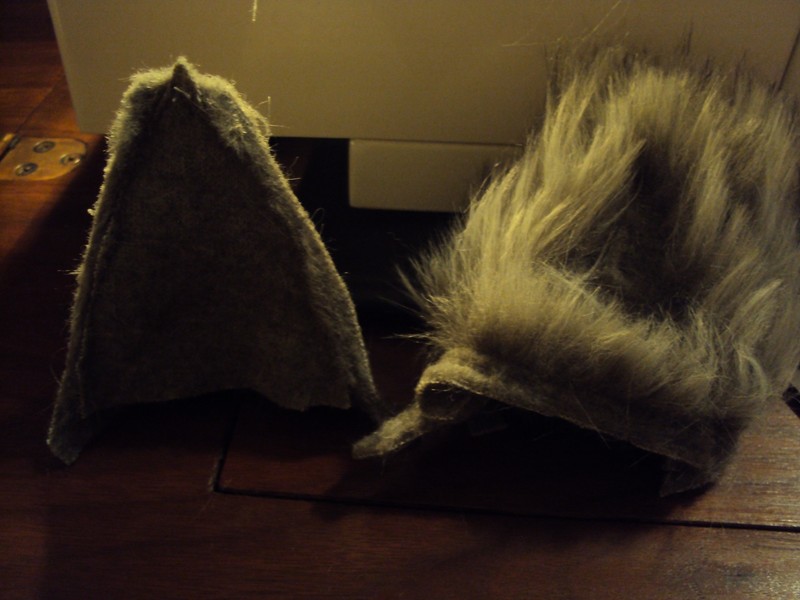
 Step 30
Turn right side out.
Pin and hand stitch that opening in the bottom. -
 Step 31
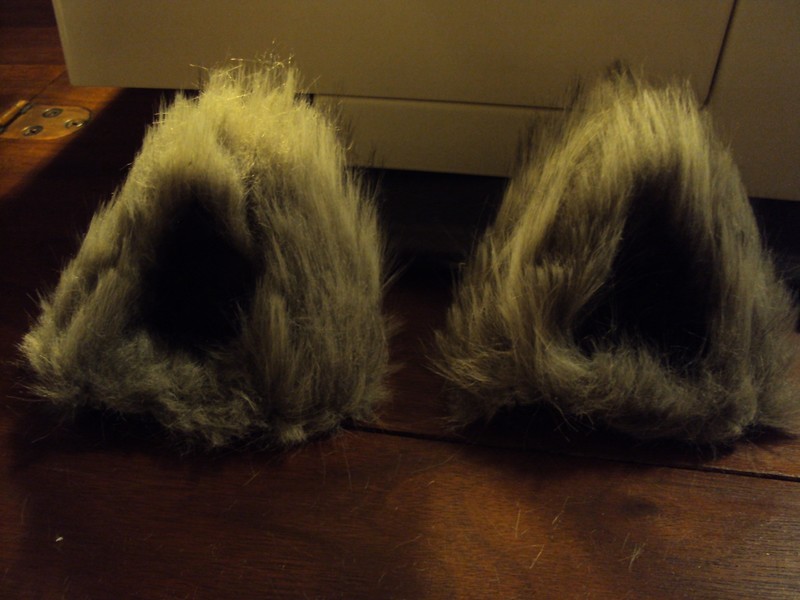
Trim and groom fur as needed until the ears are the right fuzziness you want.
I also ended up filling in the middle with a black sharpie to make it stand out more.
-
 Step 32
Attach to headband by sewing or hot glue (or both) and you're done!


Comments


