


About
Easy Rockabilly Shirt
I was searching ebay for some great vintage inspiration and came across this great top I knew I could make- and here it is!
Tags
-
 spychohead added Shirred Rockabilly Top to refashion
11 Oct 18:40
spychohead added Shirred Rockabilly Top to refashion
11 Oct 18:40
-
 Southern Crafter favorited Shirred Rockabilly Top
24 Aug 06:15
Southern Crafter favorited Shirred Rockabilly Top
24 Aug 06:15
-
Calah L. added Shirred Rockabilly Top to CLOTHES
14 Jan 00:44
-
 Laouen favorited Shirred Rockabilly Top
13 Dec 11:43
Laouen favorited Shirred Rockabilly Top
13 Dec 11:43
-
 rhiannonfaun favorited Shirred Rockabilly Top
02 Dec 15:23
rhiannonfaun favorited Shirred Rockabilly Top
02 Dec 15:23
-
 Cheshire x. favorited Shirred Rockabilly Top
04 Sep 20:48
Cheshire x. favorited Shirred Rockabilly Top
04 Sep 20:48
-
 lucy.w.collard added Shirred Rockabilly Top to Things to make
11 Apr 22:11
lucy.w.collard added Shirred Rockabilly Top to Things to make
11 Apr 22:11
-
Aurelie L. added Shirred Rockabilly Top to Haut/Blouse
14 Mar 01:01
-
lucy.w.collard favorited Shirred Rockabilly Top
12 Mar 18:09
-
 Sarah W. favorited Shirred Rockabilly Top
15 Feb 23:36
Sarah W. favorited Shirred Rockabilly Top
15 Feb 23:36
You Will Need
-
 Step 1
Start by cutting the sleeves off of your shirt.
-
 Step 2
Most men's shirts have a pocket on the side, remove that pocket using your seam ripper. Don't worry if it appears dirty or darker where the pocket was, (you'll wash your shirt before you wear it).
-
 Step 3
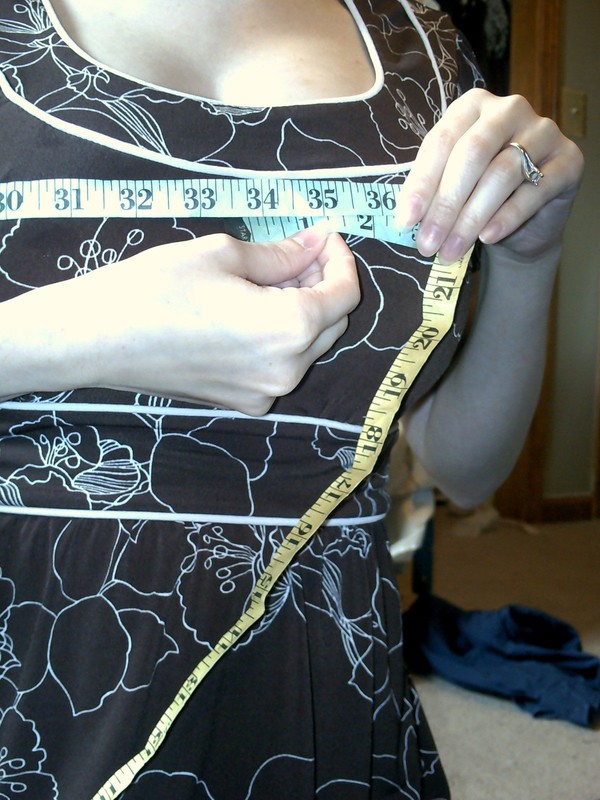
Measure around your bust and from the top of your shoulder to under your arm where the seams would go.
-
 Step 4
My measurement is 11 inches, I wouldn't go much further down than that because you will be adding sleeves later.
Measure half in inch in from where you cut off your sleeve and however many inches you measured down from your shoulder to your underarm.Next take your bust measurement, divide it by 2 and add 2 inches to that.
-
 Step 5
Draw the shape of your shirt using this new measurement. Draw straight down from your bust measurement so that there is no definition between your bust and waist.
-
 Step 6
Cut out your pattern- do not worry about seam allowance, that extra 2 inches will give you plenty of room to work with. Draw a straight line below the last button and cut along that line.
Flip your shirt inside out and pin the seams together. Sew along the seam line using a 1/8th seam allowance.
-
 Step 7
Try your shirt on and mark under your bust.
-
 Step 8
Draw a straight line across where you marked as your under bust.
-
 Step 9
You'll draw this line across the front and the back. A good way to know where your line should be on the back is to turn your shirt over an inch continue to draw the line.
-
Step 10
I don't have a photo of this next part. First decide how short you would like your shirt to be. I wanted mine to be a mid drift so I went one button down from my under bust line. Of course I didn't decide this until after I shirred my shirt so I had to attempt to cut and hem my shirt after it was shirred. Learn from my mistake and decide how short you want your shirt, cut with enough seam allowance to allow you to hem your shirt and hem it now.
-
Step 11
To Shirr your shirt load your sewing machine with elastic thread in the bobbin casing and sew a straight line across beginning with your under bust line. You will not be sewing where the button casing is so I suggest unbuttoning your shirt and running it through your machine that way. Remember, to use a longer stitch length so that your shirt will gather.
-
 Step 12
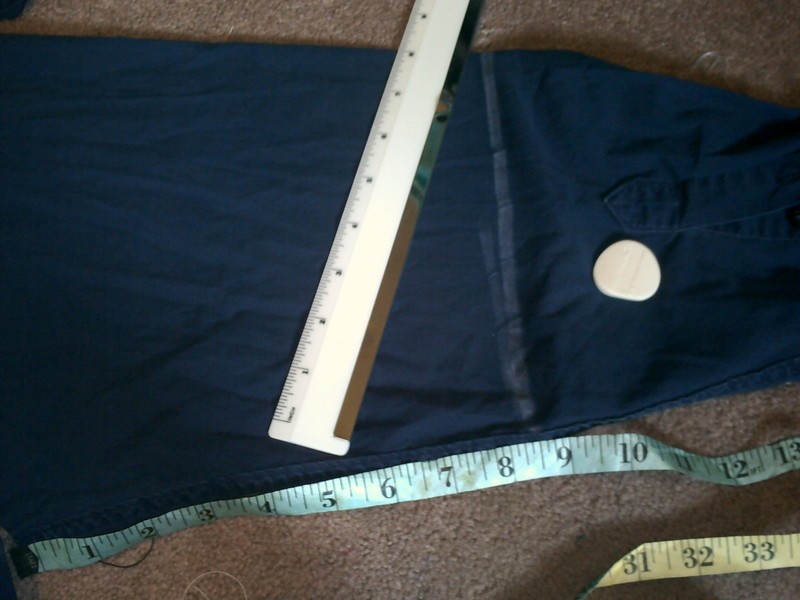
Once you've finished shirring your shirt go back to your sleeves and using the bottom seam measure 8 1/2 inches in and mark a straight line across. Cut at that line.
-
 Step 13
sewing can be a learning experience- I learned measurements are important. My arm hole wasn't quite as big as my sleeves so I made a pleat on the top shoulder of my shirt. This worked for me because I am petite on the top but it might not work for you. Anyhow pin in your sleeves and sew.
-
 Step 14
This is how the pleat looked after. Hem your shirt sleeve and wear.
-
 Step 15
Cést Fin!
Salut!


Comments


