


About
Sackperson
I have been searching for a sackboy sewing pattern online and was only able to find one which was not quite what I had in mind so I made my own, I gave the prototype to my daughter who loves carrying it around.
Tags
-
 echo.serviss favorited Sackboy Inspired Plushie (Sackperson)
08 Jun 05:41
echo.serviss favorited Sackboy Inspired Plushie (Sackperson)
08 Jun 05:41
-
 chelsea g. favorited Sackboy Inspired Plushie (Sackperson)
27 Aug 08:01
chelsea g. favorited Sackboy Inspired Plushie (Sackperson)
27 Aug 08:01
-
 Alma v. added Sackboy Inspired Plushie (Sackperson) to To sew or not
20 Apr 10:55
Alma v. added Sackboy Inspired Plushie (Sackperson) to To sew or not
20 Apr 10:55
-
 melinda.hotte added Sackboy Inspired Plushie (Sackperson) to going to make
09 Oct 23:38
melinda.hotte added Sackboy Inspired Plushie (Sackperson) to going to make
09 Oct 23:38
-
 Walker F. favorited Sackboy Inspired Plushie (Sackperson)
31 Jan 06:21
Walker F. favorited Sackboy Inspired Plushie (Sackperson)
31 Jan 06:21
-
 rouge s. favorited Sackboy Inspired Plushie (Sackperson)
01 Nov 02:25
rouge s. favorited Sackboy Inspired Plushie (Sackperson)
01 Nov 02:25
-
Walker F. commented on Sackboy Inspired Plushie (Sackperson)
22 Oct 02:38
-
Lene N. favorited Sackboy Inspired Plushie (Sackperson)
05 Jul 22:56
-
 Dona Monstra added Sackboy Inspired Plushie (Sackperson) to DO IT!!!
13 Feb 21:26
Dona Monstra added Sackboy Inspired Plushie (Sackperson) to DO IT!!!
13 Feb 21:26
-
 kristy c. favorited Sackboy Inspired Plushie (Sackperson)
09 Feb 22:51
kristy c. favorited Sackboy Inspired Plushie (Sackperson)
09 Feb 22:51
-
 Step 1
click on picture then right click and save, print A4
Cut out pattern, the outside line is for machine sewing, the inside is for hand sewing.
My sackperson is sewn by hand because I like the stiched seam look when it is turned inside out.
-
 Step 2
Head
Start with the Head and Head Side seams together. Stitch over and over using 2 strands of DMC thread about 4 millimeter from the edge.Once the Head (front, back, and two sides) is together, trim the top so that it is even.
Match the Head Top where marked "side" to the sides on the head, then stitch the top on all the way around.
Turn the head the right way out.
-
 Step 3
Body
Mark the top of each Body piece so they aren't stitched in upside down.
Place two together and starting at the bottom stitch to the top. don't worry if they dont match fully at the top or are a bit messy this will be covered by the head.
On the last body side stitch to 2cm from the top and knot off then turn the body the right way and stuff and close up.I stuffed mine firm but you can do it anyway you want. You can also add beads to give some weight.
-
 Step 4
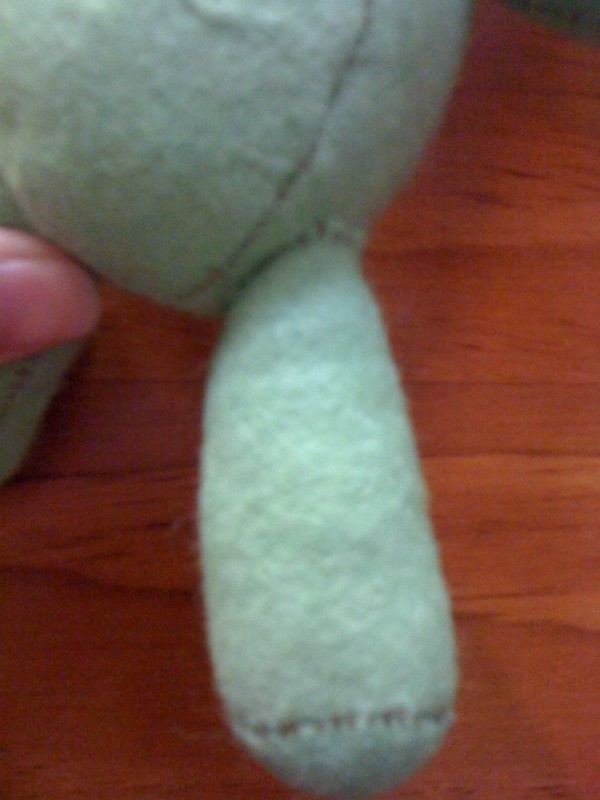
Stuff the head,
Now fold some of the neck in so you have a rounded edge.
Match the seam lines of the head and body, then start stitching the head to the body, perhaps using pins to hold it in place. Before closing the neck add any extra stuffing to the neck that is needed and finish stitching. -
 Step 5
Arms
Fold the Arm piece down the middle. Stitch from the bottom to the mark
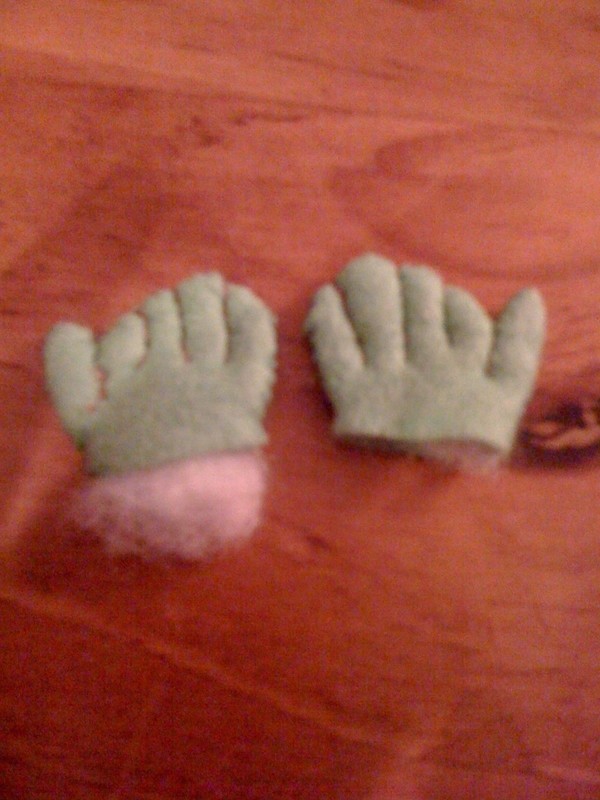
Hand
Remember you need one right and one left handStitch round the Hand, turn it the right way out, and stuff.
Knot the cotton, and while putting the needle through from the inside of the hand, add a top stitching for the thumb and fingers.Place hand in the bottom of Arm. The seam will be at the back of the hand in the middle.
Stitch hand to the arm
Stuff the arm
-
 Step 6
Legs
Fold Leg in half down the middle. Stitch from the bottom to the mark.
With the foot facing front and the seam down the back of the leg stitch the foot to the leg.
Turn the right way and stuff.
-
 Step 7
Assembly
Place the arm on the body with thumbs facing the front. Pin in pace.
Start at the back and stitch across the top if the arm, then flip the arm up and stitch underneath.Place legs on the body with seams between the legs, pin in place and stitch across the top then round underneath.
-
 Step 8
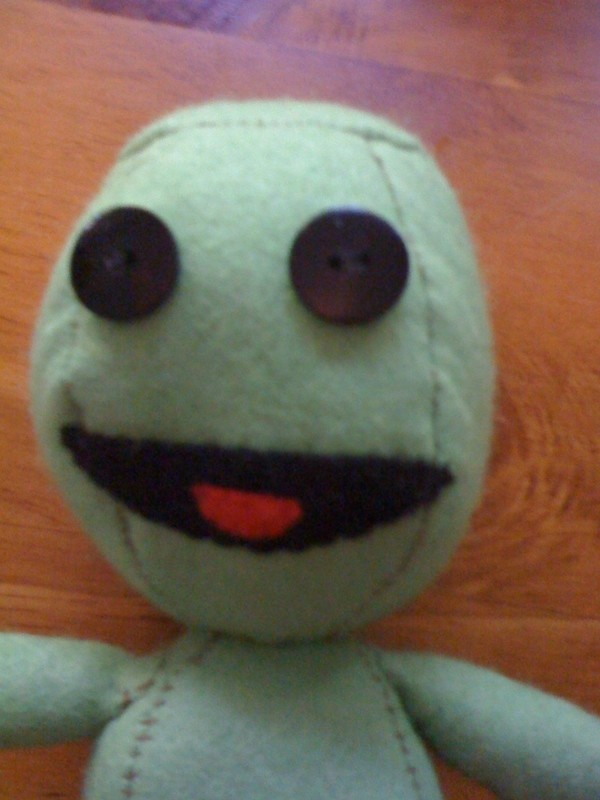
Face
Stitch on EyesStitch tongue to mouth
Stitch mouth to faceNow you just have to make some outfits - enjoy!


oh and i love it
I think I'll turn my own little virtual Sackperson into a tangible version. Thanks a bunch.