


About
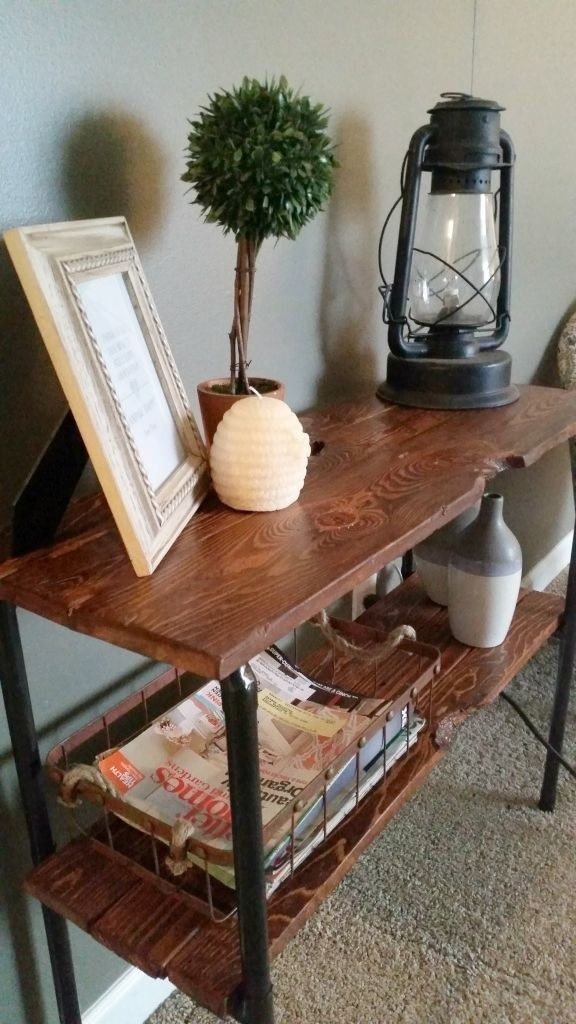
rustic table
3/4″ Copper Piping( I purchased 1 10′ piece and 1 5′ piece for this project and had some left overs)
Hammered Black Spray Paint (2 cans)
Polyurethane
Wood Stain
Paint Brushes
6 T Fittings
4 Elbow Fittings
4 Caps
Pallets
Pipe Cutter (It’s easier than you think! I got a $20 blue one from Lowe’s, it worked amazingly!)
-
 John L. added Rustic Pallet And Pipe Side Table to Ed Sheeran
07 Nov 02:11
John L. added Rustic Pallet And Pipe Side Table to Ed Sheeran
07 Nov 02:11
-
 Bek S. favorited Rustic Pallet And Pipe Side Table
02 Aug 11:25
Bek S. favorited Rustic Pallet And Pipe Side Table
02 Aug 11:25
-
 Holly S. favorited Rustic Pallet And Pipe Side Table
10 Jul 23:45
Holly S. favorited Rustic Pallet And Pipe Side Table
10 Jul 23:45
-
 Kristina B. published her project Rustic Pallet And Pipe Side Table
22 May 09:00
Kristina B. published her project Rustic Pallet And Pipe Side Table
22 May 09:00
-
 Step 1
First, I cut the 4 leg pieces to size, 36″, then cut those portions in half and added the T fittings between each piece to make one leg (see photo above)
Add the elbows to the top of each leg, facing the same direction as the T fittings, then add the caps to the bottom side of each leg.
Then begin assembling the center bar, 36″ as well, with a T fitting on each end.
On both sides of the T fittings add a cut piece of pipe 4″ long each. The total length of both sides of the center bar should be 9″.
The top bars (that go into each elbow of the legs) should be cut to 9″.
Pair off your 4 legs by popping in the top bar into the elbows.
Once I assembled the leg pairs for each side of the table, I measured them to ensure they were the exact same height and width, and adjusted them accordingly.
Once they’re perfect, add your center bar to the center and use some super glue on the T fittings that are on the legs. This helps ensure stability of the table and make it not lean and move (I’d also actually recommend doing this on the elbows as well when you add your top bars to them).
When we added the center bar we had to pull the leg pairs apart a bit to fit the bar in the center, but you could always assemble the back half of the table (one leg on the left and right of the center bar, then add the top bars to those legs, then add the front legs).
Flip the table upside down and super glue the caps onto the bottom of each leg.
-
 Step 2
Next stop, paint town! I used some Hammered black spray paint for some cool texture, and did quite a few light coats on the entire thing.
Once dry, I brushed on some Polyurethane and let it dry. The Poly does a good job sealing the paint and preventing scratches, but I did notice some paint scratch off once I moved it inside. Any tips on the best way to spray paint pipe?
Ok, now your frame is assembled, next stop, pallet city!
-
 Step 3
Ok, now your frame is assembled, next stop, pallet city!
Cyle brought home quite a few pallets for us to rip apart and they were gorgeously imperfect! They had big knots and holes in them that made this table so much more unique. I already had the pieces sanded down, so this was a quick process.
I wanted a few inch overhang on all sides of the table, so I just grabbed a few pieces of pallet I liked, set them on top, and rough cut them to the size I liked. I glued 2 1/2 (one piece was just too fat so I had to cut it in half) pieces of pallet together with some Gorilla Glue Wood Glue and let them dry.
There were some blemishes on the wood from nail holes that I didn’t want to keep, and the wood was warped so there were some gaps between each piece, which I took care of with some wood filler, sawdust, and wood glue.
Then I gave the piece a quick sanding and began assembling the bottom shelf.
I had to be more precise with this one since the pieces would be sitting between the legs.
I ended up finding 2 wood pieces that were 6″ wide, and used the other 1/2 of the piece I cut for the top.
The pieces were a super tight fit, so I pre stained them before assembling the bottom shelf.
-
 Step 4
Then I flipped the table upside down and, holding the bottom shelf on, we screwed on these pipe brackets for extra support.
Then, we added the top shelf, centered it oh so exactly, and screwed it on with some more brackets.
And before you know it, it’s a table!


