About
Be "driven" to cook more with an adorable retro Routemaster Bus Cookbook Holder!
I've loved Routemaster ever since we lived in London and when Old-Fashioned Milk Paint got in touch to offer me some of their paints, I knew their Salem Red and Pitch black shades would work perfect for the bus design, so I created a cookbook holder for the kitchen!
Tags
-
 PinKween favorited Routemaster Bus Cookbook Holder
02 Aug 15:30
PinKween favorited Routemaster Bus Cookbook Holder
02 Aug 15:30
-
 Pam ^_^ favorited Routemaster Bus Cookbook Holder
28 Jul 15:48
Pam ^_^ favorited Routemaster Bus Cookbook Holder
28 Jul 15:48
-
 Cat Morley published her project Routemaster Bus Cookbook Holder
28 Jul 15:20
Cat Morley published her project Routemaster Bus Cookbook Holder
28 Jul 15:20
-
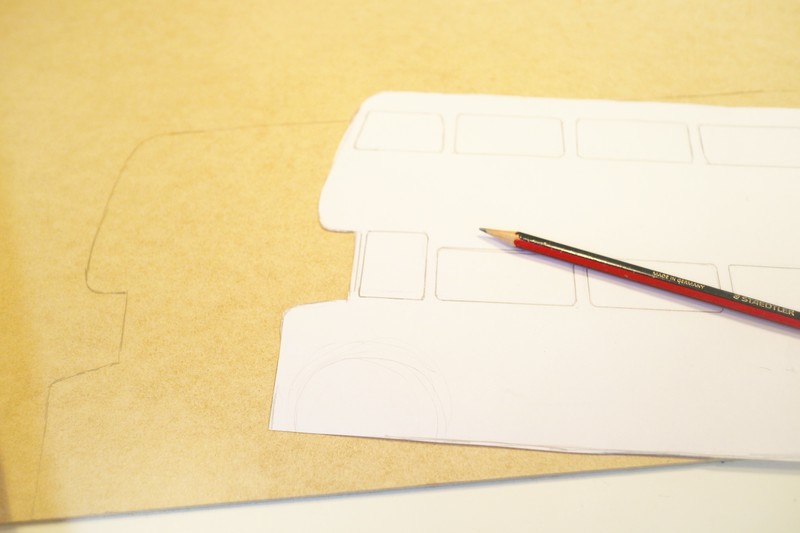
 Step 1
Start by planning our your design on a piece of paper, you want your bus to be a bit wider than your average cookbook when it's open.
-
 Step 2
Cut out the template and trace around it on to a thin piece of wood.
-
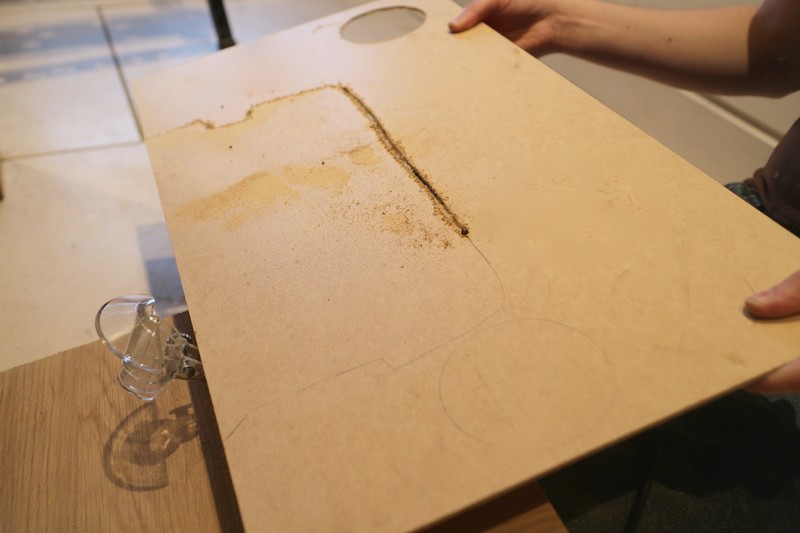
 Step 3
Use a Dremel inside a router table to neatly cut out the bus from the wood. Sanding off the edges. You can also cut out four wooden circles for the wheels but I found it easier to buy these at the craft store.
-
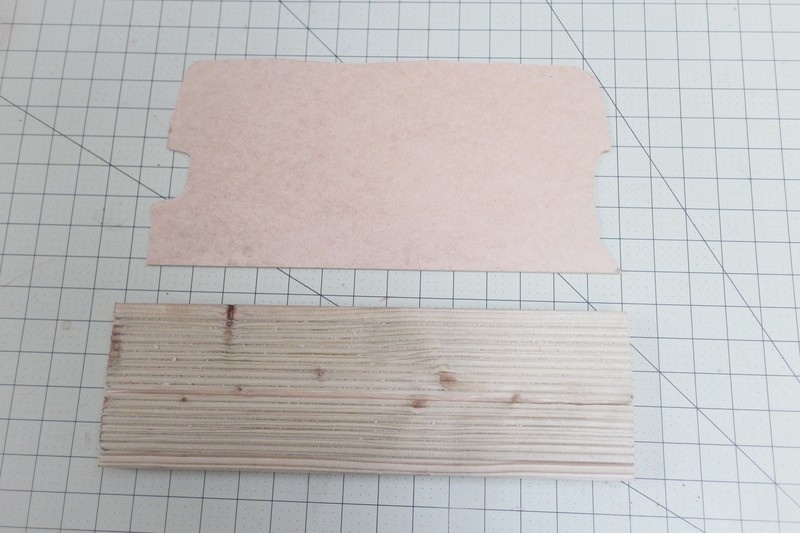
 Step 4
Cut a strip of decking to the same width as your bus.
-
 Step 5
Cut a slant in the decking so that the bus tilts back just a little to support the book.
-
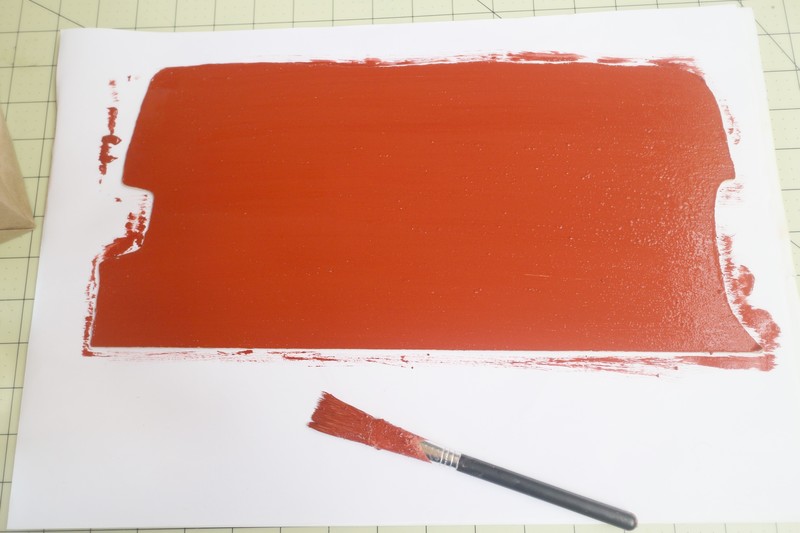
 Step 6
Mix up the red milk paint.
-
 Step 7
Paint your bus with one coat of milk paint.
-
 Step 8
Paint your decking too, leave to dry and paint with another coat before painting the reverse side of the bus.
-
 Step 9
Trace around the windows of your template onto the bus with a pencil.
-
 Step 10
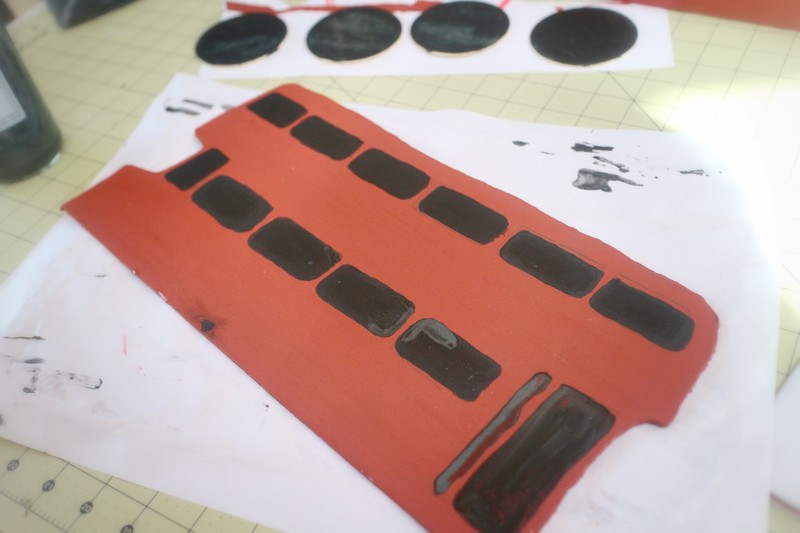
Mix up the black milk paint and paint the windows of the bus and both sides of the wood circles for wheels.
-
 Step 11
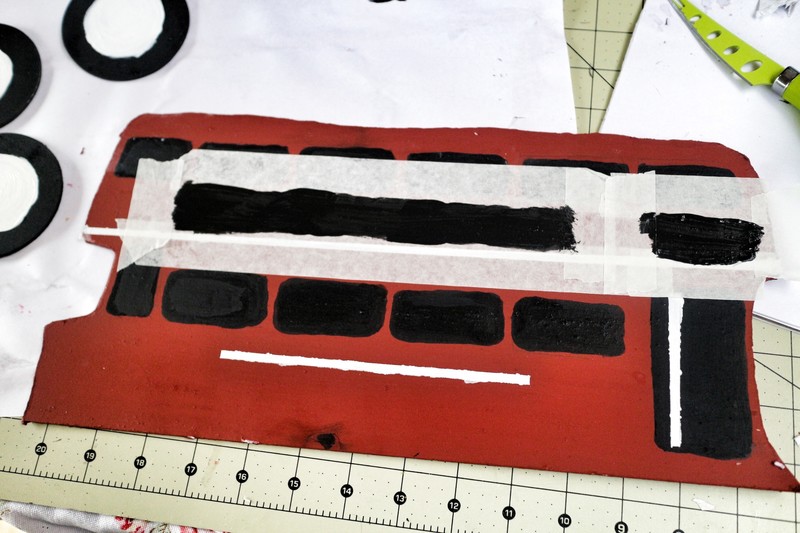
Using masking tape to get a nice straight edge, paint a white strip along the bus.
-
 Step 12
Add a shorter white strip to the bottom and also the handrail on the door.
-
 Step 13
Finally paint a long strip for the advert and a small rounded rectangle for the bus number with chalkboard paint in between the two sets of windows.
-
 Step 14
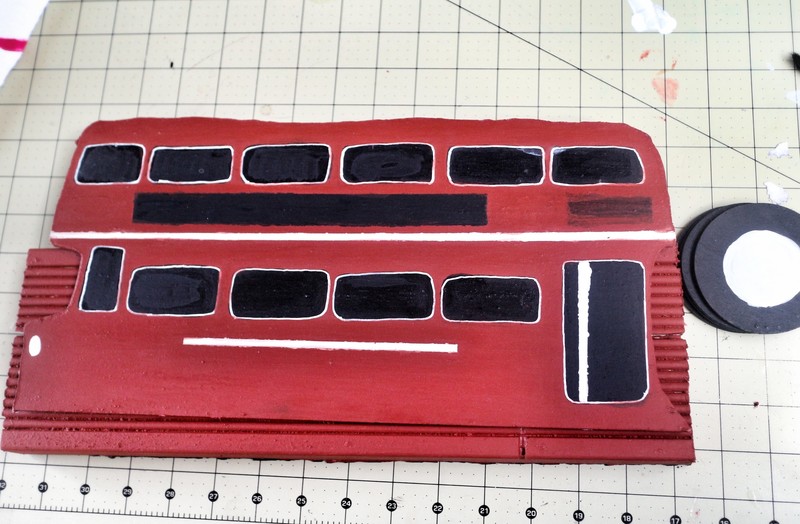
Use a fine white paint pen to carefully outline each window.
-
 Step 15
Paint white circles in the middle of your wheels and leave your wooden pieces to dry.
-
 Step 16
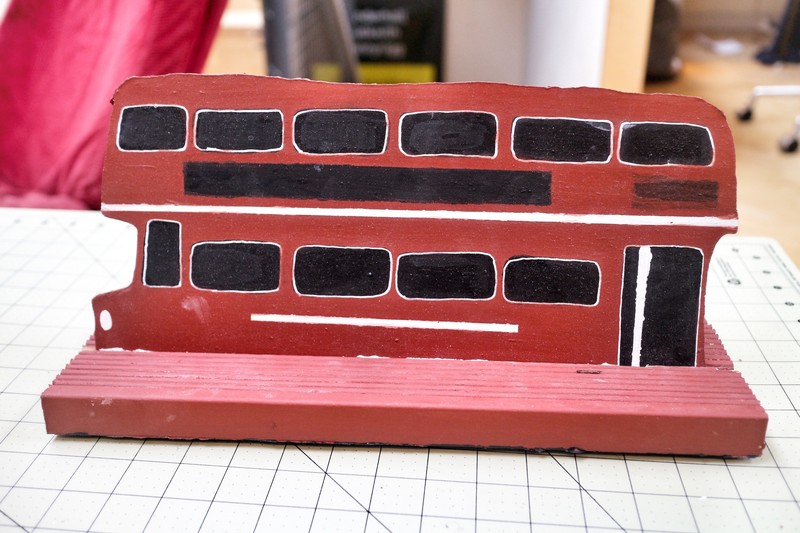
When the paint has dried, use a strong wood glue or No More Nails to glue the bus into the wedge you cut on the decking.
-
 Step 17
Rest the decking on top of something to make the bus the right height and then glue two wheels to the front and back of the bus.
-
 Step 18
Finally, use a chalk pen to give the bus a number, destination and advert!