
About
DIY
i did my pencil case for exactly 24 colours, u can make it as long as u want it to be , use more than 3 colours of ribbons, use needle or sewing machine according to your wish.
Although i edited the way i first did the project as i found this way to be easier (ignore the orange yarn in step 3 this will come later)
-
 Conner W. added Rolled Pencil Case to Office/school supplies
06 Feb 18:55
Conner W. added Rolled Pencil Case to Office/school supplies
06 Feb 18:55
-
 Carolina C. favorited Rolled Pencil Case
22 Mar 09:48
Carolina C. favorited Rolled Pencil Case
22 Mar 09:48
-
Conner W. added Rolled Pencil Case to gift ideas
06 Sep 14:43
-
Conner W. added Rolled Pencil Case to craft ideas
06 Sep 14:43
-
Conner W. added Rolled Pencil Case to fashion
06 Sep 14:43
-
 Rose K. favorited Rolled Pencil Case
22 Aug 02:48
Rose K. favorited Rolled Pencil Case
22 Aug 02:48
-
 Roughwaters44 favorited Rolled Pencil Case
06 Jul 08:34
Roughwaters44 favorited Rolled Pencil Case
06 Jul 08:34
-
 02jhseaby added Rolled Pencil Case to Cloths
07 Jun 21:47
02jhseaby added Rolled Pencil Case to Cloths
07 Jun 21:47
-
02jhseaby favorited Rolled Pencil Case
07 Jun 21:47
-
 Charlie K. added Rolled Pencil Case to nice and simple
17 Feb 18:55
Charlie K. added Rolled Pencil Case to nice and simple
17 Feb 18:55
-
 Step 1
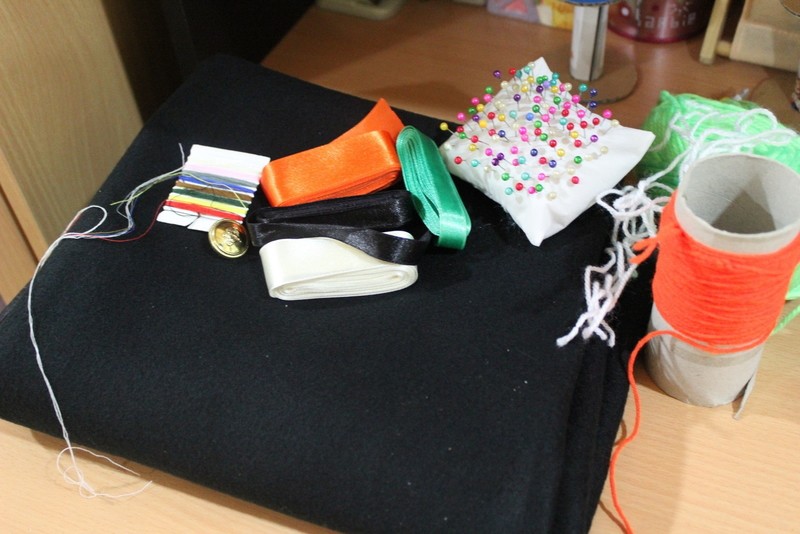
clear your table.
Start by keeping all the things you will need beside you. -
 Step 2
spread the fabric, how i measured my pencilcase was i placed all the colour pencils about 1 cm away from eachother but 2 cm away from the sides. for 24 colour pencils:
Height: 8 inches
Length: 15 inchesCut the fabric, if it is uneven its okai, fold the fabric, pin it and then cut the uneven strands it doesnt have to be perefectly straight.
-
 Step 3
place one colour pencil over the fabric and check how long u want the holders to be,cut the fabric a bit longer than the length of the pencil case to avoid errors.
-
 Step 4
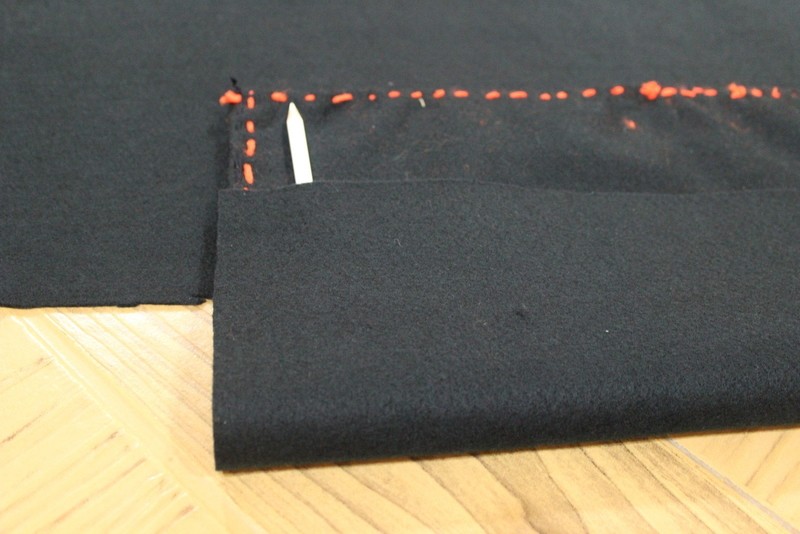
before u start attaching the two fabrics together u need to leave 1 cm for folding from all sides , left, right, bottom.
-
 Step 5
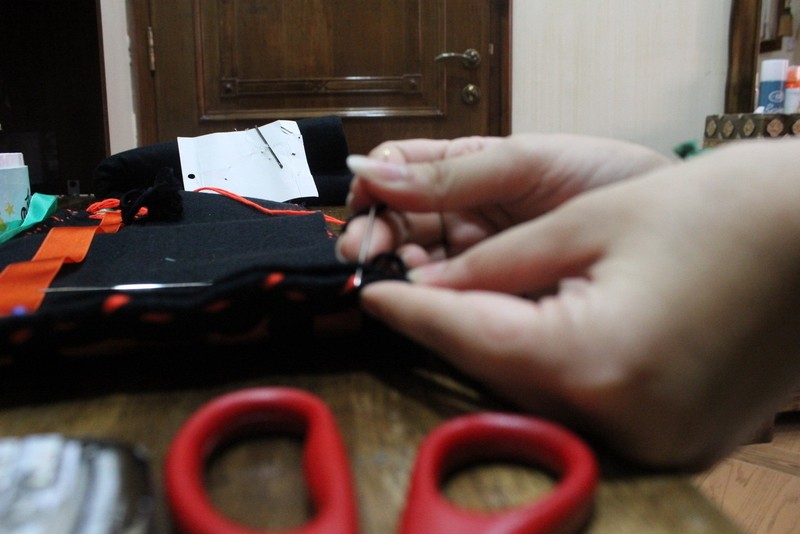
i used black embroidey floss to sew them together, once you reach half way through the left side attach a long strip of fabric and sew over it.
-
 Step 6
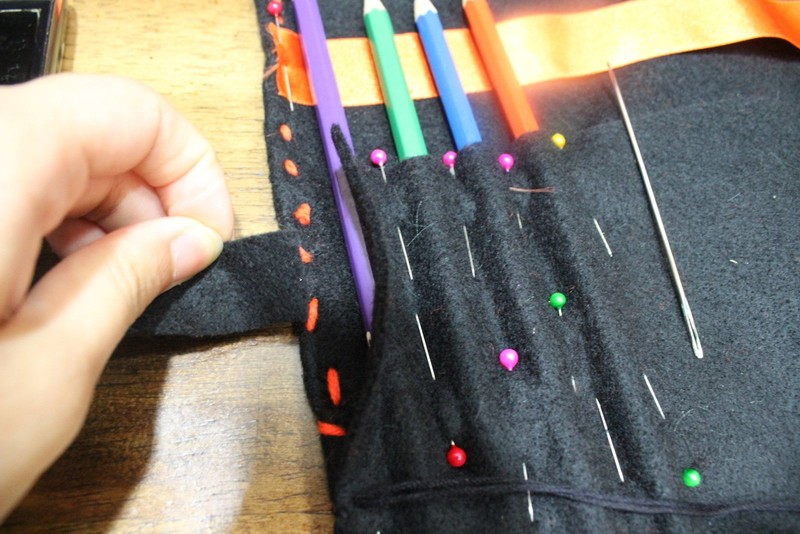
i sewed two places at once , i used black embroidy floss just around the left, right and bottom to keep the fabrics together and orange yarn to make sections. i removed all the pins and added colour pencils to make sections.
-
 Step 7
once your done sewing and cutting it should look like this.
-
 Step 8
remove color pencils and turn the fabric over..you will start using ribbons now , cut them at any lengths of your choice according to the length and height of your pencil case.
Play around until you get the design you like. -
 Step 9
Pin the ribbons so they are still and make it easier for u to work,
-
 Step 10
Now.. fold and pin
start sewing, sew as close to edges as possible. if you are using needle and yarn (like i did) make sure u are sewing through the ribbons or else they will stick out, but if you are using sewing machine then your work is much easier. -
 Step 11
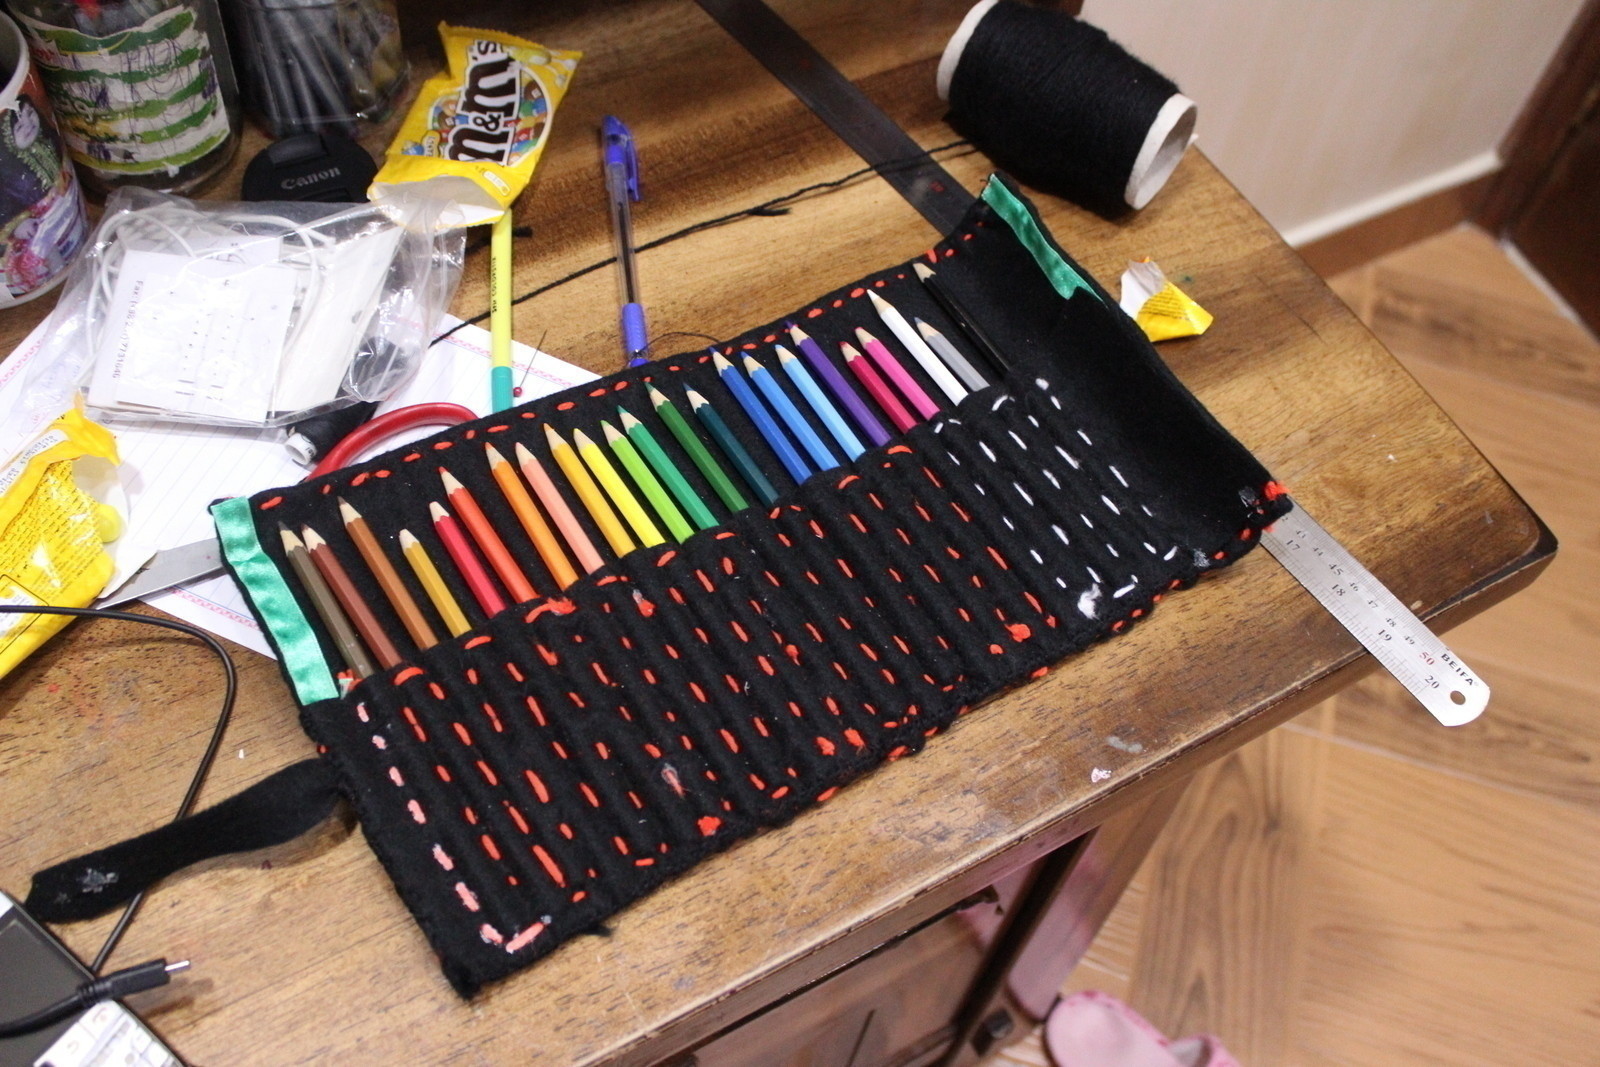
when your done it should look ike this, pretty right ?
-
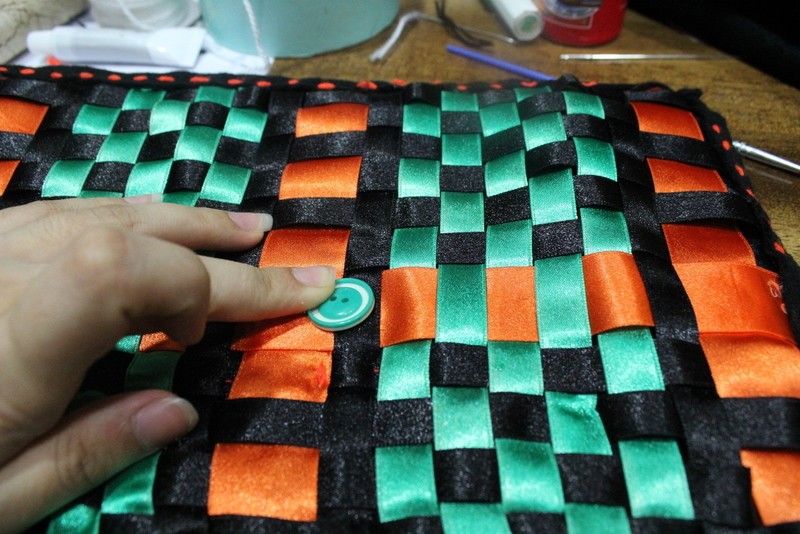
 Step 12
Roll your pencilcase and with the fabric strip that you previously attached , mark where it ends so you can attach a button, if your strip is too long, cut to desired length and then attach the button using a glue gun.
-
 Step 13
And there you have it !!