
About
i looove this! i am so organize now.
helps w/ cooking. and sewing
-
 Rebecca C. favorited Roll Up Storage Kit
28 Jul 03:38
Rebecca C. favorited Roll Up Storage Kit
28 Jul 03:38
-
 Maemi.Gojo added Roll Up Storage Kit to Around the House
02 Jun 08:42
Maemi.Gojo added Roll Up Storage Kit to Around the House
02 Jun 08:42
-
 Ichigo M. favorited Roll Up Storage Kit
10 Aug 01:57
Ichigo M. favorited Roll Up Storage Kit
10 Aug 01:57
-
 Youghurt Jaja favorited Roll Up Storage Kit
08 Aug 00:57
Youghurt Jaja favorited Roll Up Storage Kit
08 Aug 00:57
-
 x0ellison0x favorited Roll Up Storage Kit
25 Jul 21:03
x0ellison0x favorited Roll Up Storage Kit
25 Jul 21:03
You Will Need
-
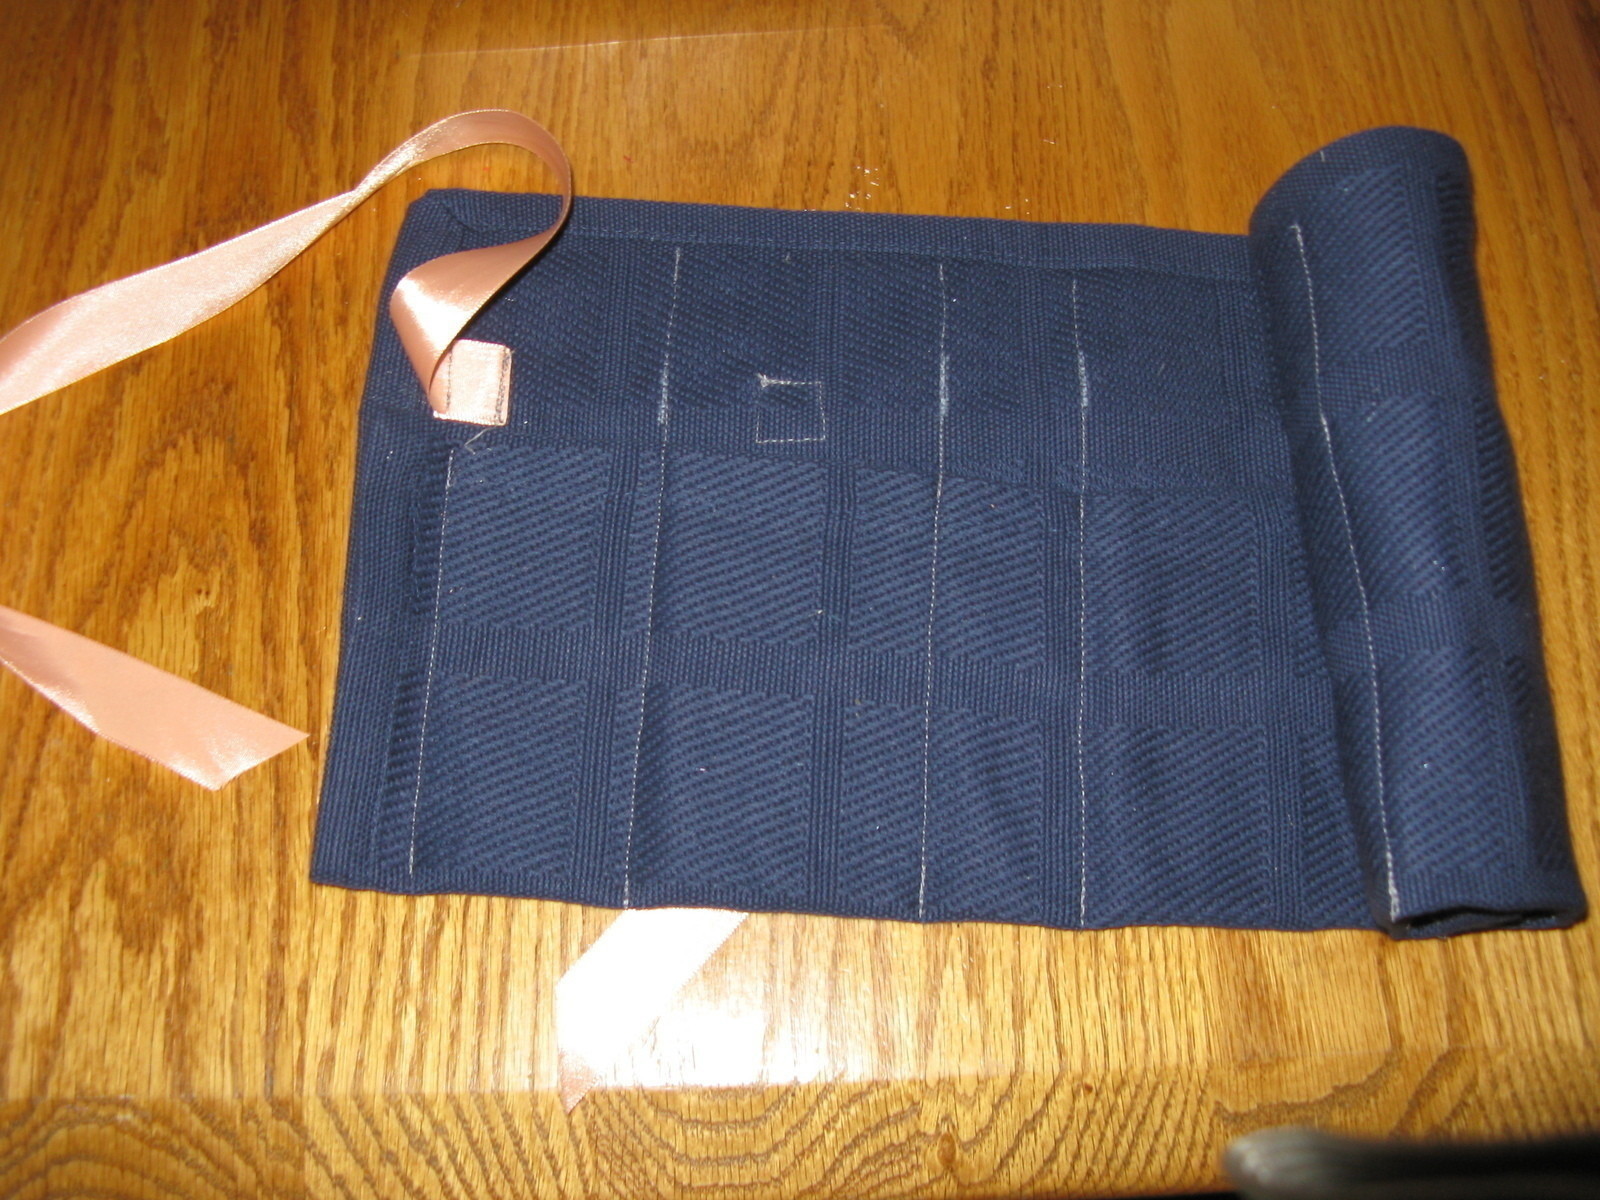
 Step 1
Place place mat face-side-down on surface.mark the sideds 5" from the bottom'long edge
-
 Step 2
place 1/2 yard of ribbon just above the pocket on the left side edge/ with access laying on the placemat. fold under 1/2" of edge of ribbon
-
 Step 3
stitch close to the edge of the folds. with chalk, mark a line 6" both edges of place mat. Stitch through all layers form top to bottom "lock" stitches at the beginning and end.
-
Step 4
Mark another line 7"both edges sides. do same as last.
-
Step 5
mark again 3" from the edges.
-
 Step 6
turn place mat over. fold one end of the unused ribbon under about 1/2". place folded end of ribbon on the outside at the stitching lines, making sure it matches up with ribbon on the other side. machine stitch a square along the edges. also keep 1st ribbon "free"
-
 Step 7
cut ends of ribbon at an angle so it doesn't ravel.
-
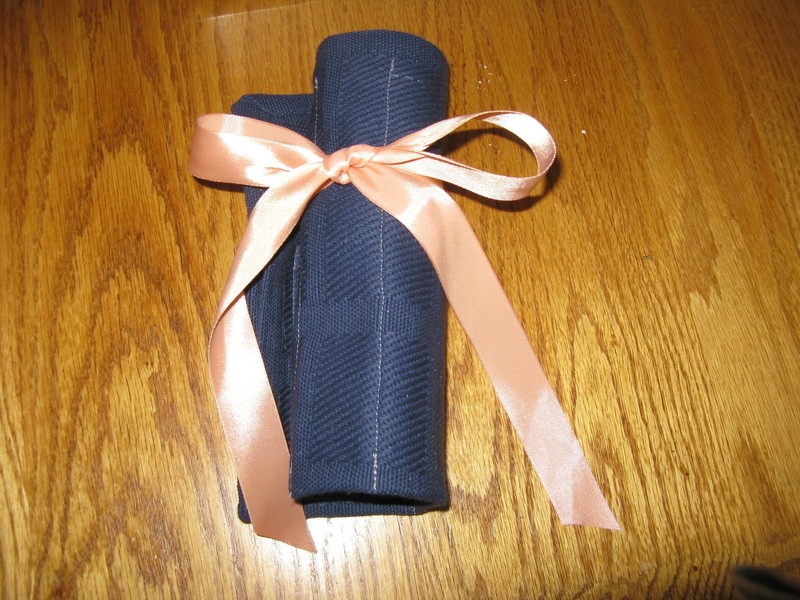
 Step 8
Fill, fold, and enjoy!