


About
The process of saving a trashed desk
I had a vision of how to transform this broken desk from the moment I saw it at a yard sale, and I stuck with that vision until I had in front of me what I was seeing in my head. There was so much wrong with it, but that provided the opportunity to do exactly what I wanted. I think you would agree from the before pictures that I really could not hurt the piece!
-
 Michele D. added Restoring A Broken Roll Top Desk to Renovation Furniture
11 Oct 08:33
Michele D. added Restoring A Broken Roll Top Desk to Renovation Furniture
11 Oct 08:33
-
Michele D. favorited Restoring A Broken Roll Top Desk
11 Oct 08:33
-
 czari v. added Restoring A Broken Roll Top Desk to travelers lounge
18 Jun 06:32
czari v. added Restoring A Broken Roll Top Desk to travelers lounge
18 Jun 06:32
-
 victoria therese favorited Restoring A Broken Roll Top Desk
09 Mar 07:45
victoria therese favorited Restoring A Broken Roll Top Desk
09 Mar 07:45
-
 Sam C. favorited Restoring A Broken Roll Top Desk
15 Dec 01:03
Sam C. favorited Restoring A Broken Roll Top Desk
15 Dec 01:03
-
Victoria M. added Restoring A Broken Roll Top Desk to Martha Stewart
09 Nov 14:42
-
 andersonandgrant published her project Restoring A Broken Roll Top Desk
06 Aug 12:34
andersonandgrant published her project Restoring A Broken Roll Top Desk
06 Aug 12:34
You Will Need
-
Step 1
The entire desk was scrubbed and sanded before starting. There were a lot of loose joints, so it was dismantled and reassembled using wood glue and clamps.
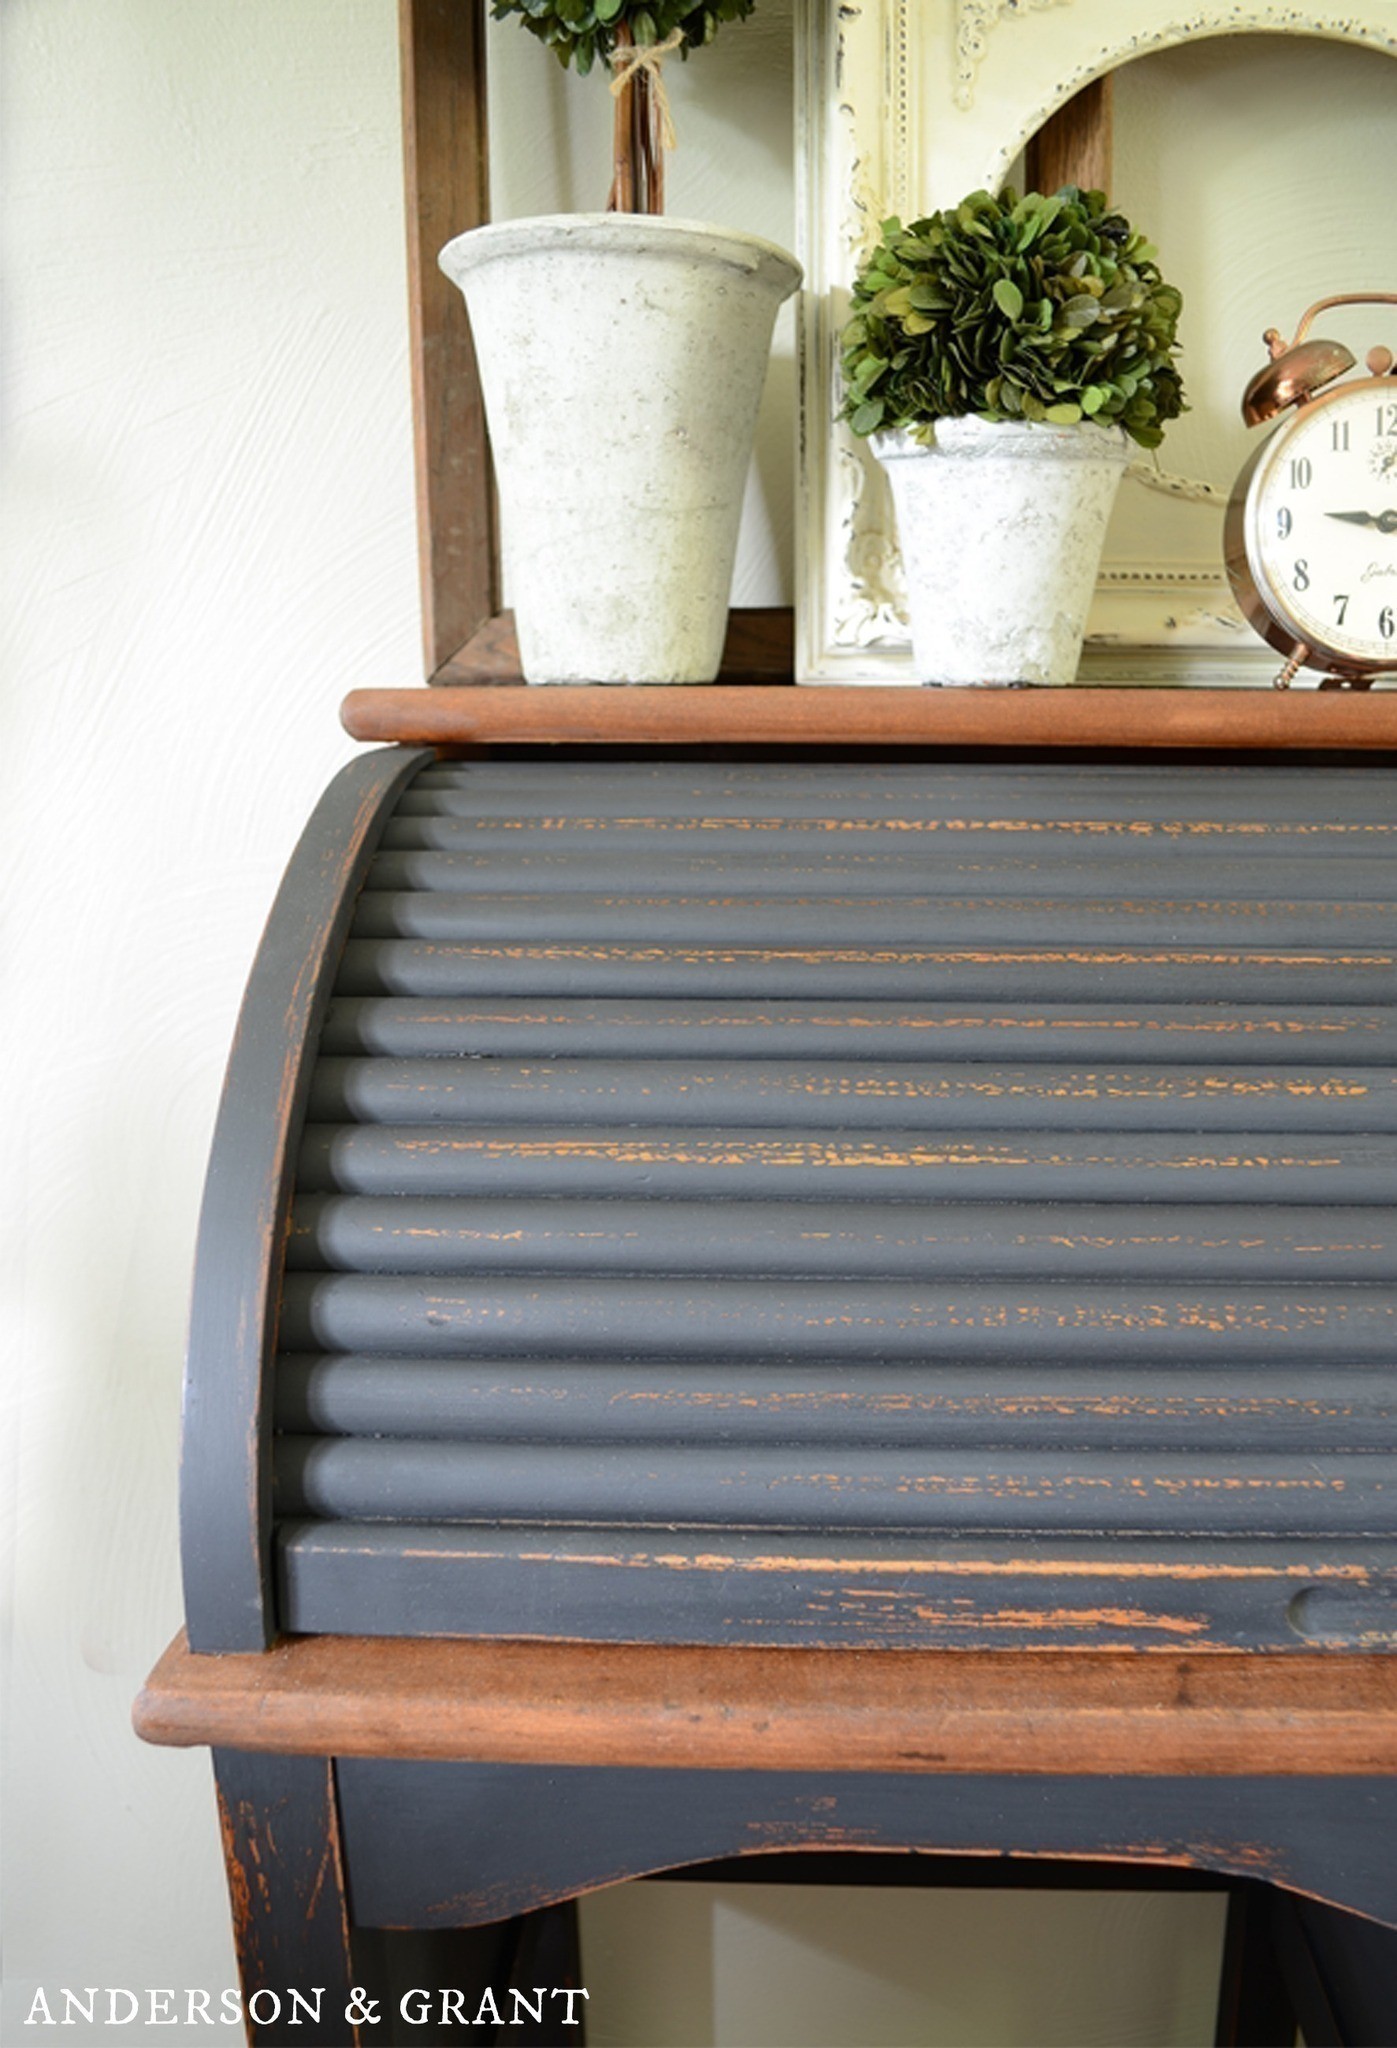
The roll top was broken in two places, but was surprisingly easy to fix. A roll top is constructed with wood slats attached over a heavy piece of fabric. So to fix it, the wood just had to be glued to a new piece of fabric!
There was a missing piece of trim on one side of the desk. Since the shelf inside the desk was broken beyond repair, I cut the wood from the shelf to the size that I needed for the trim. This way, the tone of the wood is maintained throughout the piece so that the distressed wood showing through matches.
There used to be drawers on the side, but they had been broken out. I cut a piece of wood to fit into the bottom of the space, and added a piece of trim to the front. This space would be the perfect place for a basket to store files or office supplies or to shelve some books.
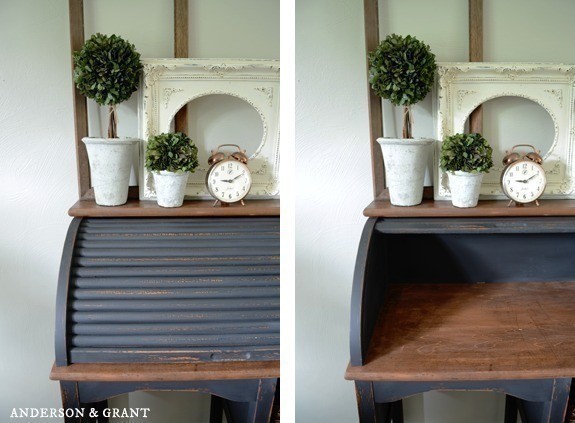
This desk doesn't have any fancy turned legs or decorative trim. It needed a little something to keep it from looking too plain. So, I decided to stain the desk top to add a little interest. I love painted wood furniture that has a stained top. And lately, I've really been loving the combination of rich wood with distressed black paint.
The desktop and little "shelf" on top of the desk were stripped down to the bare wood (which was no easy task, let me tell you!). Both were stained with American Walnut colored stain. Even through all the sanding, there is still some distressing and imperfections that show through the finish, which I think really adds to the charm. In no way is this desk an expensive antique. It was broken apart to begin with, and I really enjoy maintaining the imperfection in a beautiful way.
After staining the wood, I used painter's tape to mask off the edges where I didn't want to paint. Then I coated the entire piece with two coats of black chalk paint. After the paint was dry, it was distressed around the edges. The final step was coating the piece in some of Miss Mustard Seed's antiquing wax.
The desk is on the small side and was probably a child's desk back in the day. It is still a good size for an adult to use in an entryway or small space to write out bills or work on a laptop. It will take an odd sized chair to actually be pushed in, but I love the look of the chair sitting next to the desk anyways.
So, are you loving this old desk as much as I am?
