About
A majorly cute how-to on a recipe box
So, it's a beautiful day here in paradise, (or it would be if it wasn't still raining) and Miss Taylor (that's me) is here to Guest Blog and give a majorly cute how-to on a recipe box.I love lace and ribbon and pretty vintage things, and my box is inspired to match my vintage 1950's aqua and yellow kitchen. Enjoy and please post a link to your pictures in the comments if you make your own, I would love to see!
-
 Ashley K. favorited Recipe Box
25 May 20:51
Ashley K. favorited Recipe Box
25 May 20:51
-
 Sian M. favorited Recipe Box
29 Aug 21:44
Sian M. favorited Recipe Box
29 Aug 21:44
- KARMA favorited Recipe Box 16 Mar 22:18
-
 colombriana favorited Recipe Box
05 Jul 04:52
colombriana favorited Recipe Box
05 Jul 04:52
-
 katiebug92 entered her project Recipe Box to Secondhand Chic Contest
30 Apr 13:37
katiebug92 entered her project Recipe Box to Secondhand Chic Contest
30 Apr 13:37
You Will Need
-
 Step 1
A close up view of the supplies I used.
-
 Step 2
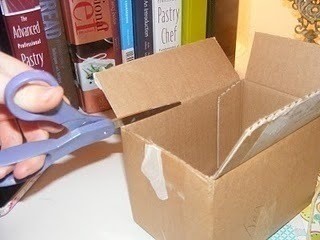
Okay, let's get started. 1. Trim the top or any excess off of the box.
-
 Step 3
Cut your recipe cards out of 12x12 paper to fit inside your box. My box perfectly fit cards that were 6 x 5/34" inches. Write your recipes on your cards and decorate them however you like.
-
 Step 4
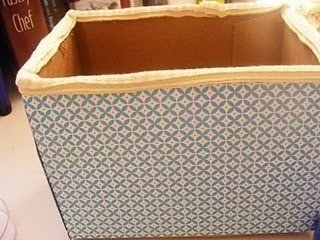
Cover your box with patterned paper and secure with a dry adhesive.
-
 Step 5
Glue a trim around the top of the box by using the old belt and hot glue.
-
 Step 6
Add your title, and any decorations you want to the front of the box. At this point, you are also going to bunch up a scrap of ribbon, and glue your vintage button to the vintage pin and glue the pin to the ribbon and stick on on the top left corner of the box.
-
 Step 7
Voila! It's beautiful! I add a couple of stickers to one side of my recipe box to list the recipes that were in there, feel free to experiement and be randomly creative!