


About
So pretty all black and blue.
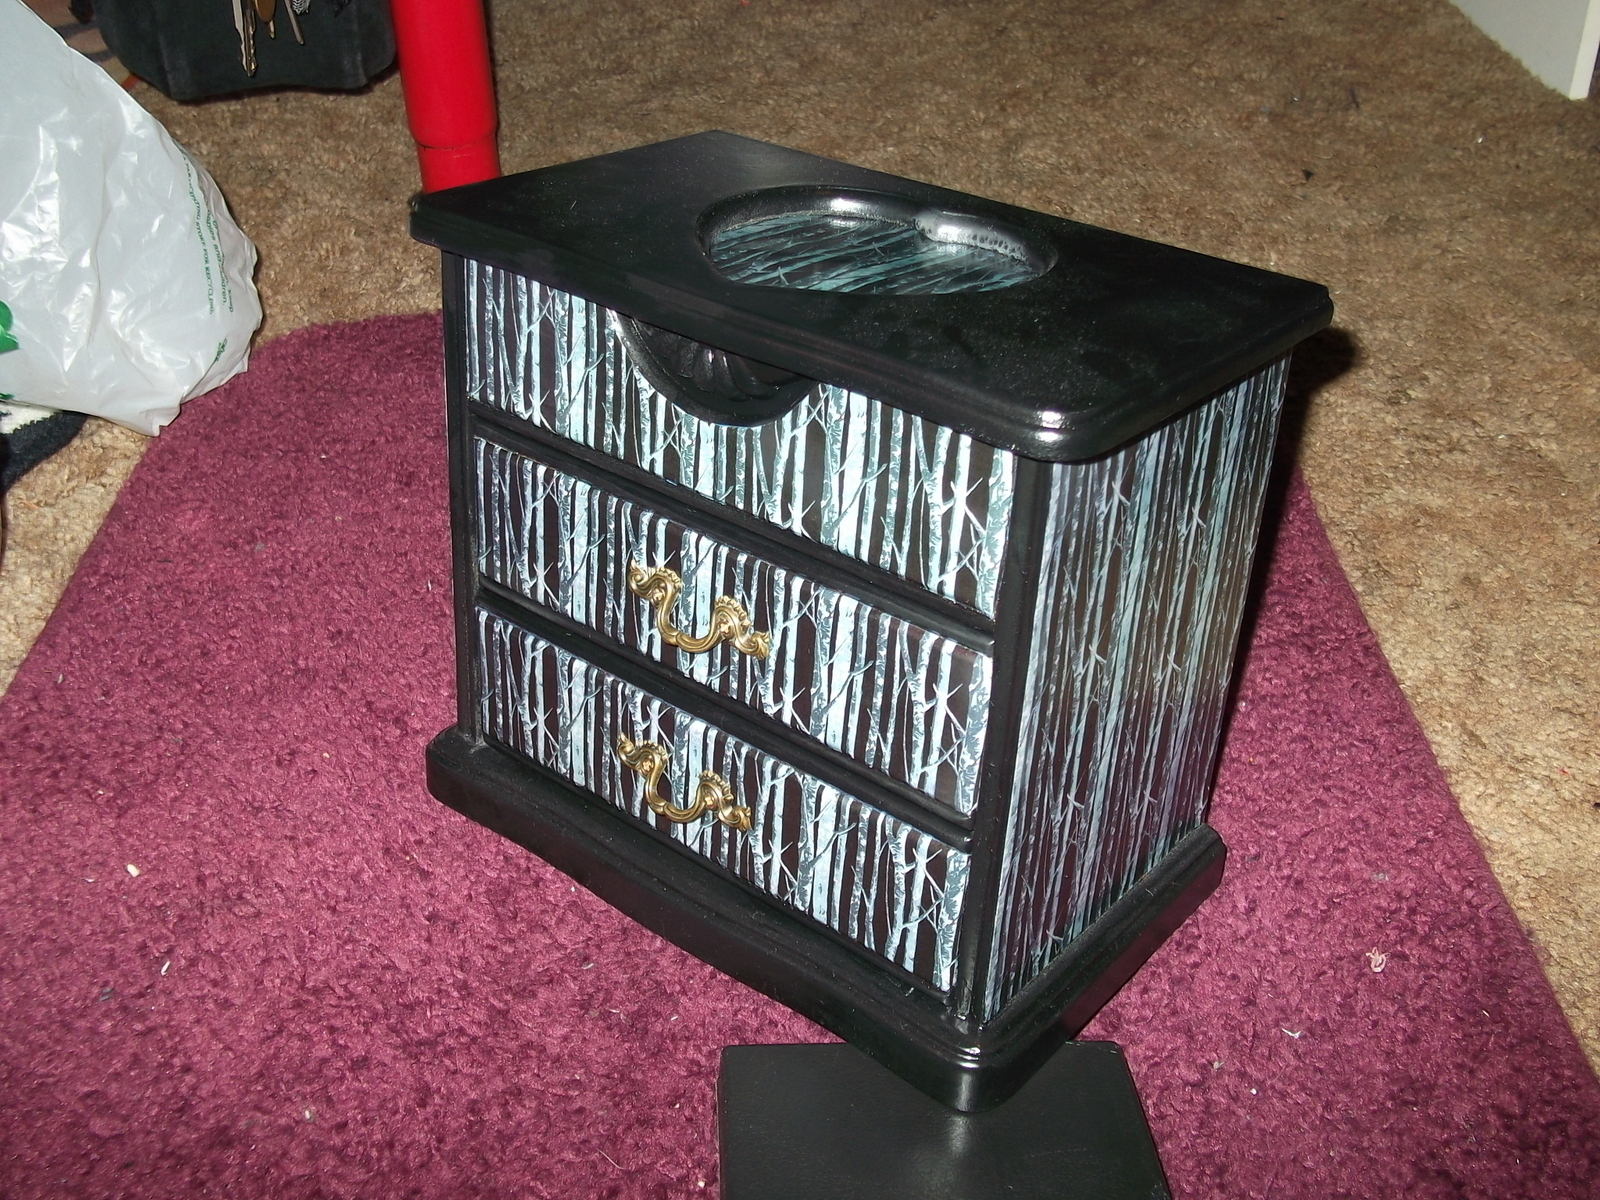
My mom had this jewelry box that she was going to get rid of, so I saved it. It was brown, but she thought she might like it better black so she spray painted it. So she did half of my work for me.
Tags
-
 MissDarkMark favorited Re Vamped Jewelry Box
10 Oct 15:50
MissDarkMark favorited Re Vamped Jewelry Box
10 Oct 15:50
-
 Bailey W. favorited Re Vamped Jewelry Box
18 Feb 18:42
Bailey W. favorited Re Vamped Jewelry Box
18 Feb 18:42
-
 Jillian D. favorited Re Vamped Jewelry Box
02 Oct 17:29
Jillian D. favorited Re Vamped Jewelry Box
02 Oct 17:29
-
 Ky Yuuki favorited Re Vamped Jewelry Box
08 Jun 16:35
Ky Yuuki favorited Re Vamped Jewelry Box
08 Jun 16:35
-
 Monice M. favorited Re Vamped Jewelry Box
19 May 07:36
Monice M. favorited Re Vamped Jewelry Box
19 May 07:36
-
 Marylou P. added Re Vamped Jewelry Box to For the home
08 Apr 07:54
Marylou P. added Re Vamped Jewelry Box to For the home
08 Apr 07:54
-
 RaspberrySourZ added Re Vamped Jewelry Box to Projects I want to try.
27 Mar 14:47
RaspberrySourZ added Re Vamped Jewelry Box to Projects I want to try.
27 Mar 14:47
-
 Robin L. added Re Vamped Jewelry Box to To-make list
28 Jan 18:43
Robin L. added Re Vamped Jewelry Box to To-make list
28 Jan 18:43
-
George S. favorited Re Vamped Jewelry Box
29 Dec 00:12
-
 Agresija favorited Re Vamped Jewelry Box
22 Dec 16:27
Agresija favorited Re Vamped Jewelry Box
22 Dec 16:27
-
 Step 1
First I found this picture of these cool looking trees. I think it's sand pipers.
-
 Step 2
Then I painstakingly copy and pasted the same pic into a bigger one. It took FOREVEEEER!!!
-
 Step 3
Then I inverted the colors on it. Then I printed the image out on a full sheet of paper. I had to print about 4 of them to cover the whole box.
-
 Step 4
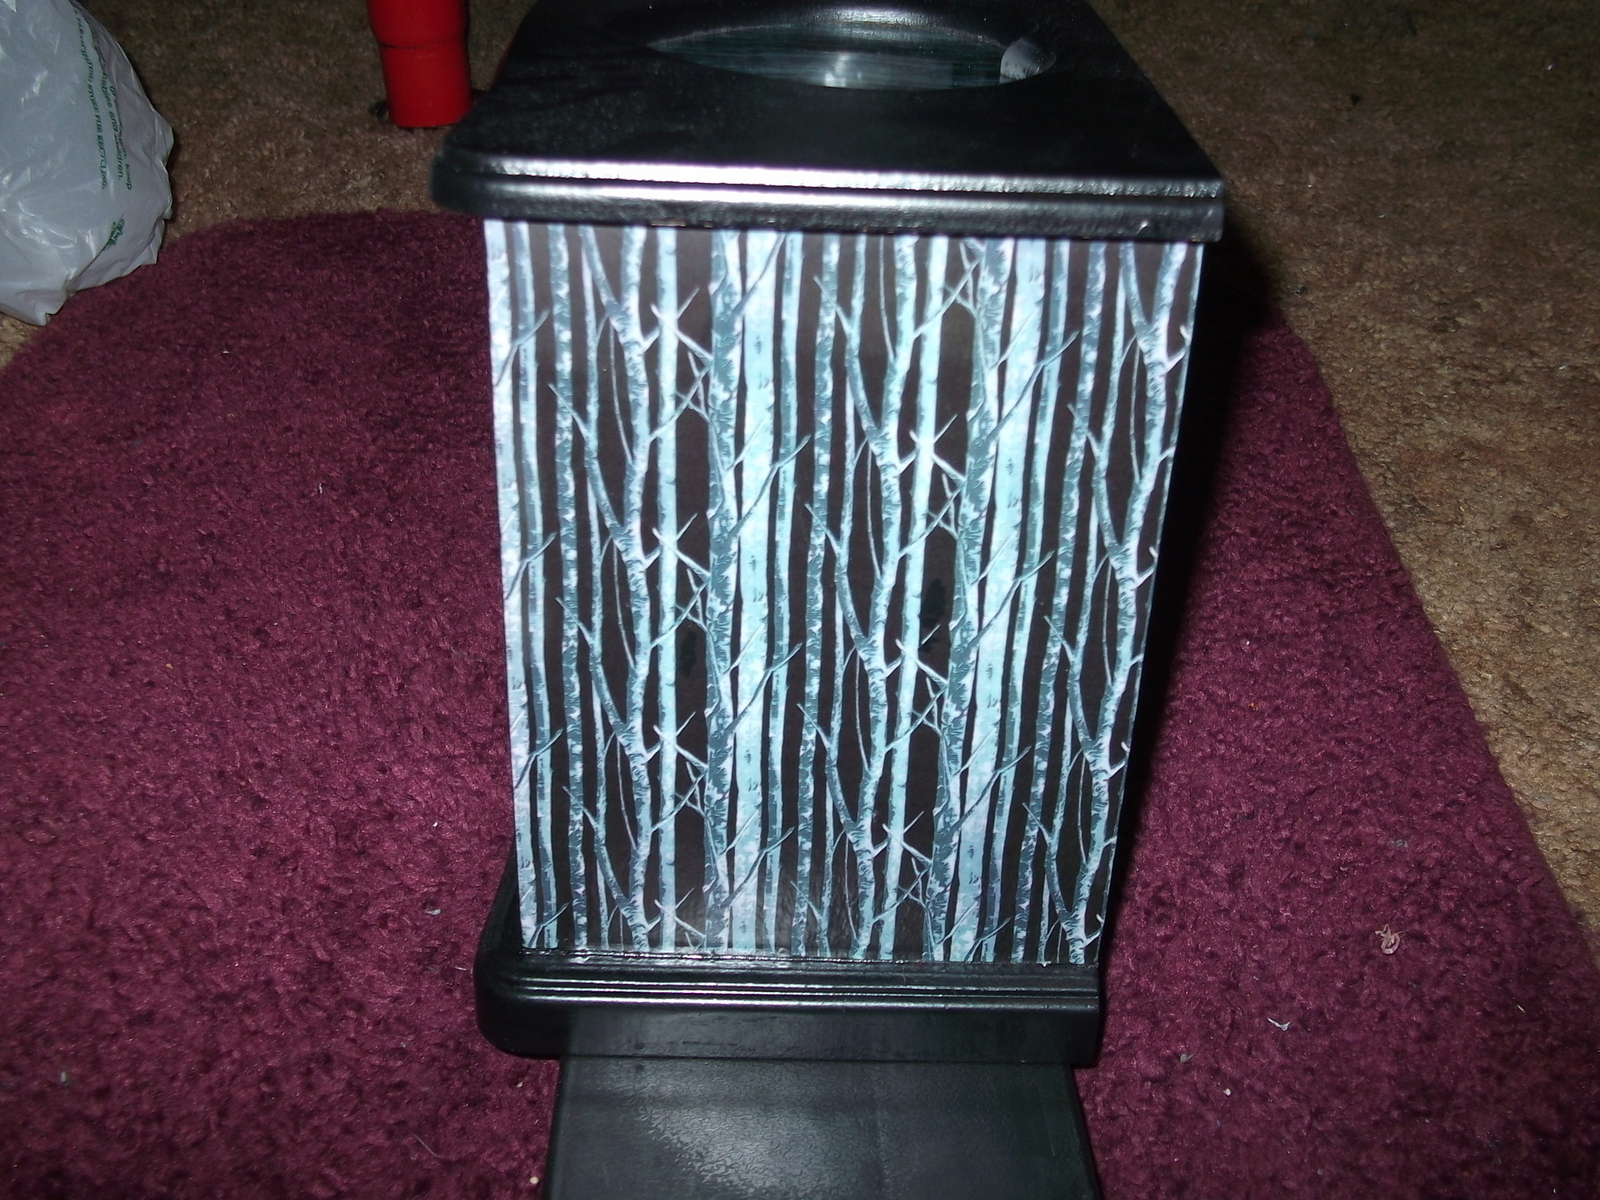
First I taped everything off to keep from getting mod podge on unwanted spots. Then I mod podged the image to both sides.
-
 Step 5
The drawers were a little harder. I wanted the image to line up just right.
-
 Step 6
I just stuck a piece of the image under the glass top.
-
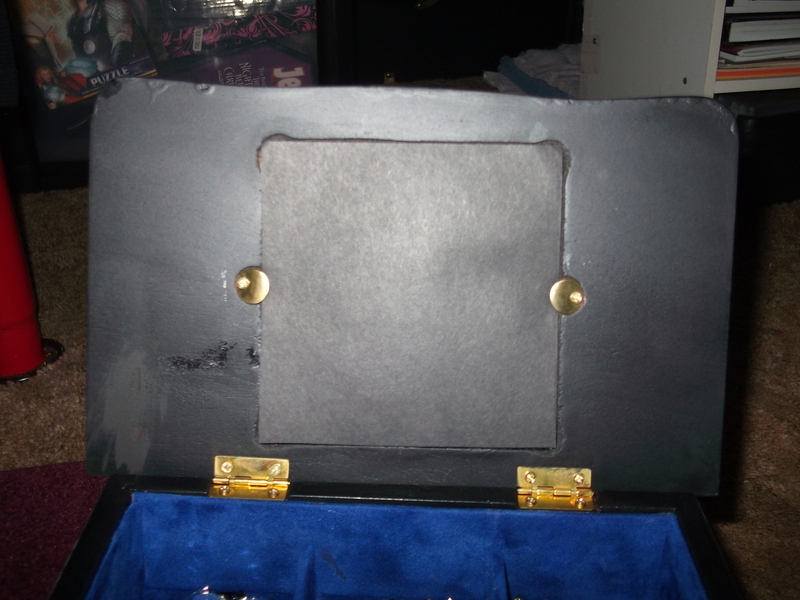
 Step 7
Then I put a piece of black paper over the back of the piece in the window. I didn't want a big white square there. After everything was mod podged, I used a can of Satin spray sealer on the whole box. I didn't want the glossy look that mod podge gives off.
-
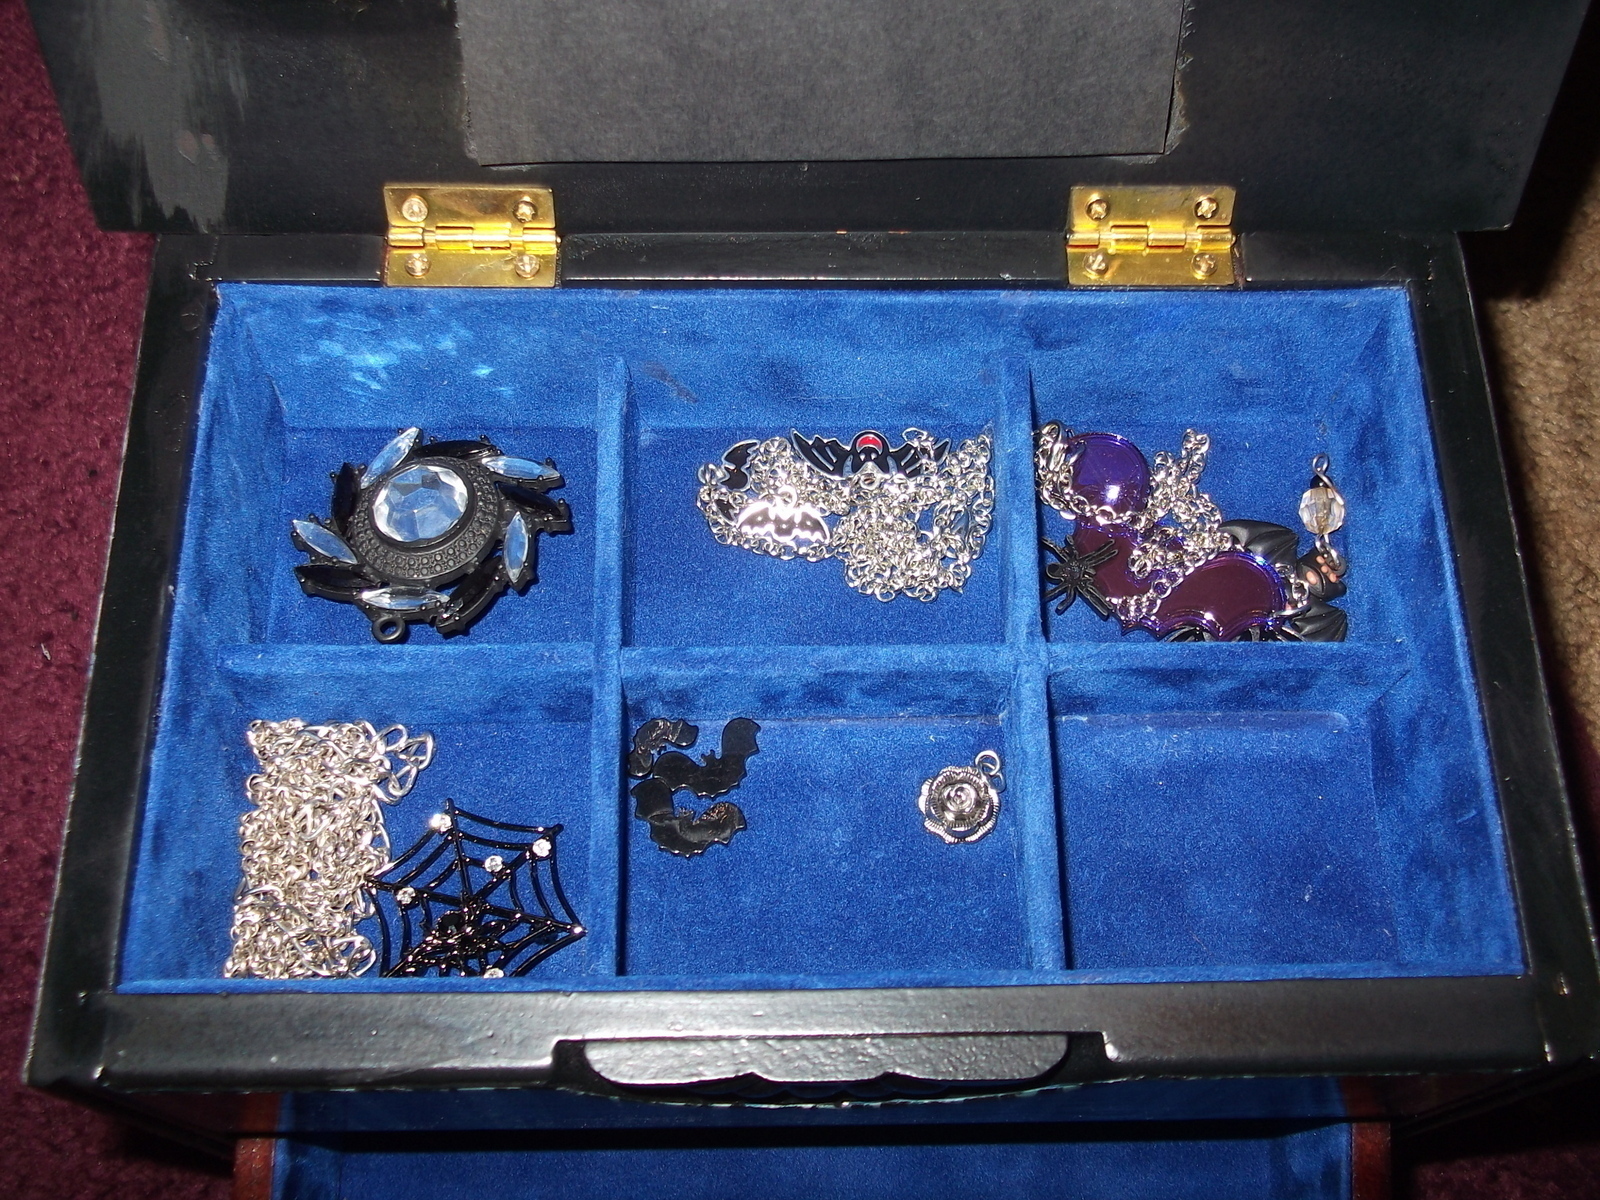
 Step 8
Then I pulled out the inside liners. They were a light pink. I got these cobalt blue velvet papers at Joann's in the scrapbook section. I used a glue stick to cover the back of the velvet paper and then stuck them down to the pink liners. The drawers were the easy part.
-
 Step 9
Then I lined inside the top of the box. The dividers were the hard part. Trying to fit them back in without tearing the paper was difficult. I didn't bother to cover the foam pads for the ring storage part. The rings I do have I never take off, so the additional ring spot is unneeded.
-
 Step 10
There it is all finished.
-
 Step 11
My mom wants the box back now that I made it all pretty. So not happening.