


About
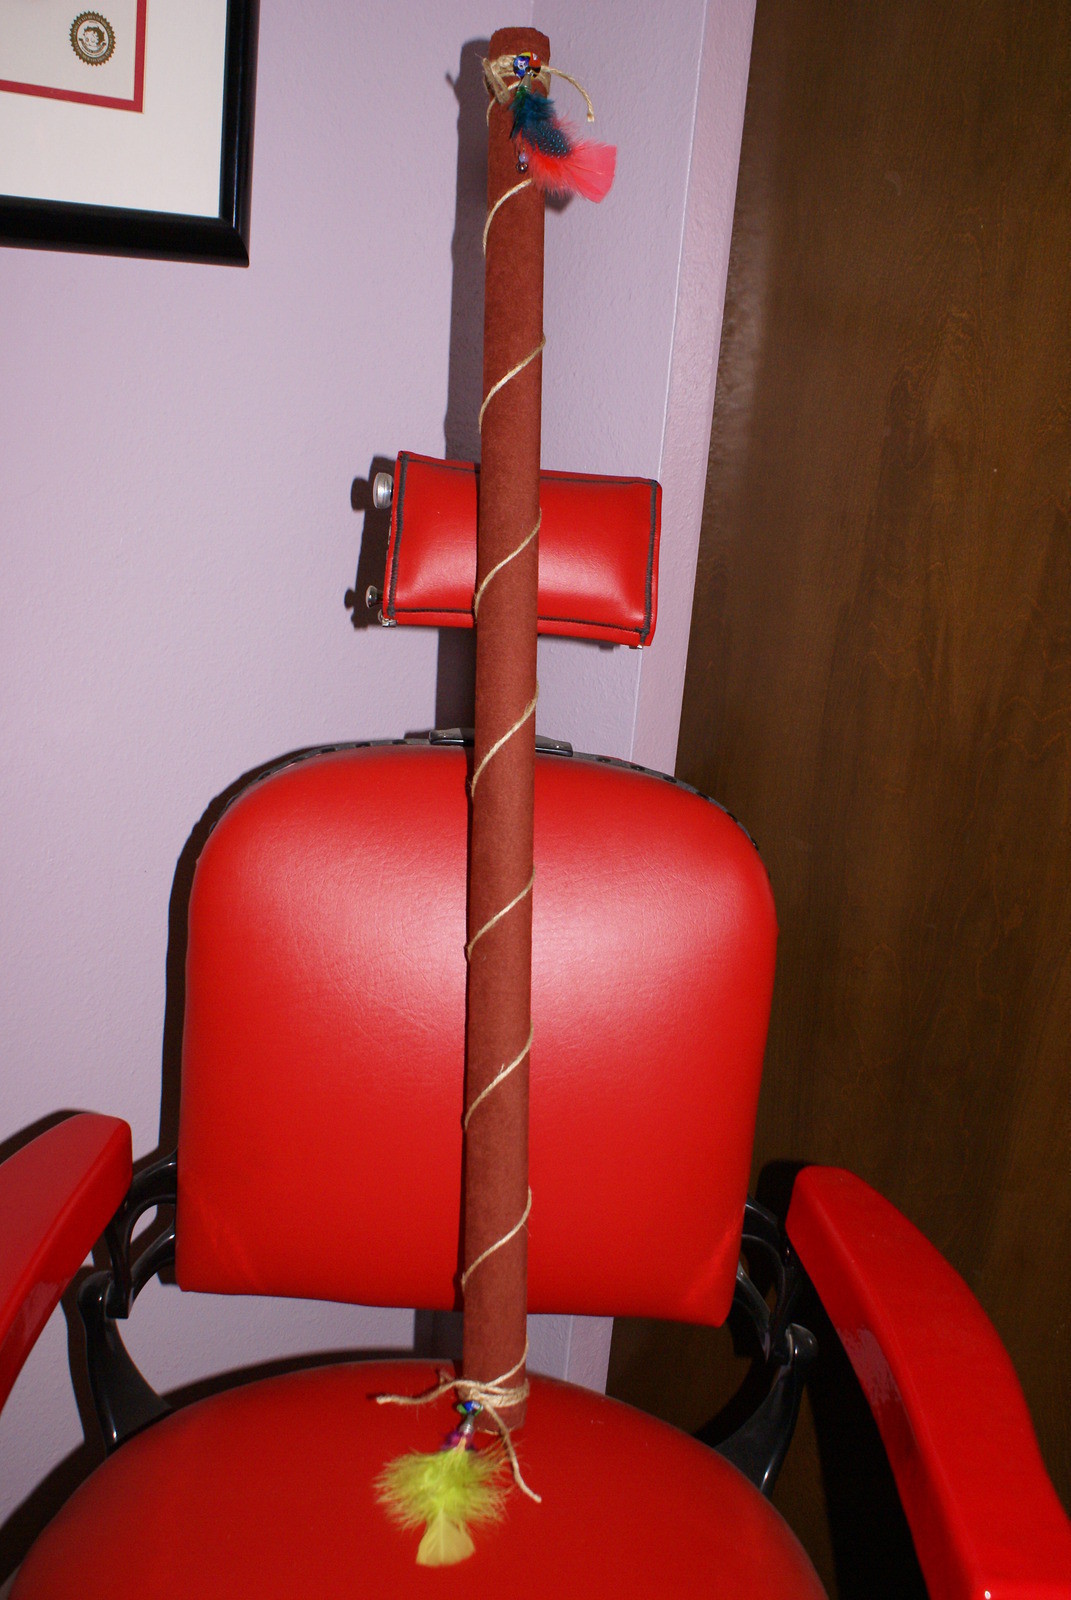
ceremonial musical instrument
History of the Rain Stick is believed to have originated in Chile, the people believed it could bring rainstorms to water the crops.
Typically this percussion instrument was made from dried cactus branches, many different version have been made to date out of wood, cardboard and other material. Here is the version I came up with.
-
 japheel.ledguies favorited Rain Stick
20 Aug 20:08
japheel.ledguies favorited Rain Stick
20 Aug 20:08
-
 Stitches added Rain Stick to Project 1
27 Jan 00:49
Stitches added Rain Stick to Project 1
27 Jan 00:49
- KARMA favorited Rain Stick 16 Mar 22:17
-
 Queen of the Sidhe favorited Rain Stick
27 Nov 22:42
Queen of the Sidhe favorited Rain Stick
27 Nov 22:42
You Will Need
-
 Step 1
Supplies as follows~
any old cardboard paper roll such as toilet paper, paper towel, etc. , Iam using an old wrapping paper roll, about 2 1/2 feet long.
1 piece of construction paper and scissors
spray adhesive
tacky glue
glass beads and feathers, embrodery thread and a needle,
wire and wire cutters
scotch tape, aluminum foil, jute, beans and rice for fill...I think that will do, the fabric paint is optional -
 Step 2
first things first, I got the embellishments out of the way, cut 2 pieces of wire about 10 inches long. Here I wrapped the ends of the feathers with wire and fed them through two silver cones
-
 Step 3
Next I got out my embroidery thread and needle and strung about six beads and wrapped the wire around the thread to secure the strand, I also fed this through the silver cones
-
 Step 4
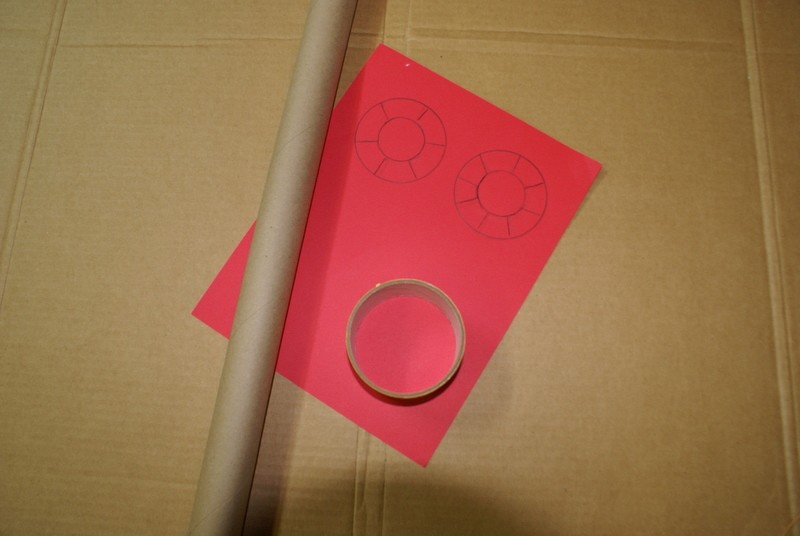
Next on the construction paper, trace the bottom of the tube, I used an old tape roll to make a larger circle on the outside
-
 Step 5
cut out the circles and slash on the lines, be sure to cut 2 small circles of fabric for later
-
 Step 6
take your tacky glue and fit the circle over one end of the tube, secure with a rubber band, you will be leaving the rubber bands on for added strength plus it has a nice look and hold the jute nicely
-
 Step 7
measure 2 strips of aluminum fold twice the length of your tube
-
 Step 8
twist each piece from one end to the next
-
 Step 9
twist both pieces together to form a chain
-
 Step 10
I decided to give it a bit more support and run wire in between the coils
-
 Step 11
I tried to use the left over scraps as a funnel and shoveled in about 1 cup of dry beans and rice
-
 Step 12
finish the other end the same as the first
-
 Step 13
cut a piece of fabric a little longer than the length of your tube and lay the tube on the fabric
-
 Step 14
I used spray adhesive on the tube and rolled it up in the fabric, making sure the seam overlaps...spray adhesive is fairly easy to work with and sets up fast! trim the excess within 1/2 in and slash just like you did for your circles
-
 Step 15
using scotch tape so you dont wreck your fabric, wrap a few pieces around the tube and at the ends
-
 Step 16
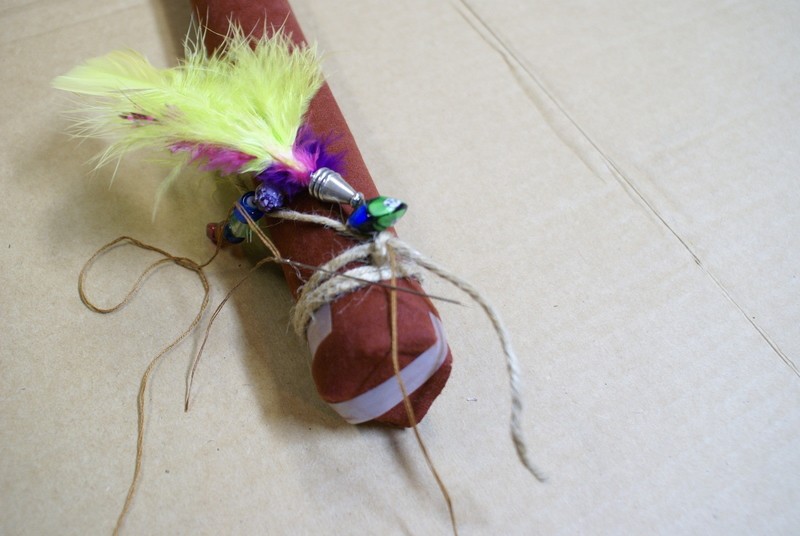
you can work on the ends with the tape still in place. wrap a piece of jute around the end about three times and tie
-
 Step 17
Taking the feather and bead embelishments you made earlier, hand sew them to the jute that you wrapped around, continuing around the whole tube and tie off
-
 Step 18
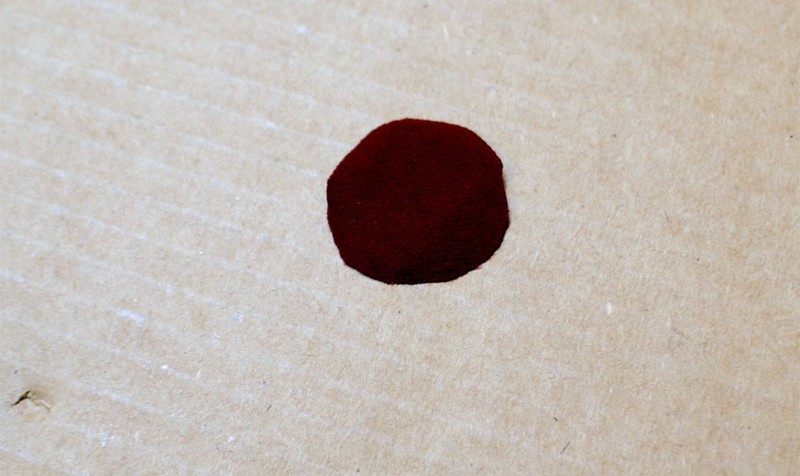
take your previosly cut fabric circles
-
 Step 19
and embroidery stitch those babies on. wrap a piece of jute down the tube and wala...a rainmaker


We always use to put toothpicks in the tube.
like the idea what you did with the tinfoil. awesome;-D
thank you for sharing this and your greate tute. love it!!!;-D
CO + K User
Do you shake it for fun, or just use it for decoration?