


About
from rags to awesomeness
I recently moved countries from one side of the planet to the other, to say the least I couldn't bring everything with me and I had a whole sewing room to deal with. I decided to leave a rug behind and use up all my "crap" that I had lying around.
I used all my pieces of old projects and also my old clothing that I wasn't bringing with me and was too tired to give to charity.
My dog LOVES this piece and is also washable if ever it gets too dirty.
I split all my scraps into seperate bags according to colour for mine.
None of this tutorial is the traditional way.. parts of it are...this is the flail of the flair's way.
-
 Key West Witch favorited Rag Rug Get Rid Of All Those Scraps!!!
26 Jun 09:51
Key West Witch favorited Rag Rug Get Rid Of All Those Scraps!!!
26 Jun 09:51
-
 Cindy S. favorited Rag Rug Get Rid Of All Those Scraps!!!
26 Jan 04:09
Cindy S. favorited Rag Rug Get Rid Of All Those Scraps!!!
26 Jan 04:09
-
 Debbie E. added Rag Rug Get Rid Of All Those Scraps!!! to Rugs
23 Dec 12:16
Debbie E. added Rag Rug Get Rid Of All Those Scraps!!! to Rugs
23 Dec 12:16
-
 Bronwyn T. added Rag Rug Get Rid Of All Those Scraps!!! to Home Decor
06 Sep 21:32
Bronwyn T. added Rag Rug Get Rid Of All Those Scraps!!! to Home Decor
06 Sep 21:32
-
 Lolalypop favorited Rag Rug Get Rid Of All Those Scraps!!!
11 Aug 21:39
Lolalypop favorited Rag Rug Get Rid Of All Those Scraps!!!
11 Aug 21:39
-
 Leah. favorited Rag Rug Get Rid Of All Those Scraps!!!
26 Apr 16:22
Leah. favorited Rag Rug Get Rid Of All Those Scraps!!!
26 Apr 16:22
-
 BerthaAOG favorited Rag Rug Get Rid Of All Those Scraps!!!
24 Apr 15:35
BerthaAOG favorited Rag Rug Get Rid Of All Those Scraps!!!
24 Apr 15:35
-
 mmotse03 favorited Rag Rug Get Rid Of All Those Scraps!!!
29 Mar 06:33
mmotse03 favorited Rag Rug Get Rid Of All Those Scraps!!!
29 Mar 06:33
-
Heather H. favorited Rag Rug Get Rid Of All Those Scraps!!!
23 Mar 03:32
-
 Val t. favorited Rag Rug Get Rid Of All Those Scraps!!!
14 Dec 23:25
Val t. favorited Rag Rug Get Rid Of All Those Scraps!!!
14 Dec 23:25
You Will Need
-
 Step 1
Take your fabric and measure about 3-4 inchs I used 3 but you could go bigger to make a fatter braid/plaid.
**thicker fabric creates thicker braids I've used cotton in these examples which is pretty thin**
-
 Step 2
Grab a bag and cut out loads and in whatever lengths you cut and I just stuffed em all in the bag for when I was ready to sew.
**please note this is not picture of me or any bag that I used.. no ladies or bags were harmed in the taking of that picture... to my knowledge**
-
 Step 3
The next step you can do to all your pieces of fabric as you go along or do them ahead of time if you're one of those "Type A" personalities. ;)
-
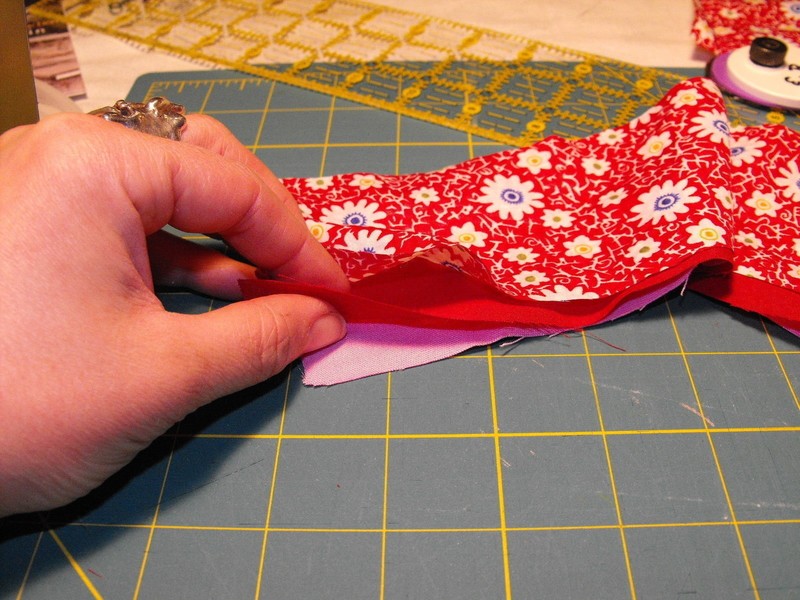
 Step 4
Turning the end over, just give it about one inch cut or so this will happen to all sides EXCEPT for your THREE pieces your begin your braid/plait with.
-
 Step 5
Should lookie like this-ish.
Again about 2 inches or so in all.. you'll see why in step 13.
-
 Step 6
Take your "starting" three pieces and stack them on each other.
-
 Step 7
I put my finger in the middle of the fabric and scrunched up the sides to the middle.
-
 Step 8
Like so.
This is not THE way to do it if you want to just make a knot at the start of your braid/plait that's fine.. I just prefer this way myself. -
 Step 9
Now sew it over a few times.
-
 Step 10
You can saftey pin this onto something.. or use my very conventional way by holding the starting bit in your teeth.
(My sexy face just for you guys)
Give it a few inchs of braiding/plaiting.
-
 Step 11
Once you get it going you can use my other conventional way of holding it, which is in between my toes.
-
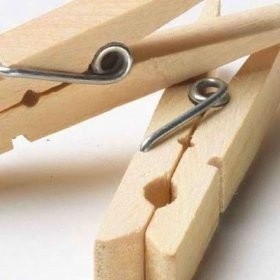
 Step 12
If at any point you need to leave your rug, wooden clothespins are perfect to just peg and come back.
-
 Step 13
Now when you reach the end of one of your strips stop a few inches so you can play.
This is another good place to use a clothespin to stop it from unraveling.. I didn't have one at hand this time round. -
 Step 14
Take your next piece of fabric which also has the hole on the end.and place it on top of the old strip so the holes line up.
-
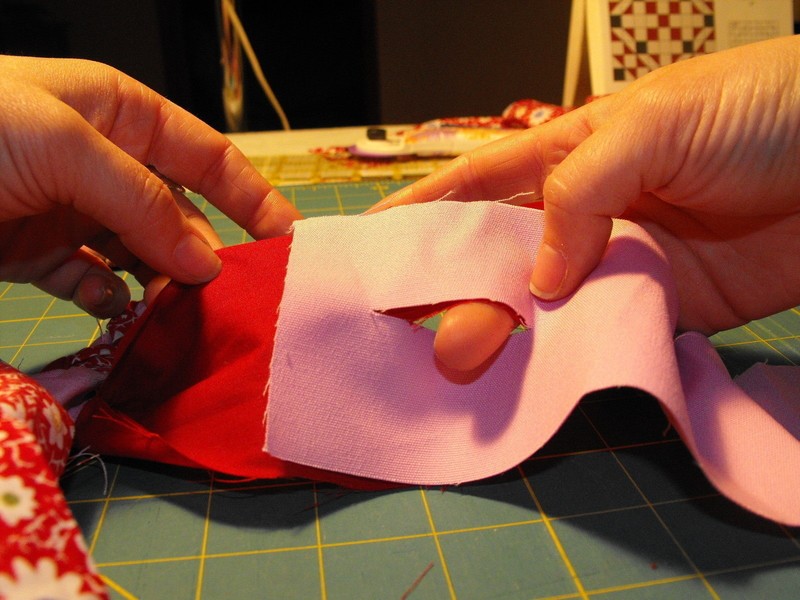
 Step 15
Now your going to reach through the hole and pull through the tail of the new fabric.
-
 Step 16
And pull it through and make sure it's nice and snug.
-
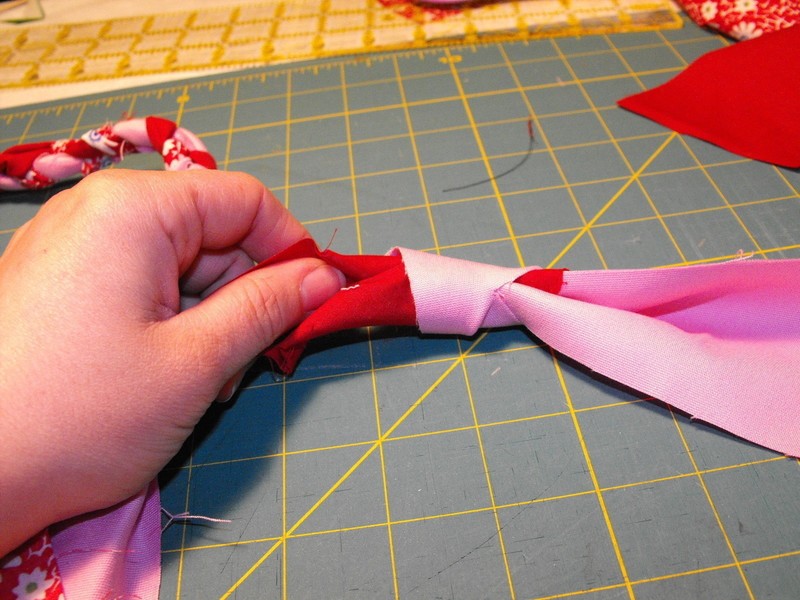
 Step 17
This is how you'll extend all your pieces when it comes time and you'll just plait/braid the knot in. You won't really notice the knots when they're plaited/braided in.
-
 Step 18
This is a little hard to explain so if the pictures don't make sense you can hear me babble away and attempt to show it on video here:
http://www.youtube.com/watch?v=6yyN-qjCsGY
-
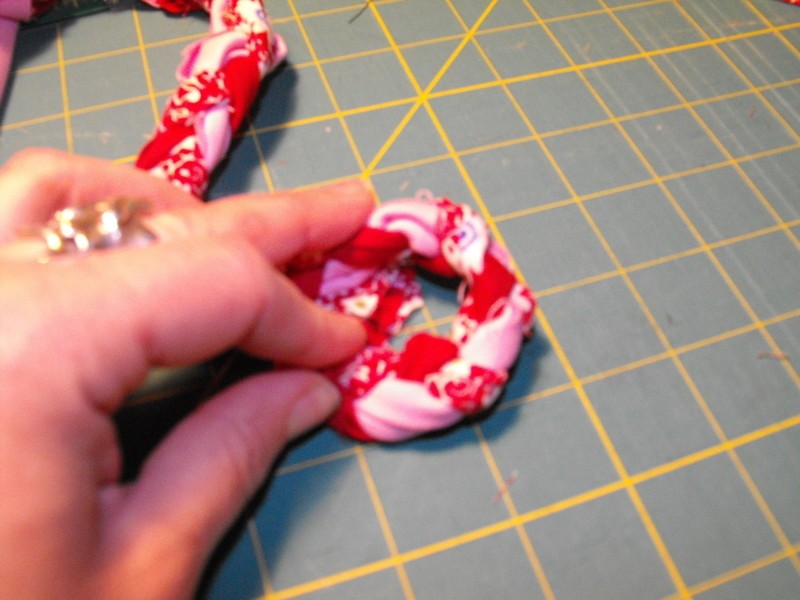
 Step 19
Placing the start of your plat flat on a surface make your first round with and turn it upside down and sew it into place.
There's no real method to the sewing madness. You can do whip stitch or you can go from one side back to the other side.. whatever suites. Your sewing side will not show so dont stress too much about it.
-
 Step 20
Make sure you wind your rug on a flat surface though.. I had to undo mine because I had a "hump" in the middle.
Now you just go round and round and round until you feel it's big enough. The bigger you get the longer it takes to do one full round.
I did mine over several weeks so I lost count how long it actually took.
-
 Step 21
When you get to the end of your rug I just kinda tapered mine off and sewed it in as tight as possible taking the tails under the rug and sewing them in.


Ah, here: www.youtube.com/watch?v=yGr-LiPboEY
It's not braiding but knotting and you take the ends through the part of the rug you already have. So you don't have to sew it all together in the end.
Since I saw it I wanted to make it, however I still haven't gotten to it yet. And most of my scraps are weird shaped or ravel too much.
I love your version though. I like the rainbow colors.