


About
Nevermore shall your lore be lost and forgotten...
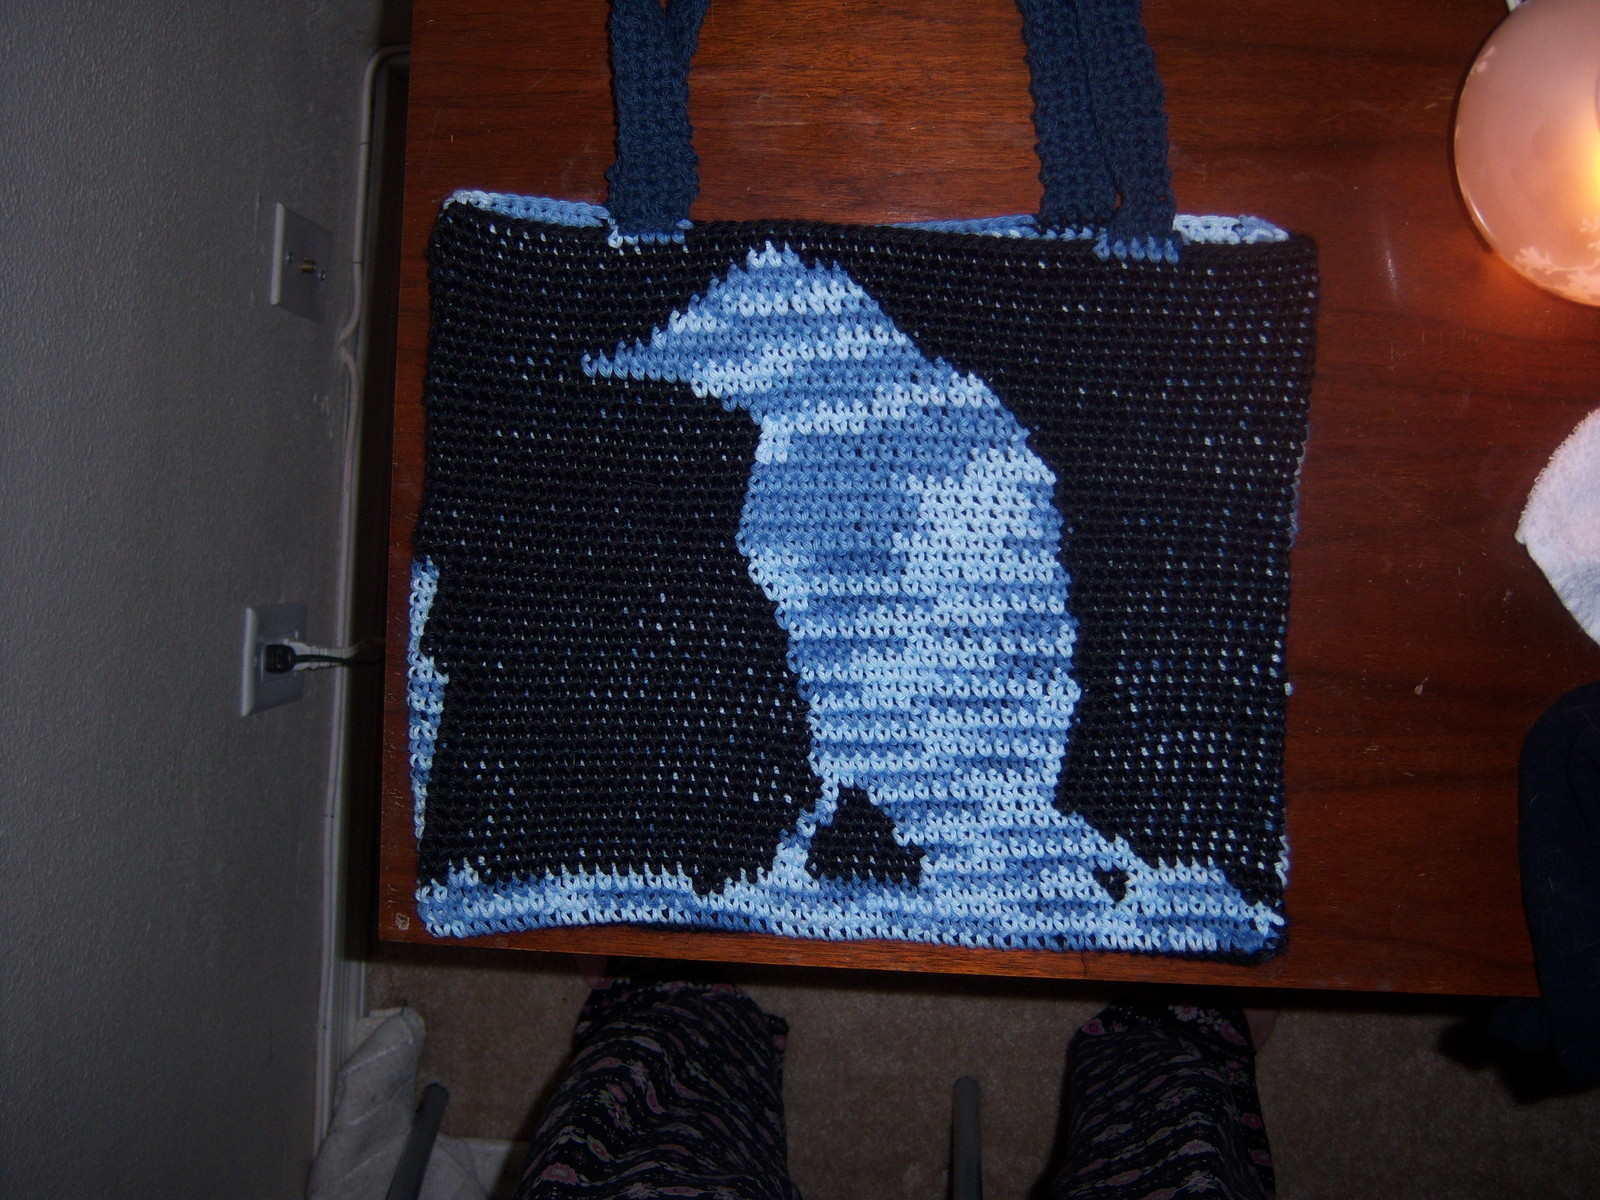
A totebag with a nice raven design. Though, I made this for friends and it's a little obvious that I lost count while making it (in the one with the blue and white yarn). The slightly darker lines in the pattern indicate the corners of the bag. You can also see the difference the hook size makes. The larger bag was made with a H hook, the smaller with a G hook.
Tags
-
 Jade M. favorited Quoth The Raven Bag
18 Jun 18:40
Jade M. favorited Quoth The Raven Bag
18 Jun 18:40
-
Kriszta I. favorited Quoth The Raven Bag
06 Feb 08:36
-
colourChemist added Quoth The Raven Bag to Other
02 Nov 19:17
-
 Sparkles favorited Quoth The Raven Bag
05 May 02:37
Sparkles favorited Quoth The Raven Bag
05 May 02:37
-
krisztina.balla.94 favorited Quoth The Raven Bag
19 Jan 23:11
-
 mamibunny favorited Quoth The Raven Bag
30 Oct 14:04
mamibunny favorited Quoth The Raven Bag
30 Oct 14:04
-
 swestrope favorited Quoth The Raven Bag
03 Jul 04:59
swestrope favorited Quoth The Raven Bag
03 Jul 04:59
-
Step 1
The base:
Chain 46 loosely (remember, you are going to be putting two stitches into this, but not too loose, either, since it is the bottom of your bag) in the color you want the bird to be (at least on once side. I'll also give directions to make each side reversed). Turn (if you're changing colors, now add the second color and carry the first color under your stitches) and single crochet in the second stitch from the hook and in each stitch across. In the last stitch, crochet 5 single crochet and then one single crochet across the other side of the chain. At the other end, crochet 5 single crochet into the end. Do not turn, just continue on (change colors if you are, carry the other color under the stitches), one stitch in each single crochet. At the first of the group of five, crochet 3 in the first stitch, single crochet 3 (change colors if you are, carry the other color under the stitches), single crochet three. Single crochet to other end and single crochet in the first of the group of five, single crochet three (change colors if you are, carry the other color under the stitches), crochet three. -
Step 2
Now, work the pattern. The filled/solid blocks will be the color you started with (or if you're switching colors, which ever color formed the base). The darker lines on the pattern indicate where the corners are (if you want, mark the middle stitch in the 3-single crochet groups. You can use a piece of scrap yarn threaded through them as a cheap and easy marker).
When changing colors, change as you are are drawing the yarn through the two loops (put the hook through the stitch, yarn over, change colors, pull through). This will give you a more consistent edge. Carry the unused color under the stitches (make your stitches over the unused yarn. This keeps the interior smoother and makes the bag a little stronger, too).
-
Step 3
Handles:
Count over about 15 stitches from each side and slip a piece of yarn through as a marker. Single crochet 6 stitches, Turn and single crochet across the six. Continue until the straps are a comfortable length. Line up a short edge of the strap to the top of the bag where you marked it before and make sure it lies right before single crocheting it to the bag. Repeat on the other side.
Comments

