
About
Learn to bind quilts with mitered corners and all!
Quilt binding tutorial for either single or double binding that's been proven to work every time!
-
 Joanne B. favorited Quilt Binding Tutorial : : Turning A Corner And Making A Point!
29 May 19:25
Joanne B. favorited Quilt Binding Tutorial : : Turning A Corner And Making A Point!
29 May 19:25
-
 Sarah Sylvia S. favorited Quilt Binding Tutorial : : Turning A Corner And Making A Point!
18 Jul 04:49
Sarah Sylvia S. favorited Quilt Binding Tutorial : : Turning A Corner And Making A Point!
18 Jul 04:49
-
Alissa B. favorited Quilt Binding Tutorial : : Turning A Corner And Making A Point!
08 Feb 23:53
-
 Shadow_song favorited Quilt Binding Tutorial : : Turning A Corner And Making A Point!
08 Feb 08:39
Shadow_song favorited Quilt Binding Tutorial : : Turning A Corner And Making A Point!
08 Feb 08:39
-
Cynthia S. published her project Quilt Binding Tutorial : : Turning A Corner And Making A Point!
07 Feb 09:00
You Will Need
-
 Step 1
Cut strips of fabric between 1 ¼ inches for single-layer binding and 2 ¾ inches for double-layer binding.
Pieces the strips together and press the seam allowance open.
-
 Step 2
Press the entire length of binding in half.
-
 Step 3
Fold back the beginning of the binding ¼ inch. Starting midway on one edge, pin then stitch the right side of the binding to the right side of the quilt, using ¼ seam allowance.
-
 Step 4
Stop stitching 1/4 inch before the corner, then back tack.
Remove the project from the sewing machine and clip the threads.
-
 Step 5
Fold the binding straight up over itse;f to form a 45 degree angle at the corner.
-
 Step 6
Now fold the binding straight down, making it even with the top edge and the side edge.
-
 Step 7
Stitch the binding in place, back tacking at the beginning.
Continue working your way around the edges, using the same process for and additional corners.
-
 Step 8
When you near the starting point, cut the remaining binding strip off at a diagonal and stitch your binding strip over the folded starting edge of binding.
-
 Step 9
Clip the corners at a diagonal.
-
 Step 10
Fold the binding edges to the back. Turn under the raw edge just enough to cover the seam that you just stitched.
-
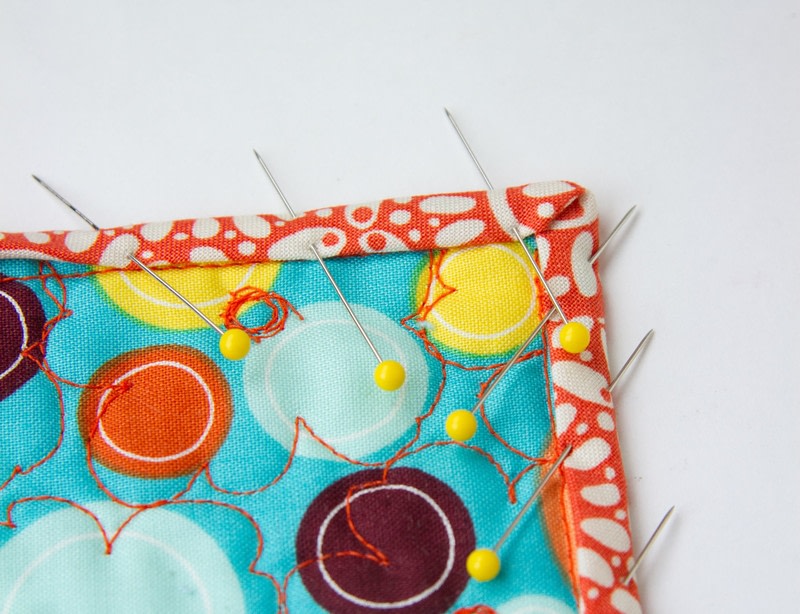
 Step 11
Create diagonal folds at the corners and pin in place.
-
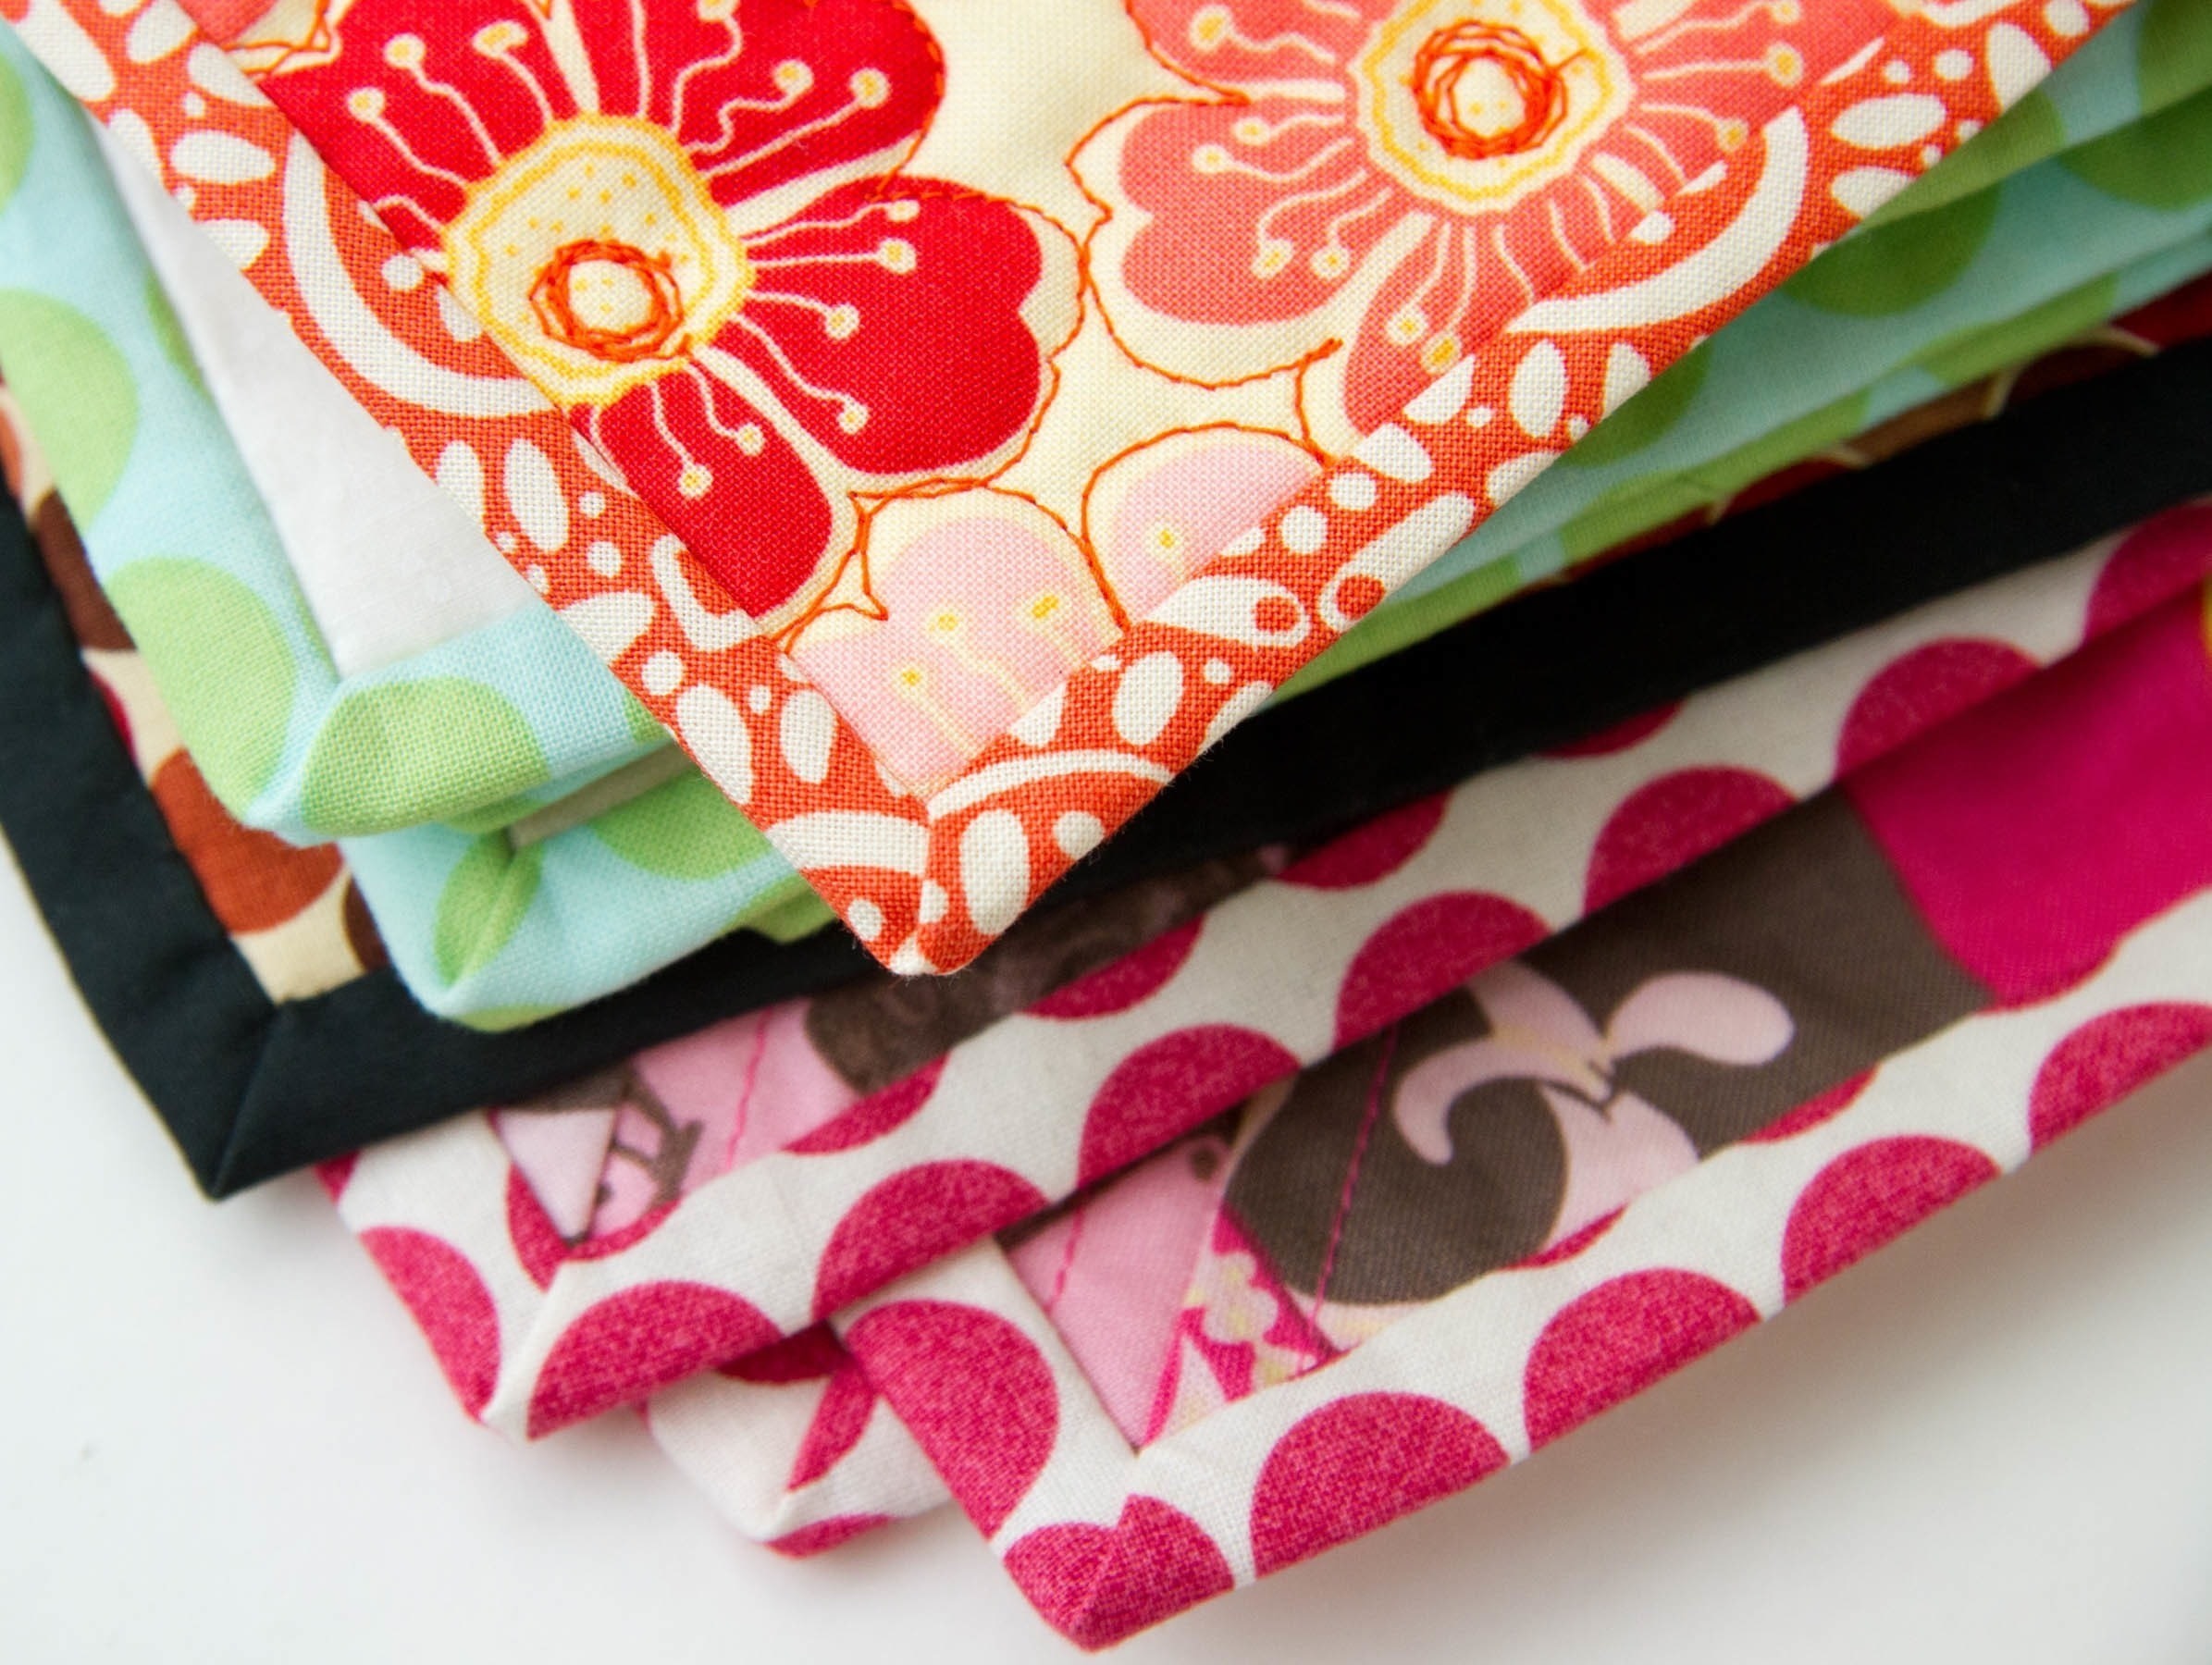
 Step 12
Working from the back, use a slip stitch to attach the binding to the quilt back!