


About
mcgonagall styled cloak in a rush
Alright! Halloween was on it's way and I could not for the life of me find what I needed for a Mcgonagall costume so I hit up Value Village and made what I could not find there. This is a tutorial for the cloak, but I'll add in a bonus step telling you what all I used for my costume in case you're interested. I should mention that I am by no means good at sewing, I am fairly clueless as to using a pattern or any such thing. This is just how I fumbled my way through, and hopefully it will be helpful to someone out on this sight. (BE WARNED. THIS TOOK ME TWO HOURS BECAUSE OF STEP 9. THIS TAKES PATIENCE.)
Tags
-
 Deb E. favorited Quick Cloak
08 Oct 13:55
Deb E. favorited Quick Cloak
08 Oct 13:55
-
 Raven Quinzel added Quick Cloak to Cosplay
17 May 15:04
Raven Quinzel added Quick Cloak to Cosplay
17 May 15:04
-
 irishrai added Quick Cloak to costume Adult
12 Jul 04:48
irishrai added Quick Cloak to costume Adult
12 Jul 04:48
-
 San added Quick Cloak to Harry Potter
01 May 17:30
San added Quick Cloak to Harry Potter
01 May 17:30
-
 Rebecca Lea G. favorited Quick Cloak
08 Mar 18:22
Rebecca Lea G. favorited Quick Cloak
08 Mar 18:22
-
 Chudames favorited Quick Cloak
26 Mar 14:50
Chudames favorited Quick Cloak
26 Mar 14:50
-
 Maria S. commented on Quick Cloak
15 Feb 18:00
Maria S. commented on Quick Cloak
15 Feb 18:00
-
Heidi D. favorited Quick Cloak
28 Sep 14:17
-
Alex2:a L. favorited Quick Cloak
11 May 18:31
-
 aneniine added Quick Cloak to DIY The Look: Dark Shadows
19 Nov 13:41
aneniine added Quick Cloak to DIY The Look: Dark Shadows
19 Nov 13:41
-
 Step 1
First you need to find a large sheet/table cloth. The size will varry depending on your own size and how billowy you want it, and the colour is up to you. I picked green for Mcgonagall.
-
 Step 2
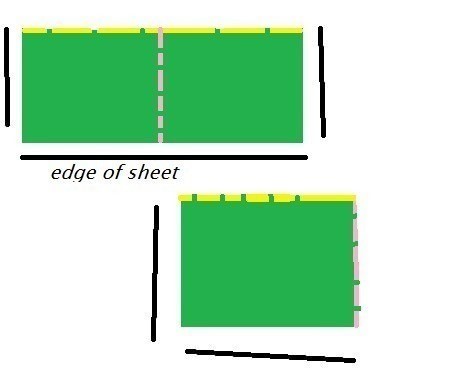
Take said sheet/table cloth and fold it in half horizontally....
-
 Step 3
....then fold it again in half, this time vertially. The edges should remain on the outside like in the picture.
-
 Step 4
Take your chalk and make an outline of where you'd like your sleeves to be, pin on te inside edge of your chalk line, then take your nifty scissors and cut on the outside of your chalk line. It should look like this.
-
 Step 5
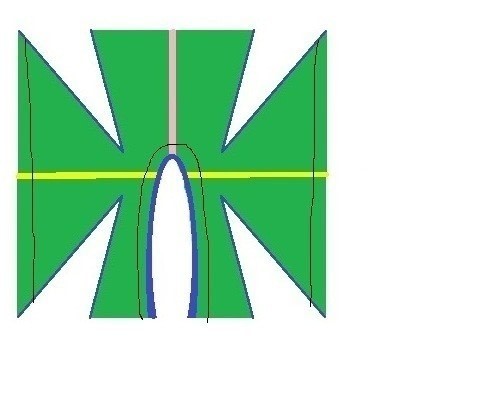
completely un fold your sheet and lay it out flat, it should look like this.
-
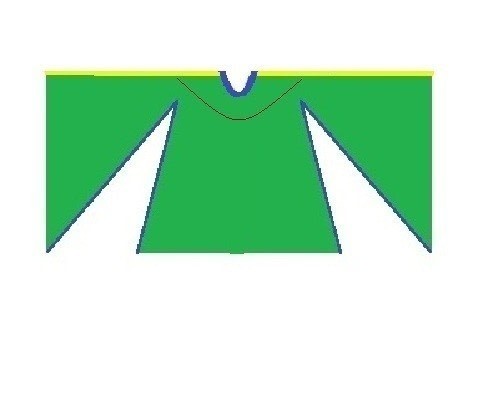
 Step 6
Again take the chalk and outline where your neck will go, and the opening of your cloak. Cut away.
-
 Step 7
Now fold back the edges (unless you want ragged edges) and sew them under so they're neat. (NOTE! If you want to line your cloak, this is the stage to do it in. I chose not to as I had a time limit, but you simply do this to two sheets and after hemming the edges sew them together insides facing.)
-
 Step 8
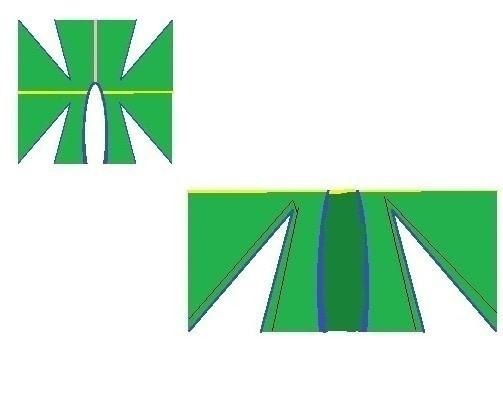
Fold your cloak down, inside out. Sew the under arm and sides of the cloak.
-
 Step 9
This is the part I had trouble with, as I wasn't sure what to do and the shoulders were much to wide to fit. After much trial and error, this is what I settled with. Sew a loose stitch across the shoulder....
-
 Step 10
...then pull the string from one end bunching up the fabric. I'm sure there ir a technical term for this, but I don't know it. You can scrunch as much ar you need to, but be careful and take your time or you'll break your string or just pull it out completely. you might find it easier to alternate sides from time to time.
-
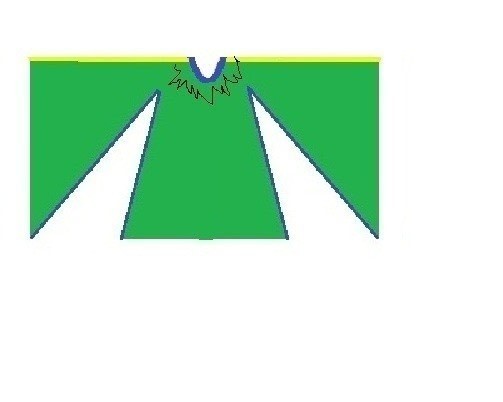
 Step 11
CAREFULLY take your newly scrunched cloak back over to your machine, loosen the foot a little so all it's scrunchiness will fit through alright, and run over it with a tighter stich to hold it all in place. You now have a cloak! I lieft mine plain, but feel free to embellish. Buttons,ties, togs, tassles and you more talented people could even add a hood. If your shoulders are still too wide on the cloak, either redo step 9 or just use safety pins under your cloak to hold it where you want it.
-
 Step 12
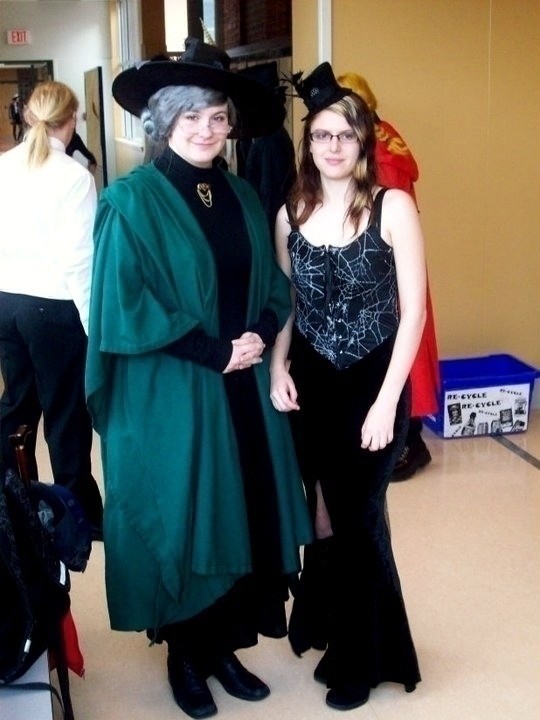
For my costume here's what I used.
1. Granny wig (in a bun it best.)
2. Small pair of reading glasses
3. Large brooch
4. Black high collard long sleeved shirt
5. Full length black skirt
6. black lace up boots
7. Wand (in this case decapitated paint brush)
8. Standard witches Hat
9. Pheasant feathersMake sure there is a ribbon or some detailing on your witches hat that you can stick your feathers into. With the wig, put the bun slightly to one side, then tilt the hat to the side. With the hat over the wig, you can't pull it down all the way which is what you want so you can fold the point down. Also, to get the full volume in the skirts, I layered three others underneath the black one.hope you like it! <3


Comments


