


About
lookin' spiffy!
I stitched up this Pusheen plushie as a gift for a pusheen fanatic's birthday:)
Tags
-
 Ms Dorito added Pusheen Plushie to Plushie
12 Jun 17:39
Ms Dorito added Pusheen Plushie to Plushie
12 Jun 17:39
-
 Luna D. favorited Pusheen Plushie
25 Apr 06:46
Luna D. favorited Pusheen Plushie
25 Apr 06:46
-
Barbara M. favorited Pusheen Plushie
30 Aug 20:45
-
Rebecca C. favorited Pusheen Plushie
08 Jul 06:57
-
Liza W. added Pusheen Plushie to Plushie Ideas
14 Dec 15:09
-
 Neko-San K. favorited Pusheen Plushie
31 May 20:18
Neko-San K. favorited Pusheen Plushie
31 May 20:18
-
 gloomy-smiles favorited Pusheen Plushie
06 Jan 22:30
gloomy-smiles favorited Pusheen Plushie
06 Jan 22:30
-
 meredith.p.martin.9 added Pusheen Plushie to Gifts
26 Nov 23:12
meredith.p.martin.9 added Pusheen Plushie to Gifts
26 Nov 23:12
-
meredith.p.martin.9 favorited Pusheen Plushie
26 Nov 23:12
-
chelsea g. favorited Pusheen Plushie
27 Aug 07:58
You Will Need
-
 Step 1
Looking at an example of pusheen, draw out a basic sketch of the character
-
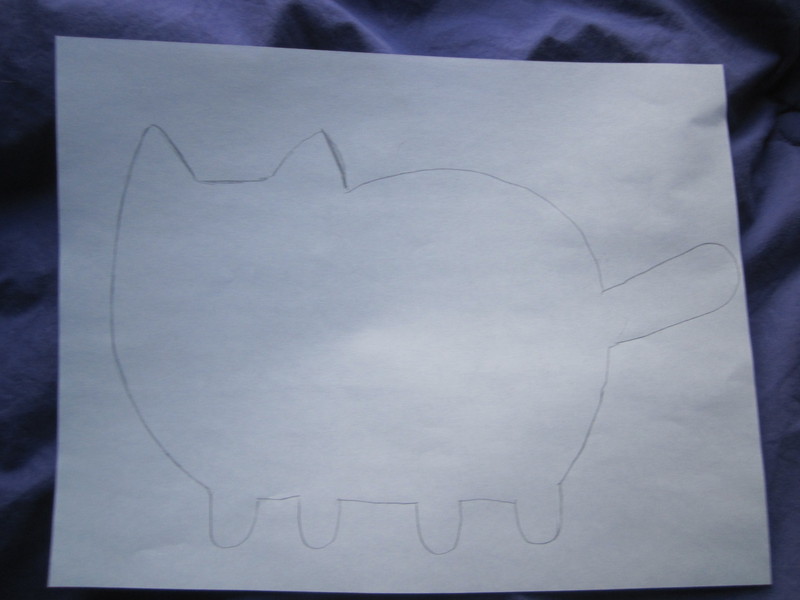
 Step 2
Now trace just the body of the cat on a different peice of paper.
-
 Step 3
Cut it out-this will be your pattern
(you can see where I cut his tail off-whoops!:)
-
 Step 4
On a large sheet of gray felt, trace around your pattern with a marker
-
 Step 5
flip the pattern over and trace it again
-
 Step 6
cut out the 2 body peices
-
 Step 7
As you cut, be sure to leave plenty of seam allowance, I went with a little over a quarter inch
-
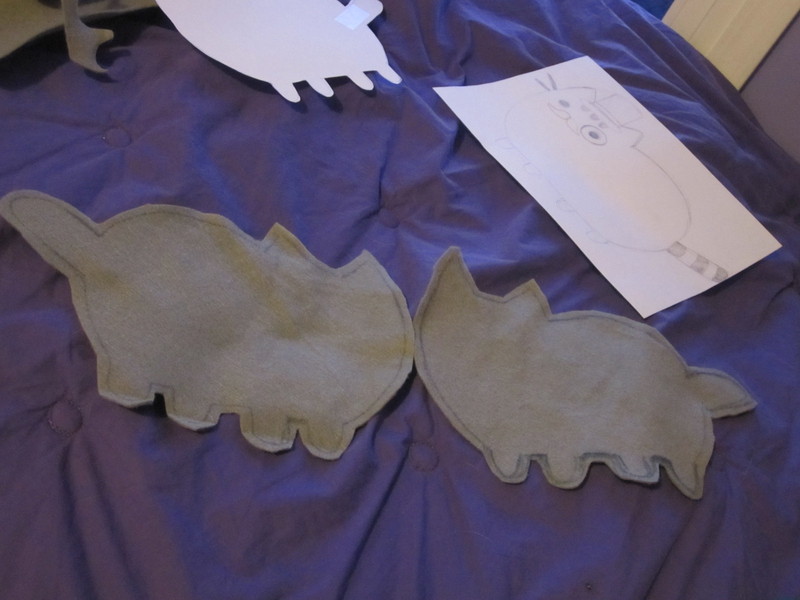
 Step 8
tada! here are the 2 sides of Pusheen's body
-
 Step 9
Now pin them, good sides together, so the marker lines are on the outside
-
 Step 10
See the red pins under Pusheen's tail? Don't sew between those pins, that is the area you will use to flip him inside out later on
-
 Step 11
starting at the underside of Pusheen's tail, sew all the way around along the marker lines
-
 Step 12
stop at the red pin on the back of Pusheen's rightmost foot
-
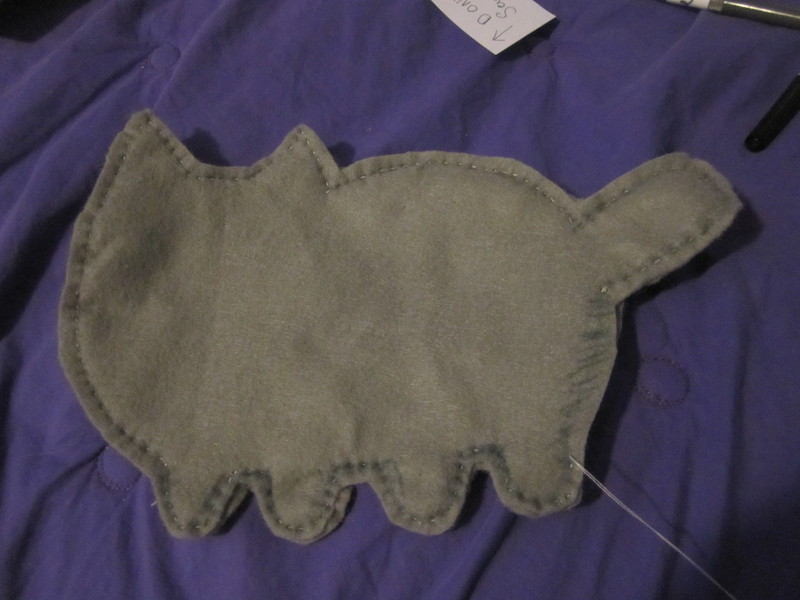
 Step 13
This is the area you left unsewn. now stuff all of Pusheen through this hole so he is inside out
-
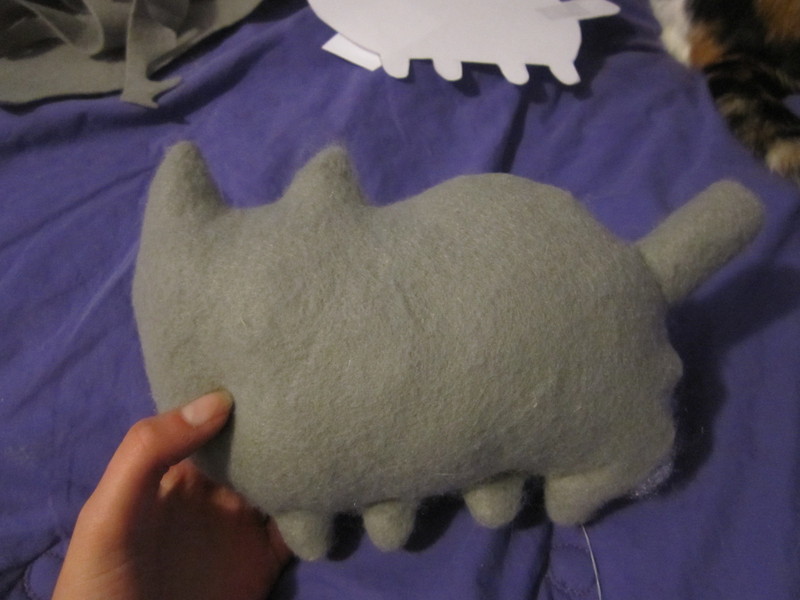
 Step 14
Lookin' fancy already!
-
 Step 15
Next, stuff pusheen so make him extra cuddly
-
 Step 16
sew up the hole nice and tight
I used a blind stitch-
this might help you
http://turningturning.com/tutorial-invisible-ladder-stitch-for-quilt-binding/ -
 Step 17
Congrats, that was the hardest part! now you just have to stitch on all of the details that give Pusheen his attitude. Start by cutting gray felt stripes for his tail and sewing them on securely
-
 Step 18
now, for his hat. go back and look at your sketch so you know about what size to make it.
Cut the 2 sides of the hat from black felt, making if slightly bigger that necessary to account for seam allowance -
 Step 19
pin the 2 sides of the hat together. This time, don't sew across the bottom brim of the hat, you'll need that open later
-
 Step 20
Sew all sides of the hat except for the bottom/brim
-
 Step 21
flip the hat inside out
-
 Step 22
stuff the hat with just enough stuffing to give it shape. After you sew it closed the same way you sewed up Pusheen, sew a stip of colored felt(I used deep violet) above the brim of the hat
-
 Step 23
Sew the hat between Pusheen's ears, make sure you stitch it plenty!
-
 Step 24
Cut out three semi-circles from gray felt and stitch them just below Pusheen's tophat
-
 Step 25
Now for his adorable face-
Cut out pusheens felt eye, monocle and 'stache. use pins to hold them in place while you sew -
 Step 26
Cut out three small rectangles for whiskers, mine were about 1 1/2 inches by 3/4 inch
-
 Step 27
roll the rectangles and stitch them so they don't unfurl. Now you can attatch them to Pusheen's face
-
 Step 28
Don't forget about the gray felt stripes on his back
Fancy Pusheen is complete!


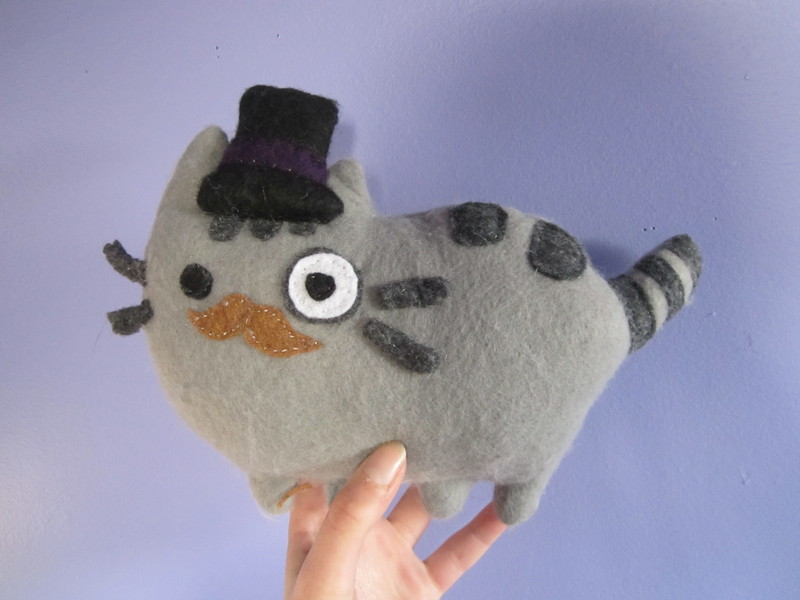


(like a sir!)