About
Keep those sicky sneezes at bay with prettiness!
I found this simple sewing project on an external link from tipnut.com. I used a very light flowery pattern for the outside and muslin for the inside lining. The interfacing in this projct is optional, I didn't use any in mine b/c i dig the softer feel. Don't mind the orange "boo"bag in the background, i went a little sew crazy that day and did two projects. This is my first published project so any feedback on the pix or descriptions would be much appreciated. Enjoy and Sneeze On!!!
-
 Step 1
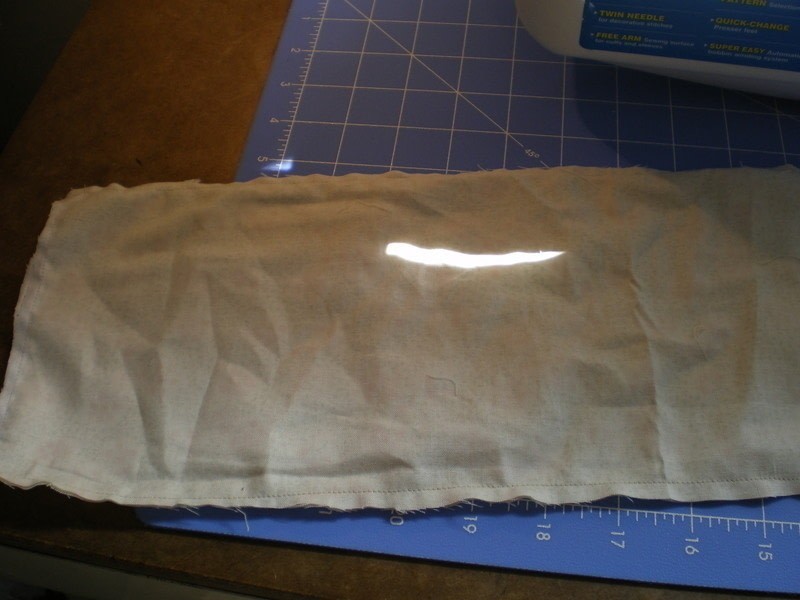
Start by selecting your fabric. I chose a lightly flower printed cotton for the outside and a cream colored muslin. Any fabric is fine, but keep in mind heavier fabrics and those with interfacing ironed in will hold a better (stiffer) shape. ***Cut out your fabic 6 inches by 9inches. If using interfacing, iron on the wrong sides now.
-
 Step 2
Sew your two sides right (outside) together with 1/4" seam. Leave at least a 2" opening to turn the fabric out. Trim the seam, not too close A little trick for really sharp corners is to cut them at an angle. it works. trust me.
-
 Step 3
Turn the fabric right sides out. Make sure you push the corners out so you don't have a wimpy rectangle. (I used a pencil.)
-
 Step 4
I reccommend doing this step for a crisp finish and overall look. I use steam and just run over the fabric paying attention to the seam and corners.
-
 Step 5
Fold the fabric in half (pattern out, muslin/lining in) to get a center line. Open the two sides, then fold them in to meet the center line. Pin in place.
-
 Step 6
Sew the pinned edge (top and bottom) about 1/4" to 1/8" seam. Re-inforce at the slit in the middle by running you machine forwards and back several times or making several hand stitches there. Trim your loose threads and pack with "puffs to go". Voila! No more tissue issues in the bottom of your purse!