


About
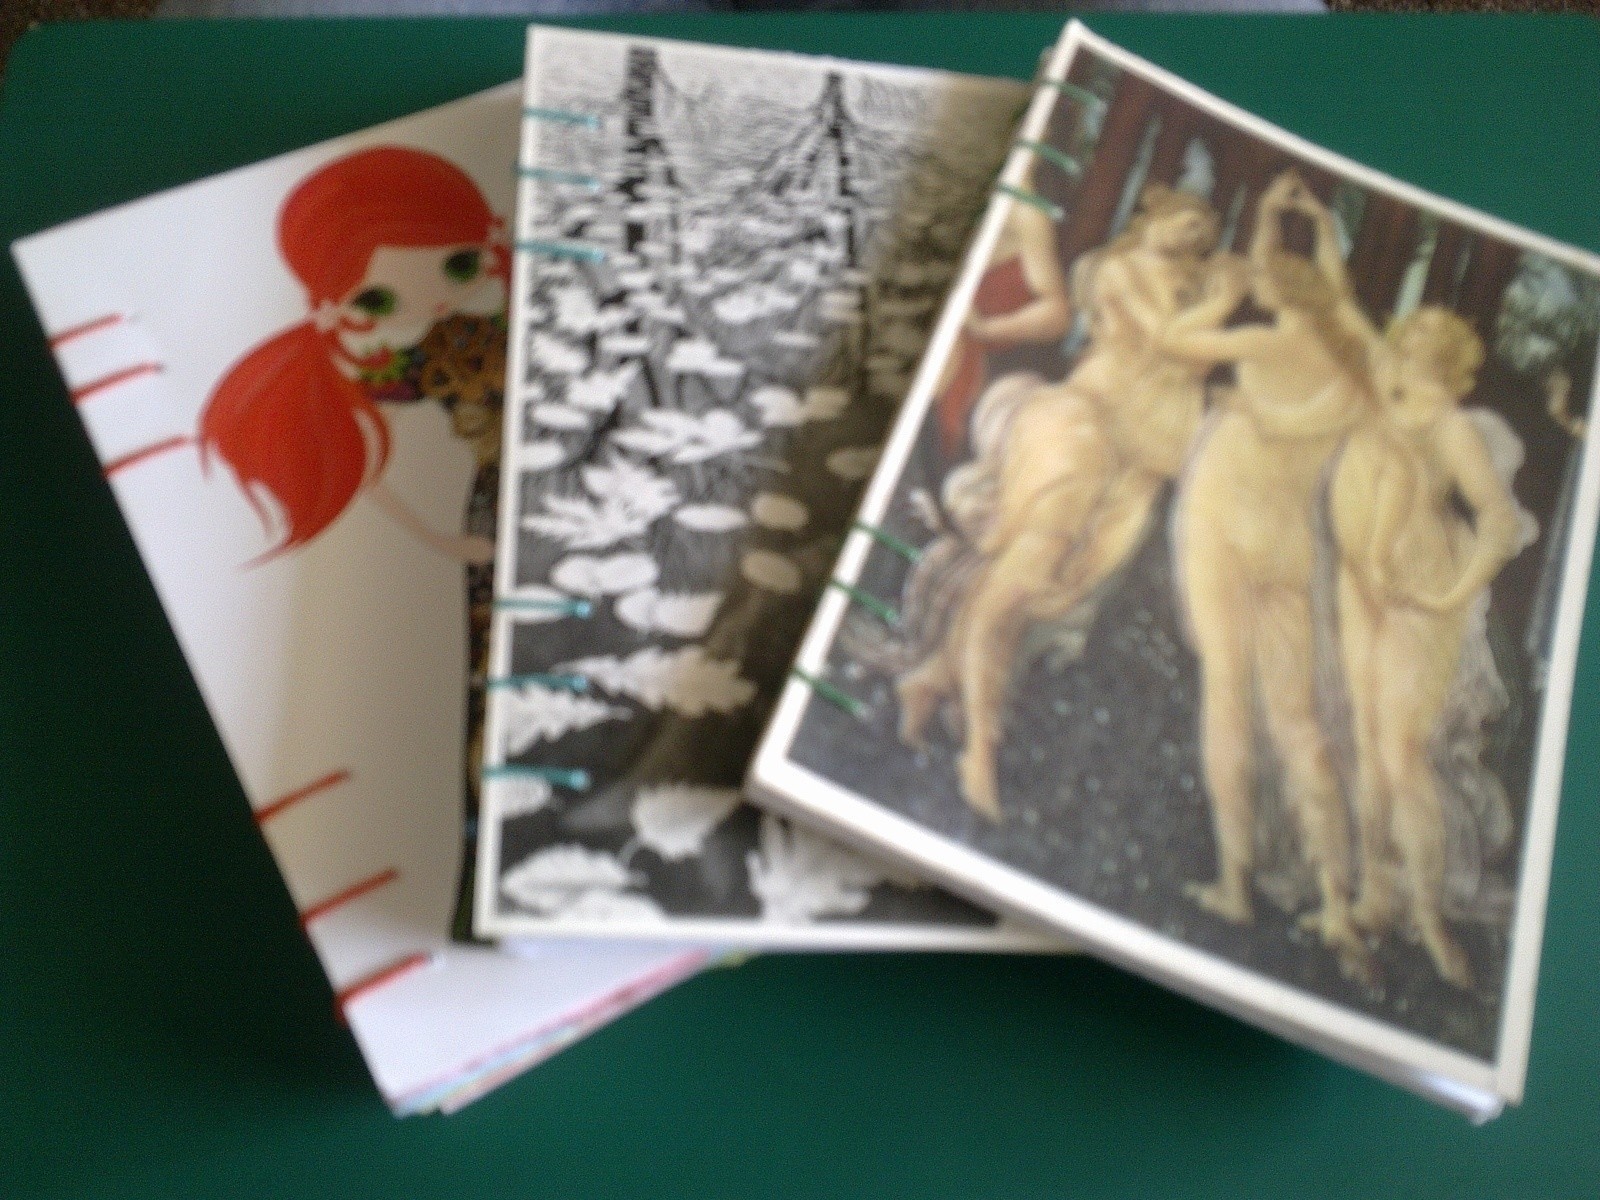
Hand-stitched using old postcards
This is modelled on a notebook that my friend made me (the one with the dancing women on the front). Its made from 6 individual pads of paper stitched together between postcard covers.
-
 C.J. M. added Postcard Notebooks to Paper
19 May 13:17
C.J. M. added Postcard Notebooks to Paper
19 May 13:17
-
C.J. M. favorited Postcard Notebooks
19 May 13:16
-
 Tashianna L. added Postcard Notebooks to Junk journaling/collaging/ mixed media art
20 Feb 23:02
Tashianna L. added Postcard Notebooks to Junk journaling/collaging/ mixed media art
20 Feb 23:02
-
 Rachel B. added Postcard Notebooks to DIY and Crochet Accessories
10 May 00:33
Rachel B. added Postcard Notebooks to DIY and Crochet Accessories
10 May 00:33
-
Alice favorited Postcard Notebooks
22 Apr 18:18
-
gettothepoint added Postcard Notebooks to CRAFT ideas
13 Mar 19:01
-
Heather H. favorited Postcard Notebooks
26 May 01:05
-
 Alex B. favorited Postcard Notebooks
12 Dec 07:53
Alex B. favorited Postcard Notebooks
12 Dec 07:53
-
 bemeself favorited Postcard Notebooks
24 Aug 22:04
bemeself favorited Postcard Notebooks
24 Aug 22:04
-
 piefacetoldmeso favorited Postcard Notebooks
08 Feb 20:57
piefacetoldmeso favorited Postcard Notebooks
08 Feb 20:57
-
 Step 1
Fold 3 sheets of paper in half. Cut or tear along the fold line (I tear mine because I like the rough edges). Put all the paper together and fold in half. This is the first pad of paper. Do this for the other sheets until you have 6 in total.
-
Step 2
Thread your needle and knot the end.
-
 Step 3
Make holes in the spine of your paper pads. (You don't have to do this beforehand, you can do it as you go, but it does make it easier). Make sure you line your papers up, so that your holes match up.
-
Step 4
Put the first pad and the front cover together. Pull the needle through the bottom hole of the pad so that the knot sits inside the pad.
-
 Step 5
Make a hole on the outside of the postcard about 1cm in, in line with the paper hole. Pull the thread through.
-
 Step 6
Pull the thread up to the top of the postcard and tuck the needle under the stitch you have just made and pull through. Put the needle back into the paper hole and pull through.
-
 Step 7
Move onto the next hole and repeat steps 5 and 6 until you have stitched along the hole length. It should look like the picture on the inside of the paper.
-
 Step 8
When you are at this point, your thread should be coming out of the inside of the paper. Tuck the needle under the thread and pull through the hole. Line up the next pad and attatch in the same way as in the previous steps, expect instead of making holes in the cover attach the 2 pads of paper by tucking the thread under the previous stitch.
-
 Step 9
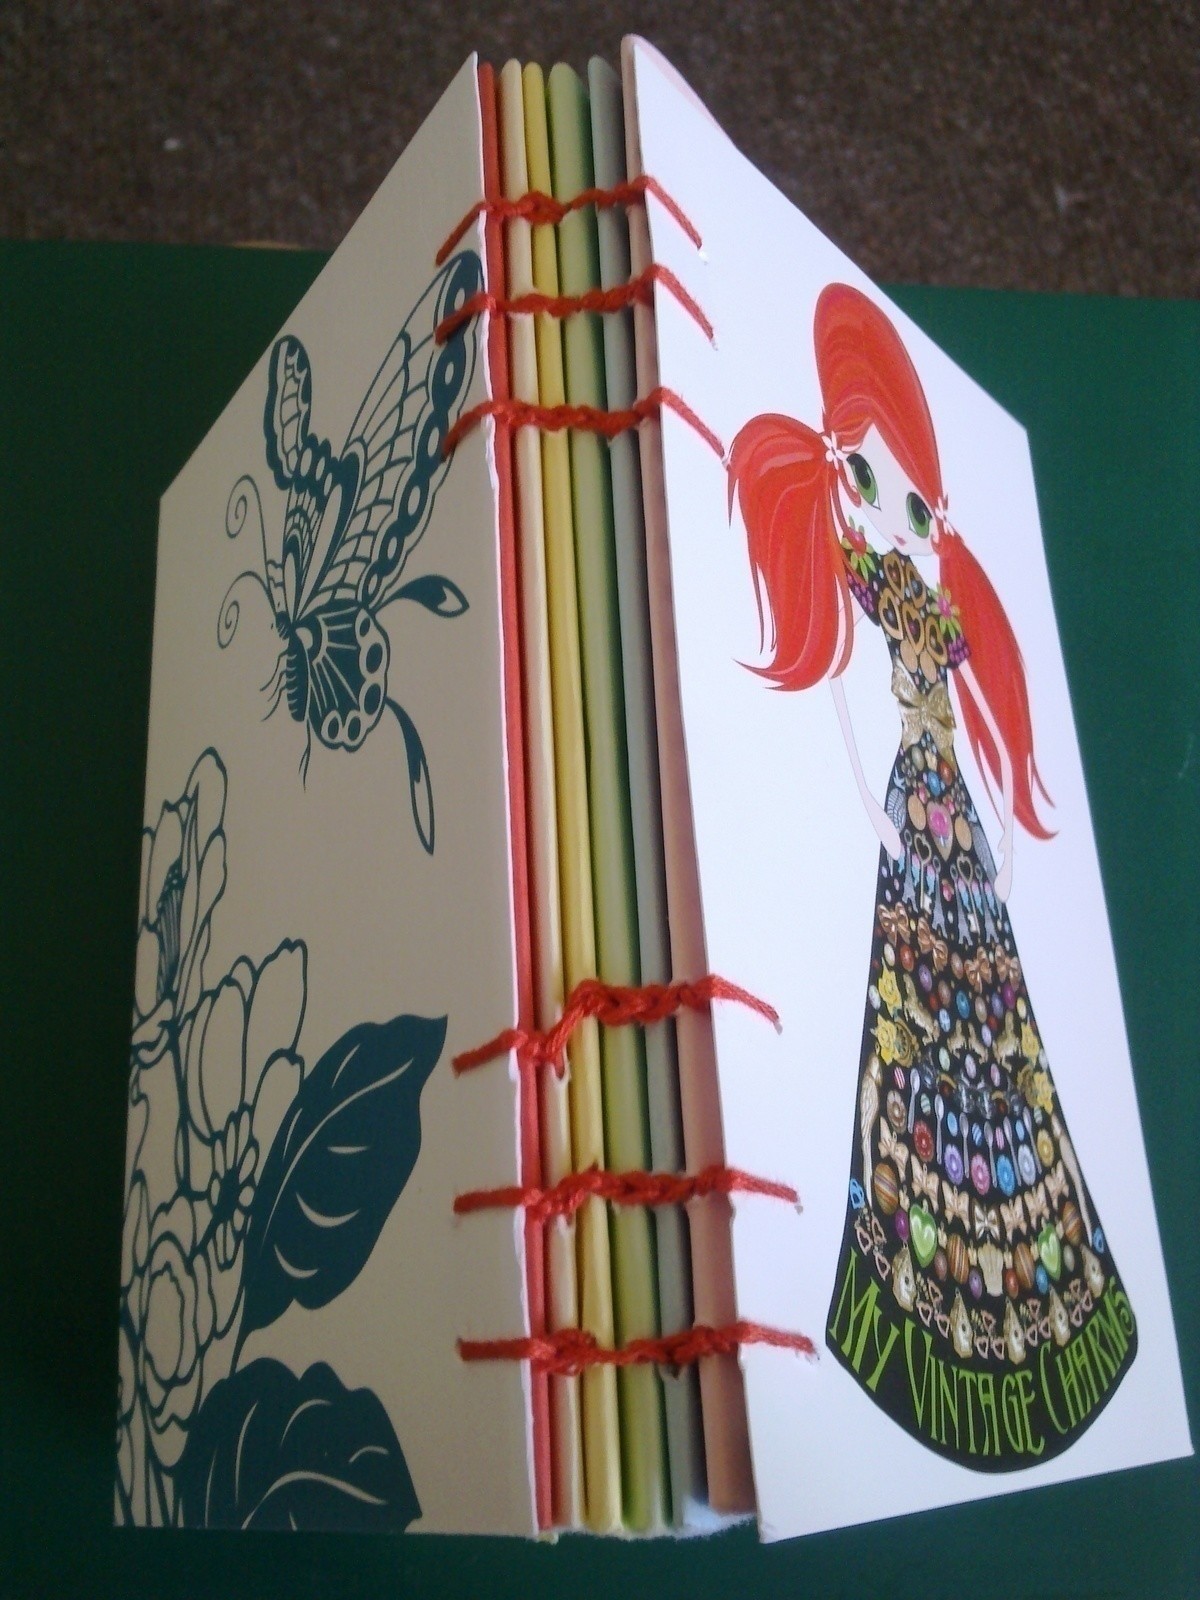
Continue until you have added all the paper pads and back cover. Knot the thread on the inside and trim the ends. The spine of yout notebook should look something like this. Enjoy!


Comments


