

About
Love is in the air...
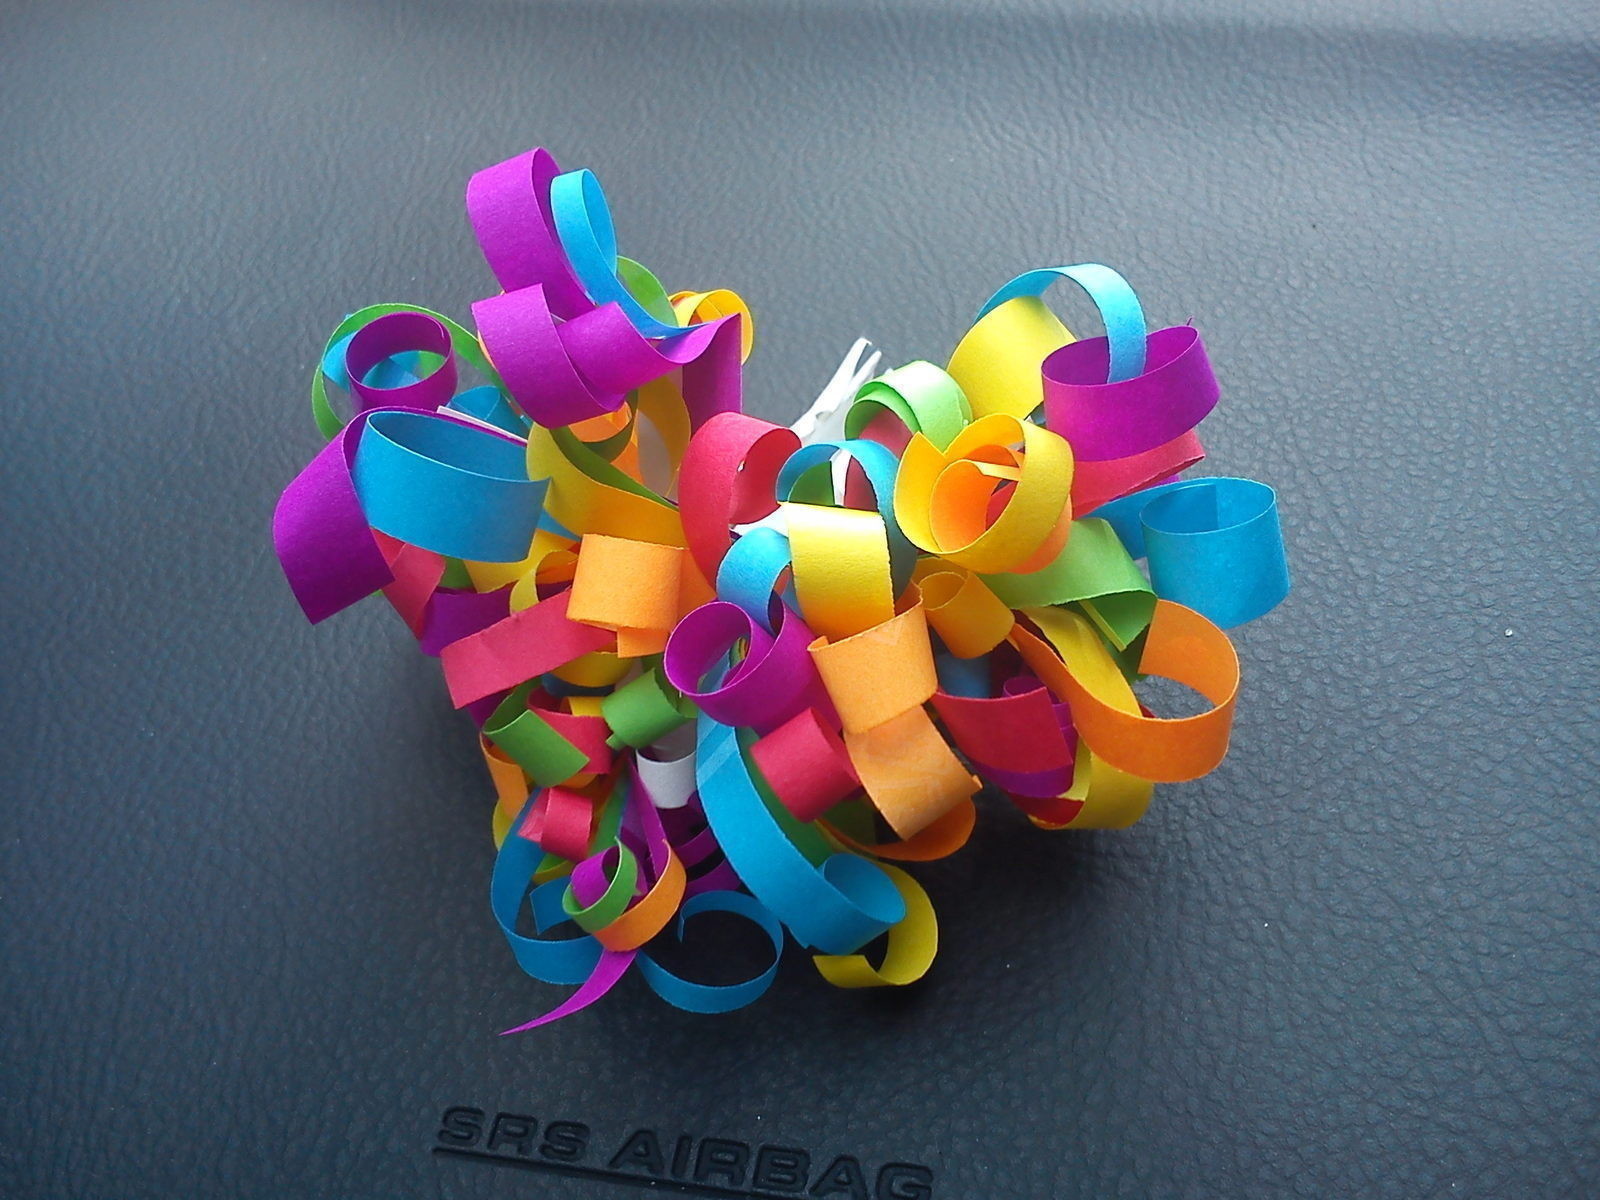
I did this ribbon for my boyfriend's birthday. I wanted to do something different for him so I wanted to make a rainbow color ribbon or something like that and ended up with a beautiful heart in my hand. Looks like my subconscuious betrayed me... Now, for the "how to" I made ANOTHER ribbon with just 1 post-it per color, but the more post-its you put, the more spongy your ribbon will be. I hope it helps you =D.
-
 Lee B. favorited Post It Heart Ribbon
18 Aug 04:24
Lee B. favorited Post It Heart Ribbon
18 Aug 04:24
-
 eccemullier favorited her project Post It Heart Ribbon
02 May 03:35
eccemullier favorited her project Post It Heart Ribbon
02 May 03:35
-
 minus m. favorited Post It Heart Ribbon
30 Oct 16:23
minus m. favorited Post It Heart Ribbon
30 Oct 16:23
-
 Lauren S. added Post It Heart Ribbon to Crafts
05 Aug 03:43
Lauren S. added Post It Heart Ribbon to Crafts
05 Aug 03:43
-
 fauziafifi added Post It Heart Ribbon to post it
11 Dec 15:14
fauziafifi added Post It Heart Ribbon to post it
11 Dec 15:14
-
fauziafifi favorited Post It Heart Ribbon
11 Dec 15:14
-
 WakeUpDarling... favorited Post It Heart Ribbon
13 Jul 17:57
WakeUpDarling... favorited Post It Heart Ribbon
13 Jul 17:57
You Will Need
-
 Step 1
First things first: I used all the colors in the rainbow plus a white post-it. You'll see how different the ribbon will be when you finish with white lightnings =D
-
 Step 2
Get the other 6 colors.
-
 Step 3
When you have them all, match them one behind the other and start marking strips all along the post-it and leaving a side uncut.
-
 Step 4
You'll end up with something like this.
-
 Step 5
Start folding the side you didn't cut as if it was a zig zag
-
 Step 6
You'll end up with something like this.
-
 Step 7
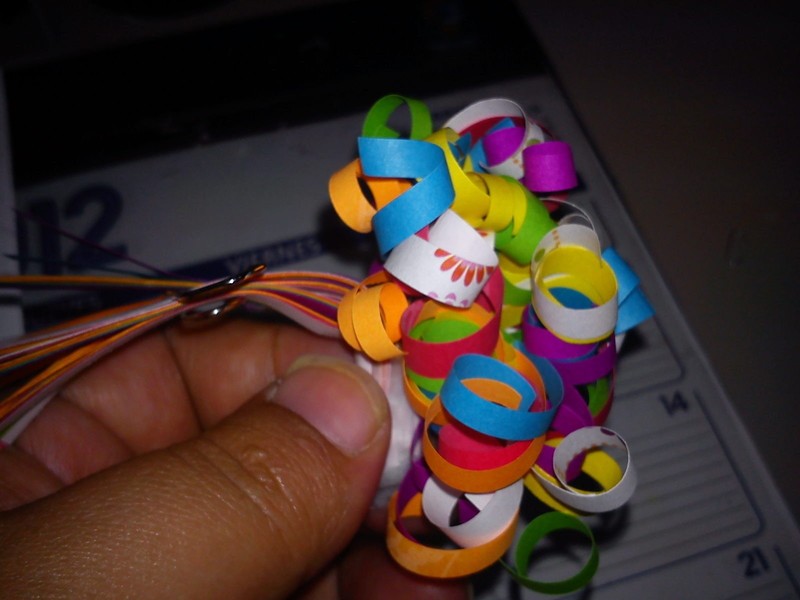
Stick this end with magic tape, as if you were doing a bouquet.
-
 Step 8
Split in two the bouquet and apply some presure for it to stay in half.
-
 Step 9
Start curling the first half of the strips with your scissors, my advise in here is that you make a curl in fron of the other. I mean: make a curl with the bouquet in front of you, and then turn it around and make the other curl with the bouquet with it's back at you. This is what will give playfulness to your ribbon.
-
 Step 10
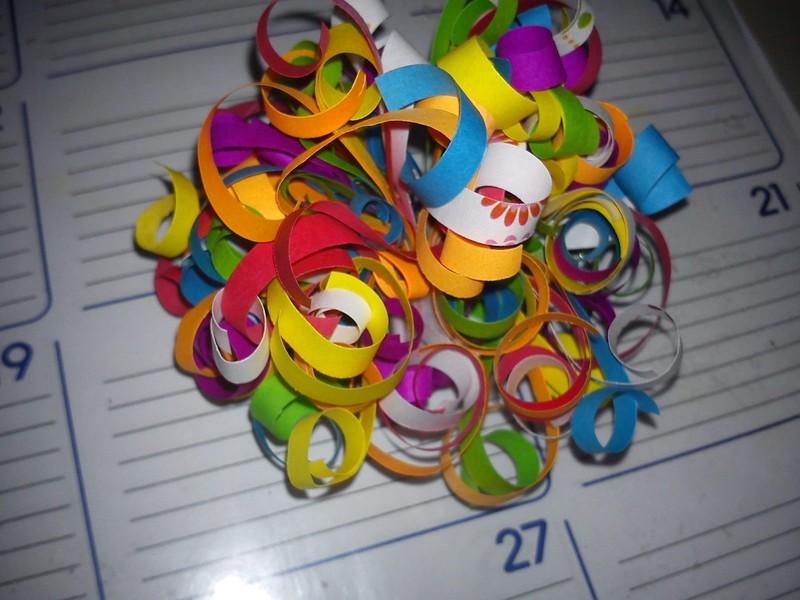
When you end up the first half your ribbon will look like this. Repeat step 9 with the other half.
-
 Step 11
When you finish curling, your ribbon will not have an specified shape. You'll have to make it, but don't worry!! You'll just need a squeeze.
-
 Step 12
Turn over your ribbon, look for the half of it again.
-
 Step 13
Squeeze the halves downwards and push the strips a little to the front of the ribbon.
-
 Step 14
And there you go! A Heart Ribbon =D!!! You can spong the ribbon with your hands and give it the shape you want. See how the white post-it highlight the ribbon?


Comments