

About
Soft and fluffy... what's not to love?
Pom poms make a great addition to hats, scarves, bags and pretty much anything else! If you have any questions, leave a comment below and I'll help you out as best as I can :)
You Will Need
-
 Step 1
Cut out two circles from thin cardboard. They must be the same size. Here I used a cup as the stencil for the main circle and a gluestick base for the inner circle. I suggest you make the cardboard a different colour from your pom pom, but it's not necessary. They usually look a lot nicer than mine, but I use the same ones a lot.
-
 Step 2
Put the cardboard pieces back to back.
-
 Step 3
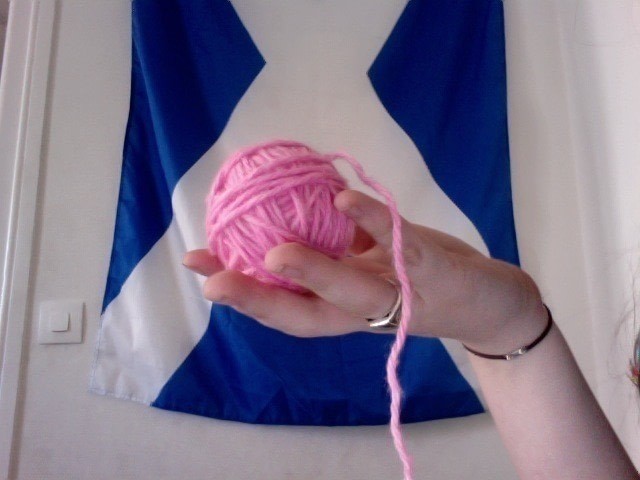
Cut a long length of wool, string or thread; whatever you want your pompom to made off. Thicker wool will create a larger, fluffier pompom. For this tutorial, I'm using thin, pink wool.
-
 Step 4
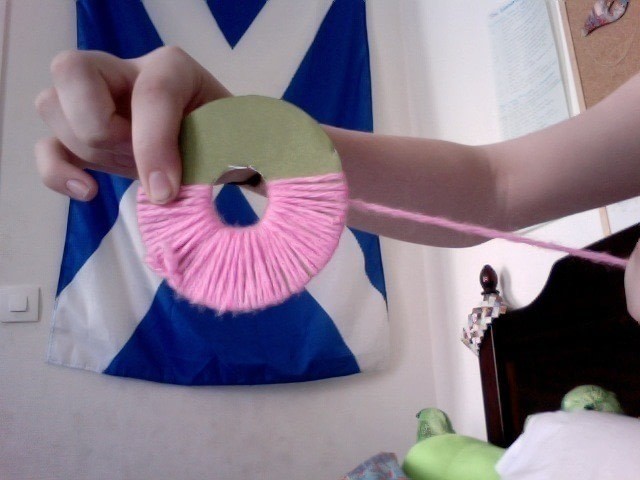
Get the end of your length of wool and put it through the frame like this.
-
 Step 5
Now gather up the rest of the wool, and put it through the hole again, creating a loop. You have to put it through in the same direction as you did the first time! You now have two lines.
-
 Step 6
Keep putting the wool through the hole. You'll start seeing a build-up of wool.
-
 Step 7
Keep going...
If you get to the end of your wool, don't panic. Just cut another length and keep going; no one will notice :)
-
 Step 8
When you're finished, it should look like this. You can't really tell in the photo, but there are still a lot of areas where you can see the cardboard through the wool. If you want a thinner pom pom, you can go ahead and move to step 9 now. However, I usually go over the entire frame a second time to make it extra fluffy.
-
 Step 9
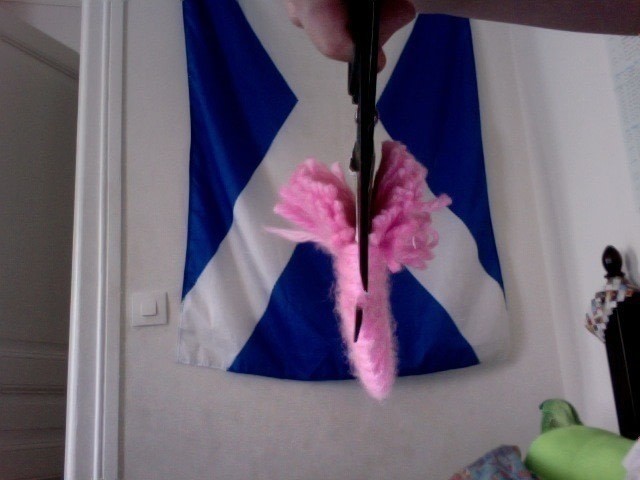
Now start cutting the wool. Get your scissors and place the blade in between the two cardboard frames. Cut the wool along the circumference of the frames.
-
 Step 10
Cut another length of wool, a lot shorter this time. This will be used to secure the pom pom. If you want your pom pom to dangle or have a handle, make it longer.
-
 Step 11
When you've cut all the way around the pom pom, use the new piece of wool to tie a knot around the centre. Make sure you do it in between the two cardboard frames.
-
 Step 12
Once the pom pom is secure, grab the two frames and gently slide them off the sides of the pom pom. You can cut it to make it easier, but I like to reuse my frames.
-
 Step 13
This is what you should have. Scrunch the pom pom in your hand and roll it around so the wool spreads out into a sphere.
-
 Step 14
Ta da! There you have your pom pom! You can trim any bits of wool that are sticking out to make it look neater if you want.
-
 Step 15
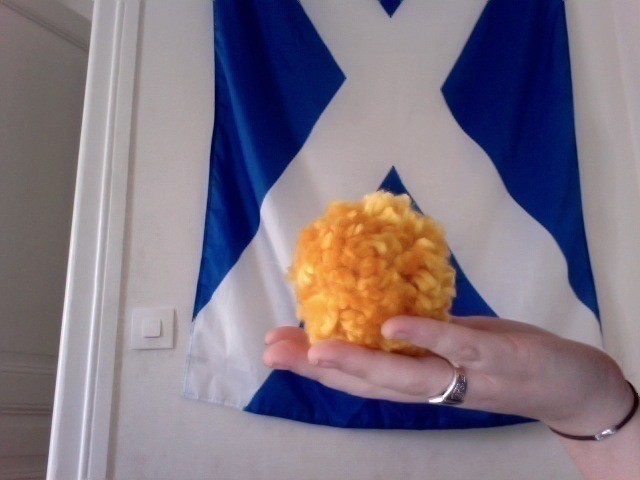
Here's another pom pom I made using much thicker wool. This one doesn't have a handle. Experiment with the size of your frames and use different colours of wool or different materials and see what you can come up with! I'd love to see what you make. Post your variations below and I'll post my favourites on my blog :)


Comments


