
About
Use a simple transfer technique to create faux china charms from polymer clay
I love to create jewellery that is not what it appears. Polymer clay offers endless opportunities to create components that look like other materials, whether it be faux leather, gemstones, metal or china.
The advantage of using polymer clay to create these pretend china shards is that none of my vintage plates needed to be broken in the process! The resulting charms are also more durable than real china ones.
Find all the polymer clay and tools at www.cooksongold.com and the Chinese crystal at www.totallybeads.co.uk
Tags
-
 Alex Z. added Polymer Porcelain to Интересное
12 May 17:25
Alex Z. added Polymer Porcelain to Интересное
12 May 17:25
-
 Sarah Sylvia S. favorited Polymer Porcelain
18 Jul 04:38
Sarah Sylvia S. favorited Polymer Porcelain
18 Jul 04:38
-
 Kathy C. favorited Polymer Porcelain
04 May 23:42
Kathy C. favorited Polymer Porcelain
04 May 23:42
-
 dlsdesigns favorited Polymer Porcelain
16 Apr 02:39
dlsdesigns favorited Polymer Porcelain
16 Apr 02:39
-
 Amber L. favorited Polymer Porcelain
13 Apr 06:24
Amber L. favorited Polymer Porcelain
13 Apr 06:24
-
Kym J. favorited Polymer Porcelain
02 Apr 19:02
-
 Helen Bowen published her project Polymer Porcelain
24 Feb 09:00
Helen Bowen published her project Polymer Porcelain
24 Feb 09:00
You Will Need
-
 Step 1
If you've completed one of my other projects (Time for Tea, Deceptive Drops,Temple Tassle), you can use the same willow pattern plate photograph. If not, you’ll need to take one! If it’s a very large plate, a section will suffice.
Use a high quality setting on your camera and ensure good lighting. You now need to print off the photograph on a LASER printer. Note that the transfer technique will not work with an image printed on an inkjet printer. If you don’t have a laser printer, get a copy shop to print one off for you. Print it out so the pattern is the same size as the pattern on the plate.
Take your laser printed plate photograph and cut a piece from an area with a pleasing pattern. I like to use a piece from the rim of a highly patterned plate — it shows the circular shape and makes the finished pieces identifiable as plate pieces. A paper piece roughly 4” by 3” (12x9cm) should be enough to make the charms required for this project. -
 Step 2
Now prepare the FIMO®. From an 85g block, cut a piece three ‘grooves’ wide (three eighths of the block). A clay cutting blade is a useful tool here. This one has plastic ‘handles’ at each end.
-
 Step 3
Roll the clay initially with an acrylic clay roller until it is around an eighth of an ¼” (5mm) thick. To condition the clay, you can either continue to work it using your hands and roller, or use a pasta machine on its thickest setting. Pass the clay through several times, folding over between each pass, until the clay becomes much softer and more pliable. Once conditioned, roll the clay out to around an eighth of an inch (3-4mm) thick (the same thickness as a plate!). At this point you should transfer to a ceramic tile or an ovenproof plate. The latter gives you scope to add some shape to your shards as described later.
-
 Step 4
Take the plate image and place it onto the clay, image side down. Burnish the image to the clay using a burnisher or a rounded pen lid to ensure the image is flat and adhered to the clay all over.
-
 Step 5
Now spray the back of the paper with water. Don’t use warm/hot water else the ink will smear. Leave to soak in for a moment then use a light circular rubbing action with your fingertips to begin to remove the damp paper. It will come off in little balls/rolls of wet paper. Take your time and keep spraying with water to remove the paper, layer by layer.
-
 Step 6
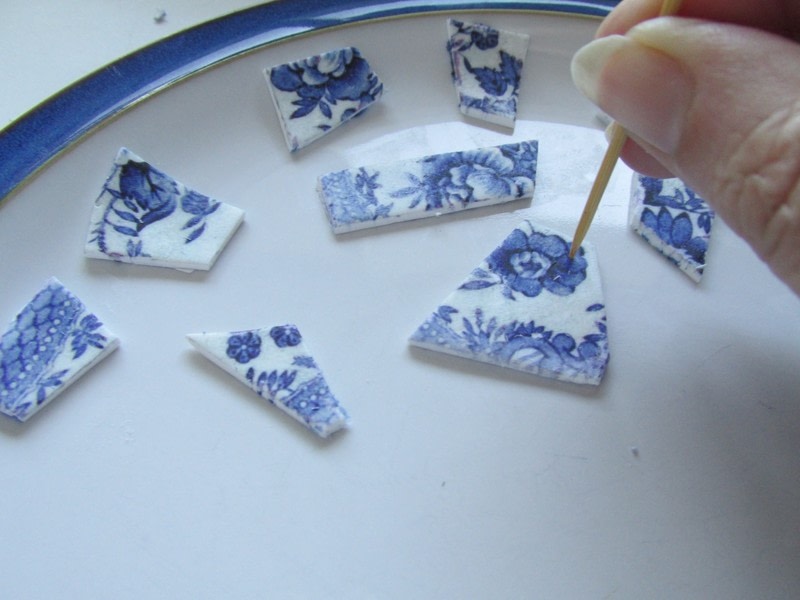
Slowly, the image will begin to be revealed. You will be able to feel when you have removed all the paper from the image as the surface will be smooth to the touch. The transferred image doesn’t need to be perfect. The charms are supposed to look like broken china pieces dug up from the garden. If you rub too hard in places and blur the image, don’t worry, it really just adds to the charm!
Once you are happy that you have removed all the paper, you can use the flexible cutting blade to cut the clay into shard-like shapes. I made charms for the main bracelet plus longer trapezoid shapes for earrings and a larger piece for a pendant. -
 Step 7
Use a cocktail stick to make a hole in each shard. These holes will be for attaching the charms to jump rings later. The clay can shrink a little in the oven but these holes will serve as guides if re-drilling is necessary. If using a ceramic tile, bake the pieces in situ but if using a plate, you might like to carefully move each piece to the curved edge of the plate so that the pieces take on some character!
-
 Step 8
Bake the pieces in the oven according to manufacturer instructions. Leave to cool then use a fine sandpaper to smooth the corners and edges and make the pieces look more aged. Be careful not to sand the image. You can also re-drill any holes that have shrunk during baking at this point.
-
 Step 9
Arrange your clay shards into a graduating pattern as shown and then pick out seven to use in the bracelet. I put the smallest, longest and largest pieces aside for other items.
-
 Step 10
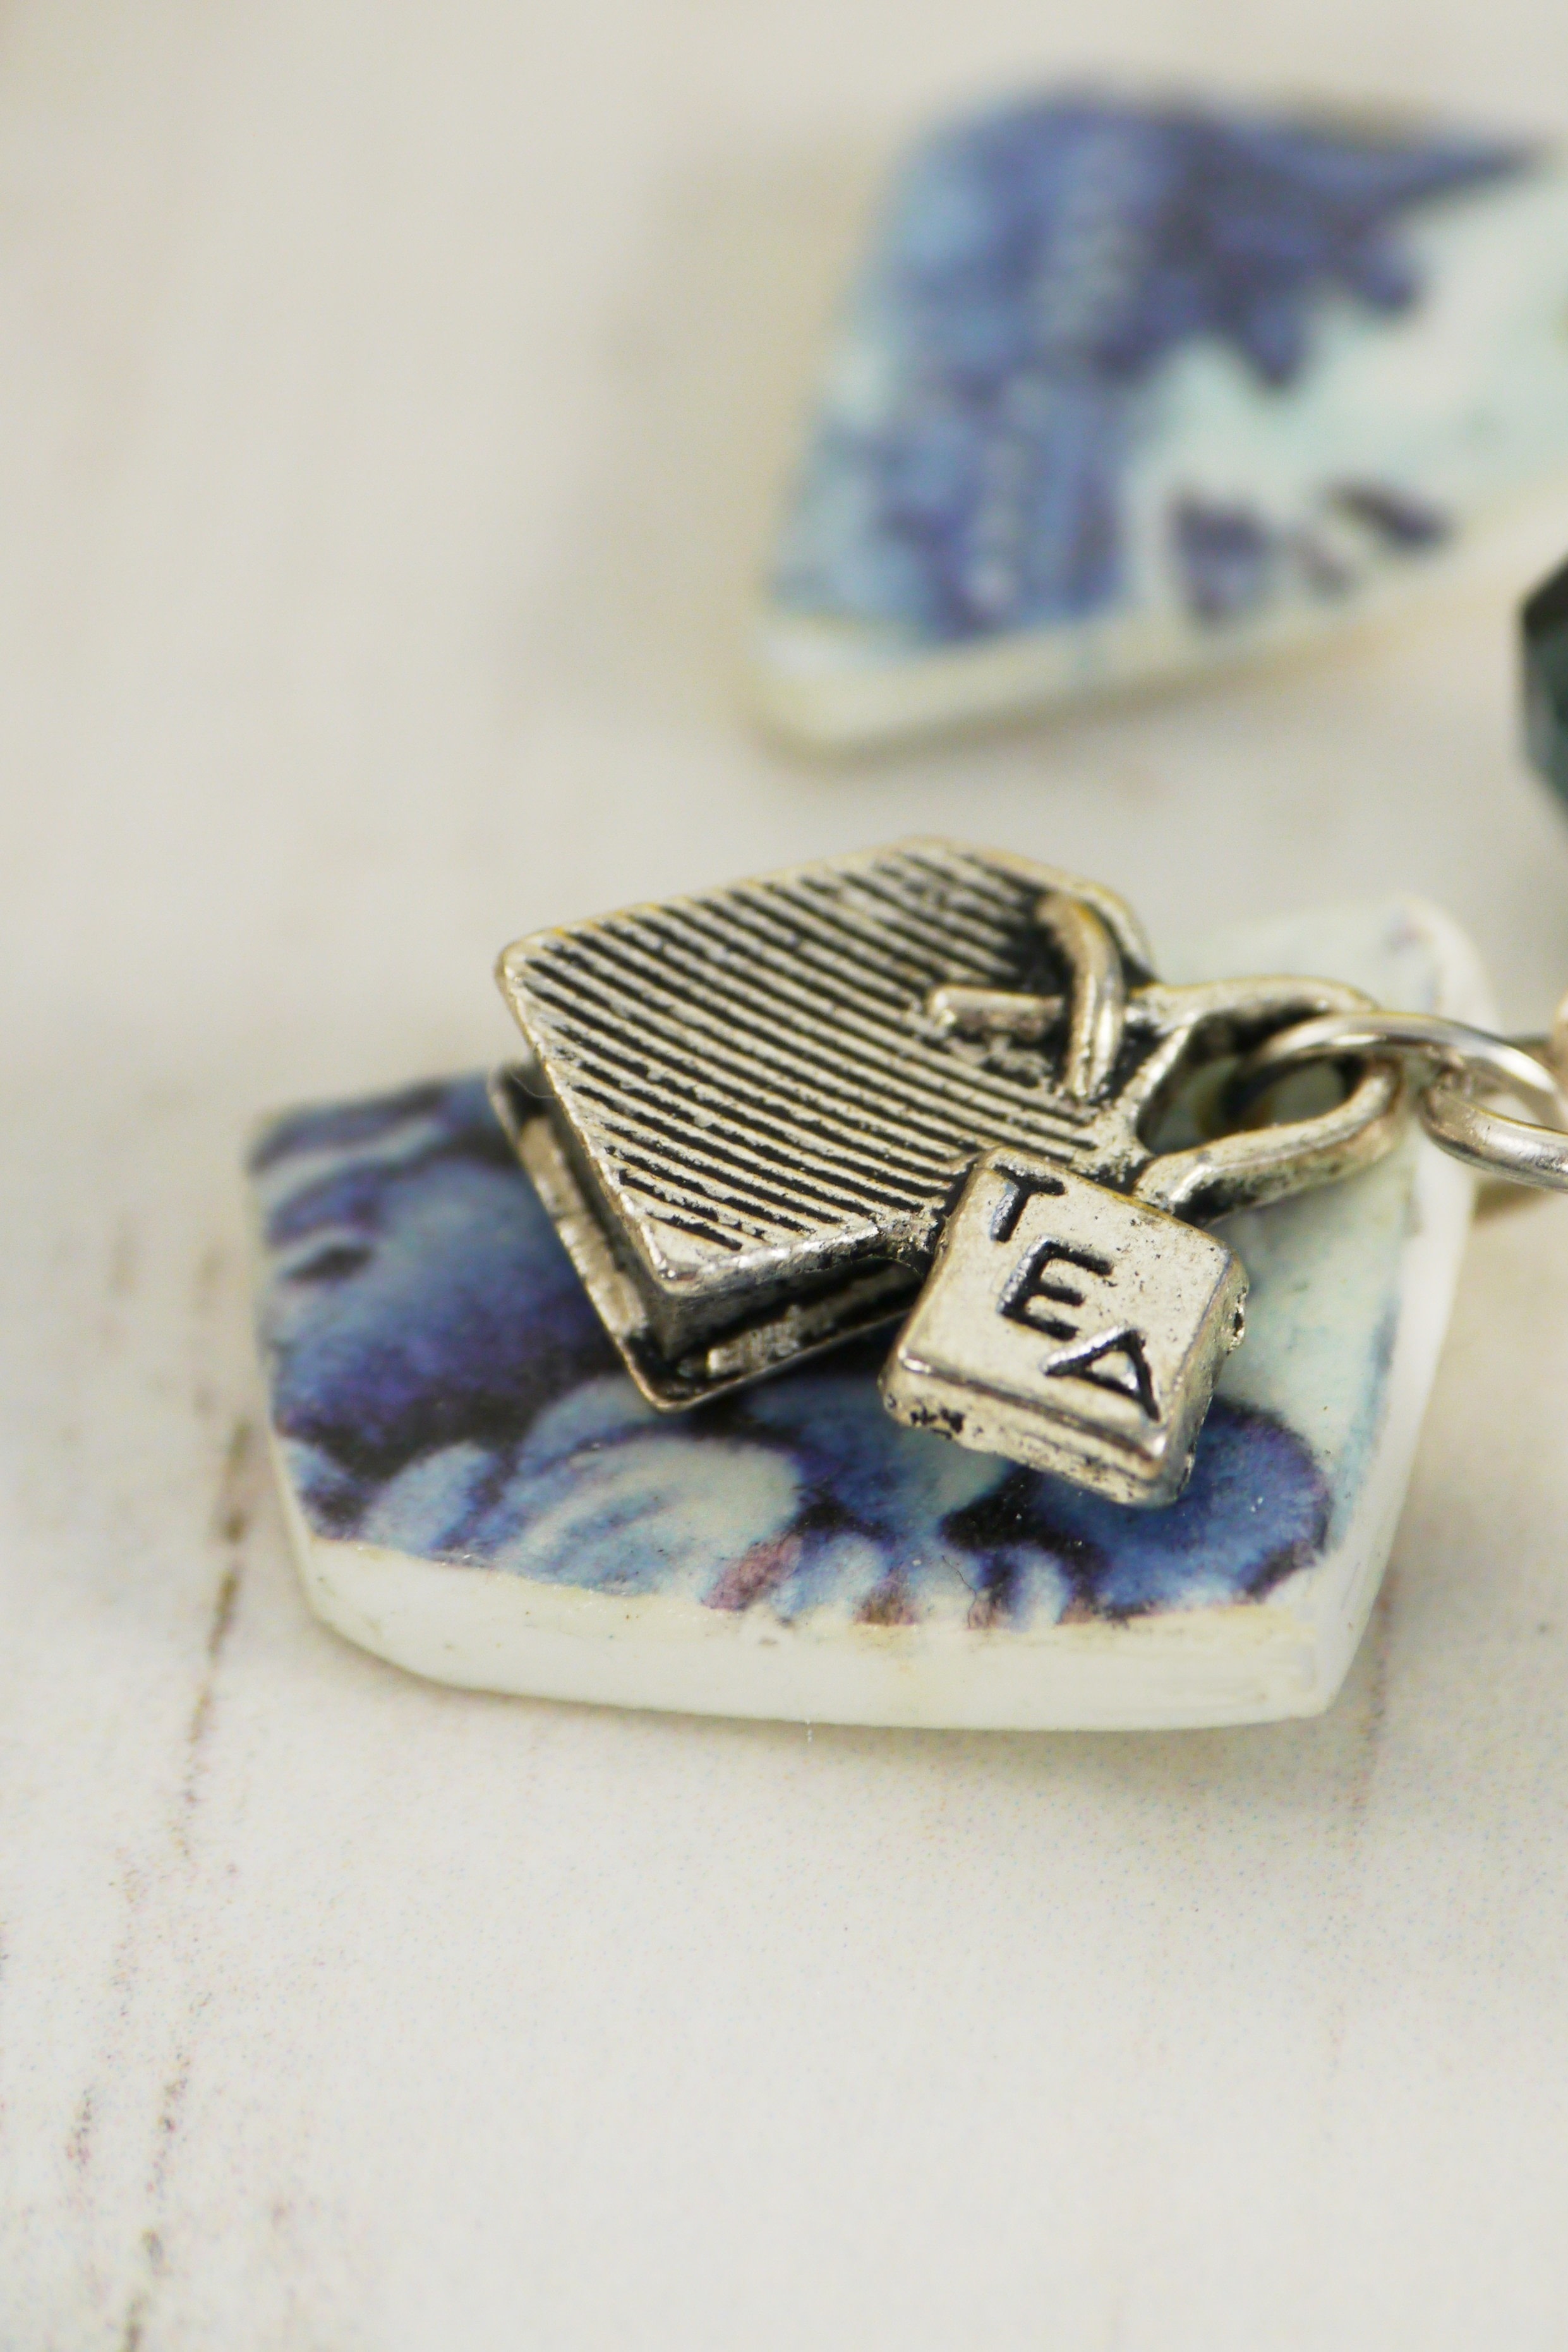
Using silver plated wire, make wrapped loop bead links using the Chinese crystal and ceramic beads. I added bead caps to the ceramic bead links as the holes were quite large. Link the beads together using jump rings and add the two clasp components with smaller jump rings. Thread each clay shard onto a jump ring to create charms. Make flower dangles by threading flower beads onto headpins and turning a loop above. Now add the shards and charms to the jump rings between the beads as shown. Add a flower dangle to some and a tea-themed charm to others.
Your bracelet is ready to wear!