


About
37-Minute Polyester Reversible Tote Tutorial
We're shooting for this: Two. Two. Two bags in one.
I think this thing really could be sewn in about 37 minutes, but I tend to sew in 4 1/2 minute increments, so it takes me longer. You could pull this off in an evening. It's a cinch.
Here go the steps:
-
 Bridget D. favorited Polyester Reversible Tote
28 Aug 19:17
Bridget D. favorited Polyester Reversible Tote
28 Aug 19:17
-
 sian d. added Polyester Reversible Tote to make me
29 Dec 22:31
sian d. added Polyester Reversible Tote to make me
29 Dec 22:31
-
KIM K. favorited Polyester Reversible Tote
05 Oct 22:33
-
Linda B. added Polyester Reversible Tote to Bags
09 May 14:10
-
 marilyn.steckly favorited Polyester Reversible Tote
20 Apr 22:47
marilyn.steckly favorited Polyester Reversible Tote
20 Apr 22:47
-
 emzilou favorited Polyester Reversible Tote
18 Aug 18:10
emzilou favorited Polyester Reversible Tote
18 Aug 18:10
-
 Faith S. favorited Polyester Reversible Tote
27 Apr 05:26
Faith S. favorited Polyester Reversible Tote
27 Apr 05:26
-
 KatyJane favorited Polyester Reversible Tote
09 Dec 03:51
KatyJane favorited Polyester Reversible Tote
09 Dec 03:51
You Will Need
-
 Step 1
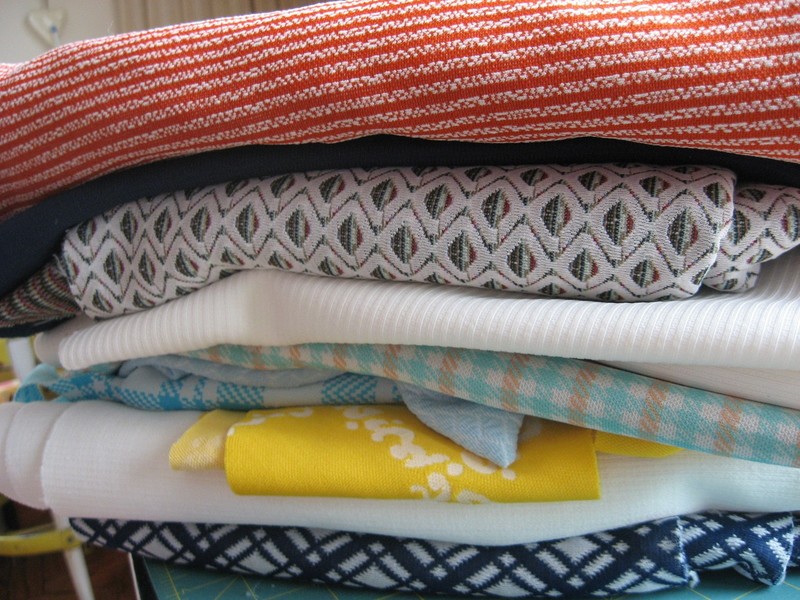
GO GET SOME SUPER OLD, OLD, THICK POLYESTER.
First of all, let me say a word about the unbelievable PERFECTION of old, old, thick polyester.
Yes, I've already said it here and here, but I'm going to say it again: not only does the stuff not ever destruct (think roaches wearing elastic-waisted slacks in a nuclear meltdown), it comes in patterns that nobody ever before-or-since the Era of Doubleknit Omnipresence ever fathomed--patterns that, even when they're out of grayish brown and sort of dour-looking--don't make me ever anything but super happy. They are, in effect, a jolly fabric.
Really, the only thing they have going against them (besides their penchant for holding on to old smells--sorry, it's true. Always sniff before you buy.) is that they melt. So don't drop your cigarette into this bag or hold it while you're so frustrated with your kids that you want to light your own hair on fire. Do run to the fabric section of your favorite thrift store and actually BUY those super-cheap rolls of doubleknit that you've always set aside in your quest for something way cooler.
-
 Step 2
CUT YOUR PIECES.
The best thing about this tote is that it takes six pieces. That's it: 6. 2 for the bag. 4 for the straps. No biggee.
These two big blocks are 19" X 28" and the straps are 2" X 25'. Use these measurements as guides. Because I work from scraps, I use the closest thing to a 20"-ish X 30"-ish piece that I can swing from my smallest scrap and then match it.
Same goes for the length of the straps: shoot for about 25"-ish in length (I had to lengthen those four in the pic. They were shorty-er than I thought. No biggee. It's just a stitch.) And NEVER go skinnier than 2" wide. Trust me, when you try to turn them right side out you'll say words out loud you haven't said since you were in 11th grade.
-
 Step 3
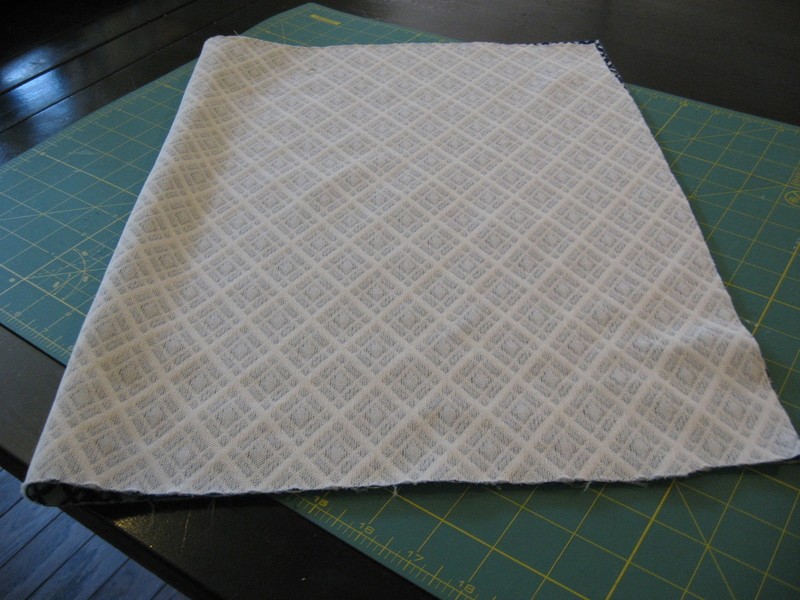
SEW TWO LITTLE SACKS.
I swear. That's all you have to do in this step: you're going to make two separate bags. Take one of your big blocks of happy polyester and fold it in half with the side you don't want to show on the outside. It will look like this:
-
 Step 4
Then sew up 2 of the 3 open sides. Just leave the top open.
And yes, that's two seams you see on that one side because I screwed up and didn't have a solid seam. But it was no big deal. I just added a decent one next to the crummy one. It's not gonna screw anything up. And remember: we're making this to use, not to for Aunt Bee to deconstruct and judge us at the county fair. We just don't want the rutabegas we buy at the farmer's market to fall out the bottom. So just sew another line if the sometimes sort-of-slippy polyester gets away from you a little on one side.
-
 Step 5
You'll end up with one of these:
Now do it all again so you have two.
-
 Step 6
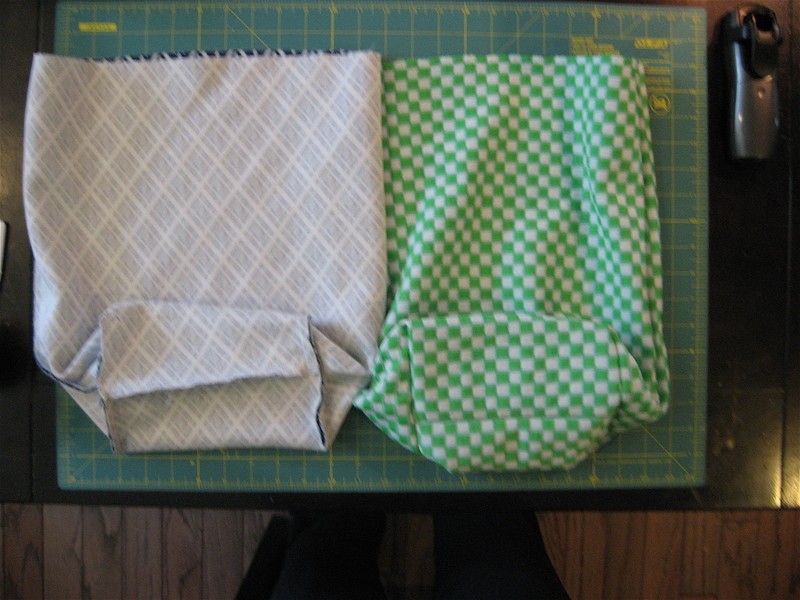
GIVE THE SACKS A BASE.
This is not hard, I promise. After you do it once, you'll feel like you have magic powers. (ThinkJeanie. Think Hermione. Think Carol Merrill.)
First, fold the bottom seam of the bag so that it looks like this:
-
 Step 7
Then mark two spots 5 inches from the the tip top and sew a line straight across from one mark to the other. This is the part that makes the magic bottom. (I just said "magic bottom.")
-
 Step 8
Like this (this is me sewing the second one--see it's going along quite nicely, isn't it?):
-
 Step 9
Once you sew across, you can cut off the end of the triangle if you want. If it makes you nervous, leave it. No one will know. It will just be sort of bulgy.
Now go do it all again so you have two gusset-bottomed sacks. They'll look something like this :
Good job. You're almost there.
-
 Step 10
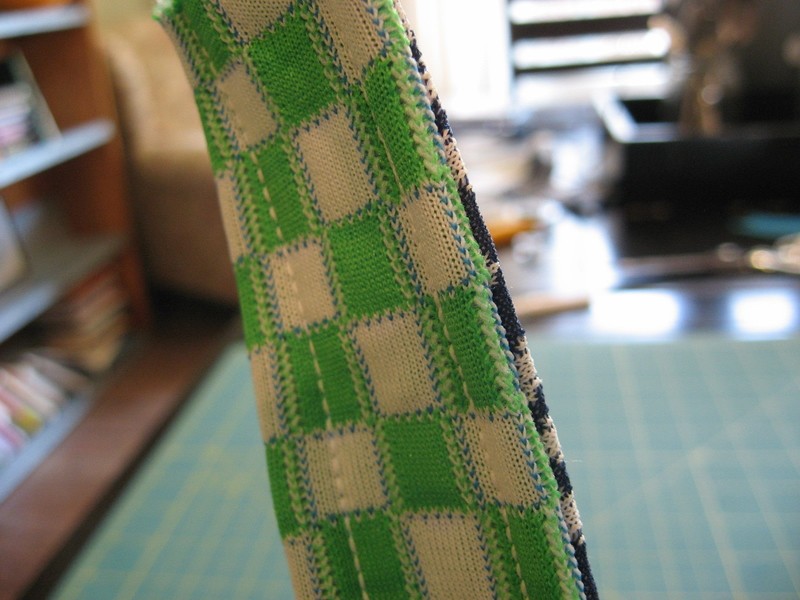
MAKE THE STRAPS.
Take two strap pieces (one from each kind of fabric) and make them face each other. Sew up the two long sides:
-
 Step 11
Then turn them inside out. Don't start swearing. This totally annoying step can be done without personal emotional pain if you just go slow and think backwards (practically the best title ever of a book about learning to sew: GO SLOW AND THINK BACKWARDS.) Don't try to shove the right side out through the opening, try pulling it out through the opening. Stick your finger in that hole (like you're playing with one of those straw chinese finger-catchers) then pull the fabric out from the inside. Trust me, grasshopper, this works.
-
 Step 12
Once they're right side out, top stitch 'em so they look at flat and finished:
-
 Step 13
Straps: check.
-
 Step 14
PUT THE WHOLE THING ALL TOGETHER.
First, turn one of those lovely sacks wrong-side-out again. I know you turned them both right side out because you wanted to look at what a good job you did, but put one of them back so the back of the fabric is on the outside. Then stuff the one that is right-side out into the one that's wrong-side out. (Did you get that? The outside fabrics should be touching.) Like this:
-
 Step 15
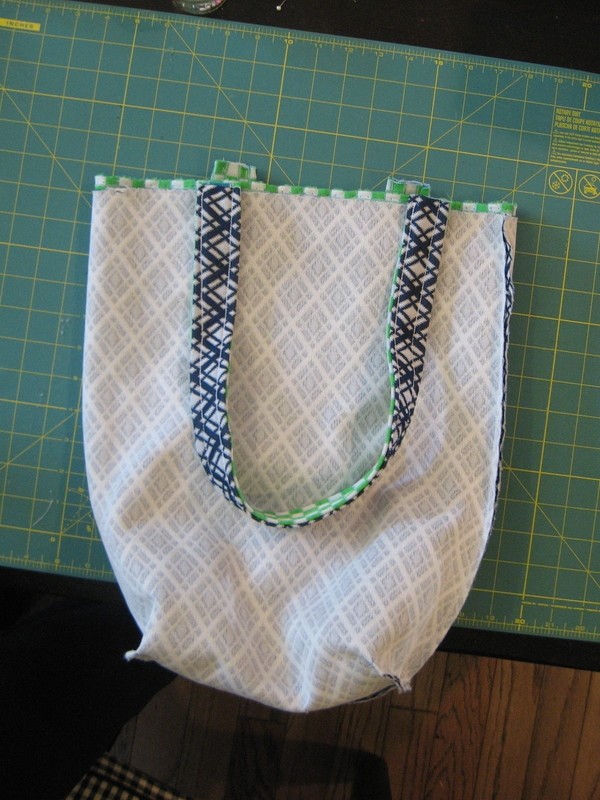
Okay, now for the straps. You're going to need pins for this. And don't freak out or anything, but it's probably the trickiest part of this shindig. You've got to shove the straps in there so they'll be waiting for you once you turn the whole thing right-side out. Sometimes it helps to lay them out first so you can see what you're doing:
-
 Step 16
Don't sew it like this, though. You need to tuck that strap in so it's in between two pieces of that facing-each-other fabric. Once you tuck the straps in and pin them about 4 inches from the edge, it'll look like this:
-
 Step 17
Now you're ready to sew. So go for it. Sew it all together. But WAIT. Make sure you leave some space unsewed. (You're going to need an unsewn spot to pull the whole thing right-side out when you're finished sewing.) I like to start sewing just a couple of inches short of one strap on one side--
-
 Step 18
And then through the second strap and on for another inch or so. Then I do this again on the other side.
So you'll end up with this (that's the spot you'll pull the whole thing right-side out right through):
-
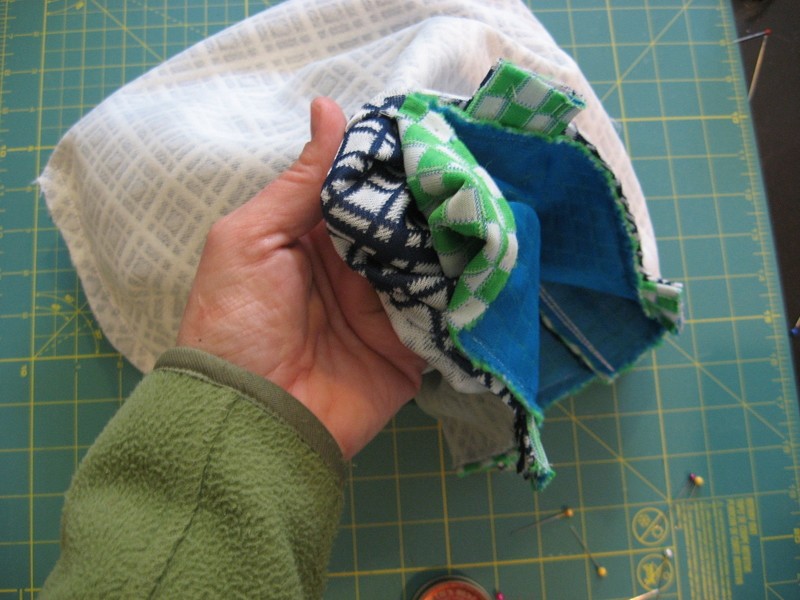
 Step 19
And once you pull it through, you'll end up with this morphy jellyfish thing:
Stuff one side into the other and you're almost finished.
-
 Step 20
THE VERY LAST STITCH.
Now you just need to top-stitch to close the open seams that are left (and to give the whole thing a more finished look) and you're home free. Easy peasy. Just give one solid stitch around the outside of the whole bag and you're done.
-
 Step 21
Ta da. You did it. You took something old and made something nifty with it. High five.


I will be sending my 'version' shortly. I used a plain lining fabric for mine though - but used your wonderful guidance to actually understand how to achieve this!! THANK YOU!!
Thank You
will post a picture.