About
Bring Men's or Women's pants into the 21st Century by removing pleats.
I figured out how to do something new this week. Something useful and practical. Something I searched and SEARCHED the World Wide Web for a tutorial on, but found nothing. I did find lots and lots of people like me, searching for instruction on this matter, but no one had answers.
So I feel it my public duty to share what I learned:
How to Convert Pleated Pants to Flat Front Pants
{{I would be ungrateful if I didn't thank my neighbor for asking me to try this on his pants.
I warned him they had a high likelihood of being ruined in the process.
But he was done with the pleats, and I was game for trying.}}
-
 Jac D. favorited Pleated To Flat Front Pants Tutorial
27 Apr 05:14
Jac D. favorited Pleated To Flat Front Pants Tutorial
27 Apr 05:14
You Will Need
-
 Step 1
Here are the pants with the pleats. I personally am not totally anti-pleat.
But I definitely prefer the more modern, flat front look. -
 Step 2
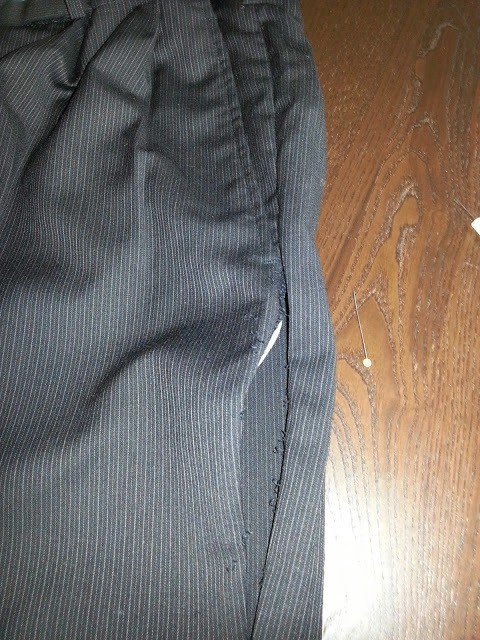
Begin by (CAREFULLY) ripping out the seams along the waistband where the pleats meet the band. Take this from the inside pleat (the one close to the zipper) all the way to the pocket.
You may need to go through 2-3 layers of liner if you are working with suit pants.
Rip out the seams holding the pleats in place. -
 Step 3
This is what it should look like.
Notice how the front side of the pocket is completely unattached from the waistband. -
 Step 4
Rip out the seam below the pocket along the side of the leg down about 10 inches. (Don't rip out the topstitch on the pocket itself).
-
 Step 5
Cut the pants just inside the topstitch on the pocket front. Take this cut down to the end of the the pocket where it meets up with the side seam.
-
 Step 6
This picture shows the cut along the front of the pocket and how it meets up with the side seam.
-
 Step 7
Pull the excess fabric (made when when you took out the pleats) and wrap it around the pocket edge. Carefully smooth this as you pin it in place. Pay attention to the grain of the fabric (it helps that most slacks have lines), so no lines look goofy.
-
 Step 8
Sew along the edge of the pocket to create a new top stitch. You will have several inches of extra fabric inside the pocket. Trim this to about 2 inches and serge or zig-zag sitch the edge to prevent fraying.
Make a cut perpendicular to the pocket on the excess fabric right at the base of the pocket. I started with about 2 inches and adjusted as I pulled and pinned the area below the pocket into place (coming up in the next step). -
 Step 9
Turn the pants inside out and pin the excess fabric left from the pleats below the pocket in a smooth transition toward the knee. Watch the grain of the fabric so no abrupt transitions are made as you pin. Turn the pants right side out before you sew to check that the transition from the base of the pocket along the outside seam is smooth.
You do lose some width in the thighs with this alteration. Most pleated pants are, by nature, a bit baggy in the thighs and the width lost isn't a problem, but be sure to try them on their owner before you sew up that side seam. -
 Step 10
Here the pants are inside out. See how much extra fabric there is below the pocket? This the transition you will be making smoother through good pinning and a smooth seam. This is a good time to have the owner of the pants around to try them on (don't let them get poked by pins, though!).
Once it looks good, sew it in place, meeting the base of the pocket with the long side seam. -
 Step 11
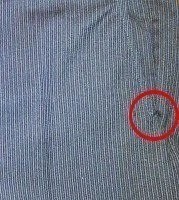
Turn the pants back right side out. Hand sew a 1/4 inch whip stitch at the base of the pocket to fix it in place against the inside of the pocket bottom. I forgot to do a close-up of this step, so you are left with a zoomed-in picture. Hopefully it will suffice.
-
 Step 12
Once you have done steps 1-8 on both sides of the pants, pin the top back into place and get out your needle and thread. Hand sew an invisible stitch along the base of the waist band (and the base of each of the belt-loops).
-
 Step 13
Welcome to the 21st century!! Clean lines and a tailored fit! You did it!