
About
Never forget a plant's name again with these easy markers
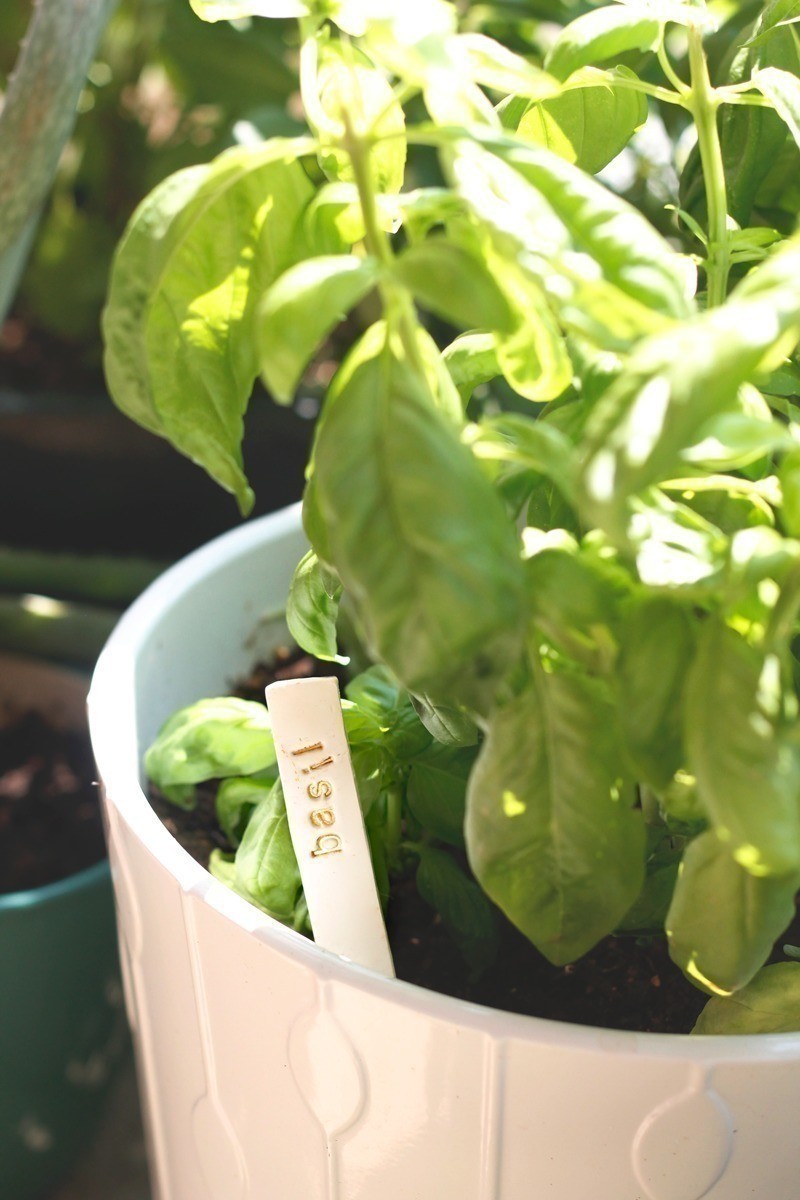
After forgetting one too many seedlings during the spring planting season I decided to make these polymer clay garden markers. Not only are they useful, but they're pretty to boot.
-
 Harmonee.seal added Gold Stamped Plant Markers to Gardening Fun
28 Jan 17:24
Harmonee.seal added Gold Stamped Plant Markers to Gardening Fun
28 Jan 17:24
-
 JacaLynn B. favorited Gold Stamped Plant Markers
25 Jan 19:48
JacaLynn B. favorited Gold Stamped Plant Markers
25 Jan 19:48
-
 Rachel C. favorited Gold Stamped Plant Markers
21 Jan 03:55
Rachel C. favorited Gold Stamped Plant Markers
21 Jan 03:55
-
Stephanie P. published her project Gold Stamped Plant Markers
26 Sep 23:57
You Will Need
-
Step 1
Preheat oven to 275
-
 Step 2
On a piece of parchment paper, roll clay to 1/8 inch thickness
-
 Step 3
Measure and cut Sculpey into strips about 1/2 inch wide x 4.5 inches long (it doesn't need to be exact).
On one end, cut a blunt point (this end will stick in the soil) leaving the other end flat
-
 Step 4
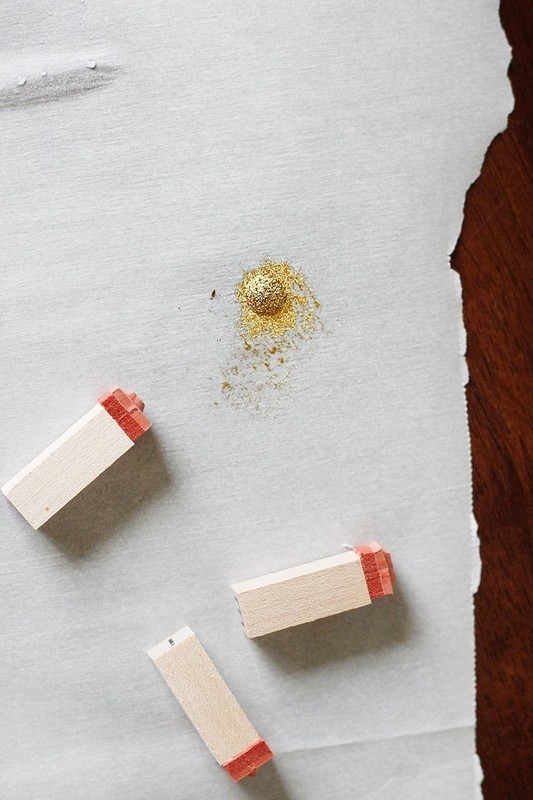
Starting with the first letter, dip the alphabet stamp in a small amount of water then blot off excess. You want the stamp to be just wet enough to pick up the gold powder evenly but not enough to pool in the corners. Err on the dry side.
-
 Step 5
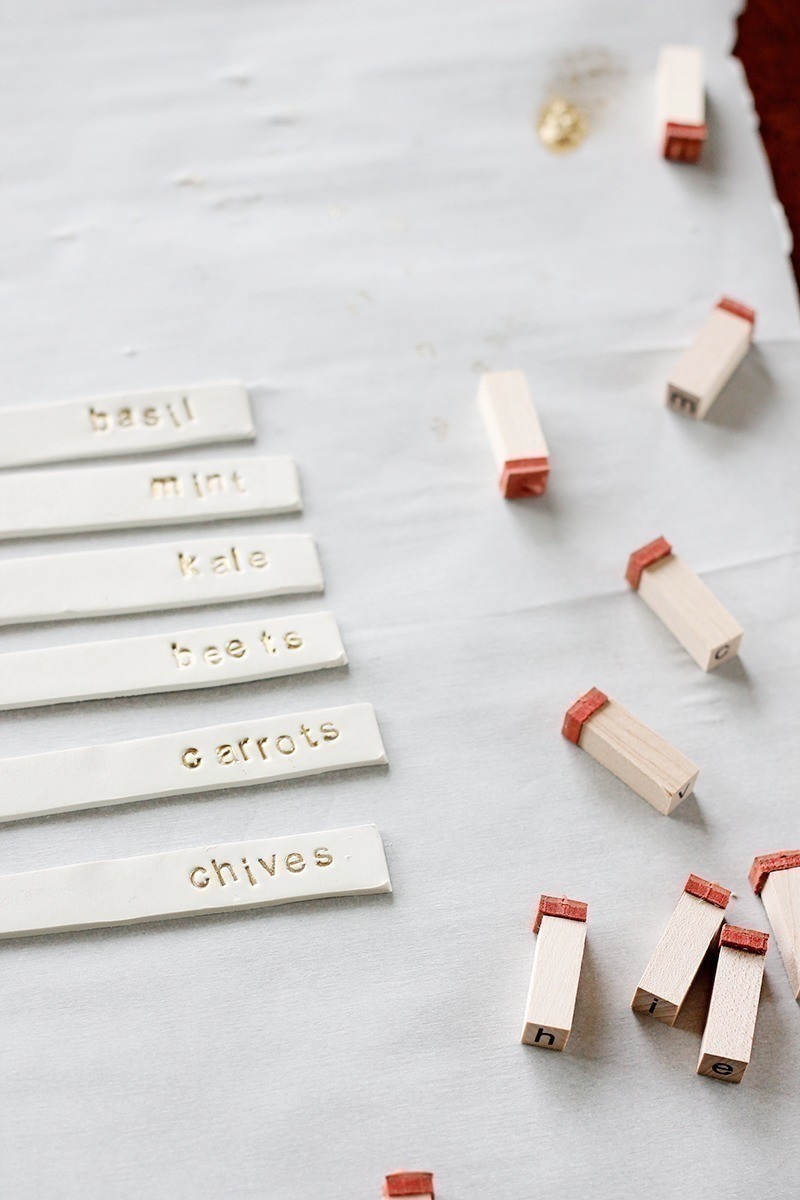
Dip stamp in gold powder and stamp the clay, gently rocking in all directions to get an even impression.
Continue doing this for the rest of the letters
-
Step 6
Place Sculpey (still on parchment) in oven and bake for 7 minutes (Sculpey instructions say 15 minutes per 1/4 inch thickness, so I simply divided by two to get 1/8 inch. Adjust as necessary). Be sure to consult the instructions on your polymer clay package as they may vary depending on the exact type/brand of clay you’re using.
-
 Step 7
Remove from oven and let cool completely before using