


About
Showcase your badges!
I just recently started making and selling pins and my display at work has been just a cut out piece of cardboard. My remedy for more sales was in my craftiness and at the dollar store! I liked the results so much I am insisting I have to make more for my personal pin collection and thought I would share the steps with you. I highly suggest read through before follow through even though this project is such a cakewalk.
Tags
-
 Stefunny128 favorited Pinback Button Display
09 Jun 05:29
Stefunny128 favorited Pinback Button Display
09 Jun 05:29
-
 Anni K. favorited Pinback Button Display
03 Aug 20:16
Anni K. favorited Pinback Button Display
03 Aug 20:16
-
 Mistress Nora of Madness added Pinback Button Display to why didn't I do this
21 Feb 02:49
Mistress Nora of Madness added Pinback Button Display to why didn't I do this
21 Feb 02:49
-
 Christina L. favorited Pinback Button Display
31 Jan 23:24
Christina L. favorited Pinback Button Display
31 Jan 23:24
-
 Kinhime Dragon added Pinback Button Display to alter
23 Dec 19:14
Kinhime Dragon added Pinback Button Display to alter
23 Dec 19:14
-
 Bethy_Page favorited Pinback Button Display
29 Mar 23:53
Bethy_Page favorited Pinback Button Display
29 Mar 23:53
-
Jillian D. favorited Pinback Button Display
02 Oct 17:37
-
 zoegirl221 favorited Pinback Button Display
18 Sep 00:41
zoegirl221 favorited Pinback Button Display
18 Sep 00:41
-
Sharllette O. favorited Pinback Button Display
07 Aug 03:31
-
 Taylor K. favorited Pinback Button Display
11 Jul 01:01
Taylor K. favorited Pinback Button Display
11 Jul 01:01
You Will Need
-
 Step 1
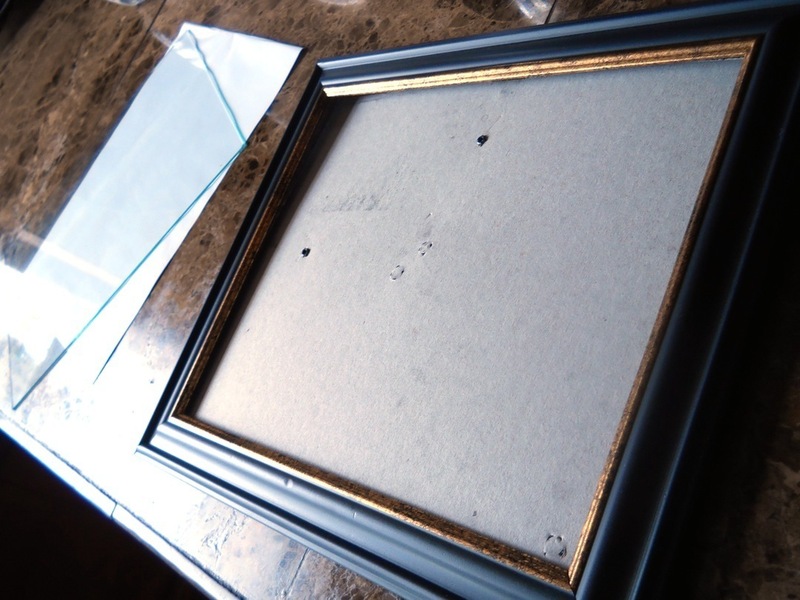
First things first. Picture frames don't have to be super fancy for this project. In fact mine came from the dollar store! We will be using hot glue on the back side so you want to pick one that has a wide frame from the back (some of them set the cardboard backing flush to the frame allowing no room for this so check!) Also, later we will be pulling some fabric through and while those little brads tend to be a pain to bend back and forth, this time it doesn't hurt to pick one that has more than less. Having those bases covered, you can discard the filler paper and glass! We only need the frame and the backing.
-
 Step 2
Loosely reassemble the back to the frame (I didn't even bother to fold my brads in). Using your pen draw the inner rim of the frame. It doesn't need to be flush. Remove the back and take a measurement of the rectangle you just drew. Mine happened to be 9.25 by 7.25 inches. I reduced the measurements by a quarter inch from each (to ensure a good fit) and....
-
 Step 3
...then cut out two layers of 9x7 inch quilt batting. Quilt batting can be found at any fabric store. You could try replacing these with run of the mill polyester filling however your results might come out lumpy instead of nice sheets... You could also be a dollar store champion and use sponges (not ones that are sold moist--they become hard once they air out!) for your filling but that seems like a lot of work. One layer seemed too little, three too much, but you can decide how much fluff you prefer.
-
 Step 4
I plugged in my glue gun to warm it up and in the meanwhile prepped my fabric. How much to use? I had an old knit shirt and placed the frame on top. I used the outer edge as a guide. You basically want enough to go behind the frame and still cover your batting.
-
 Step 5
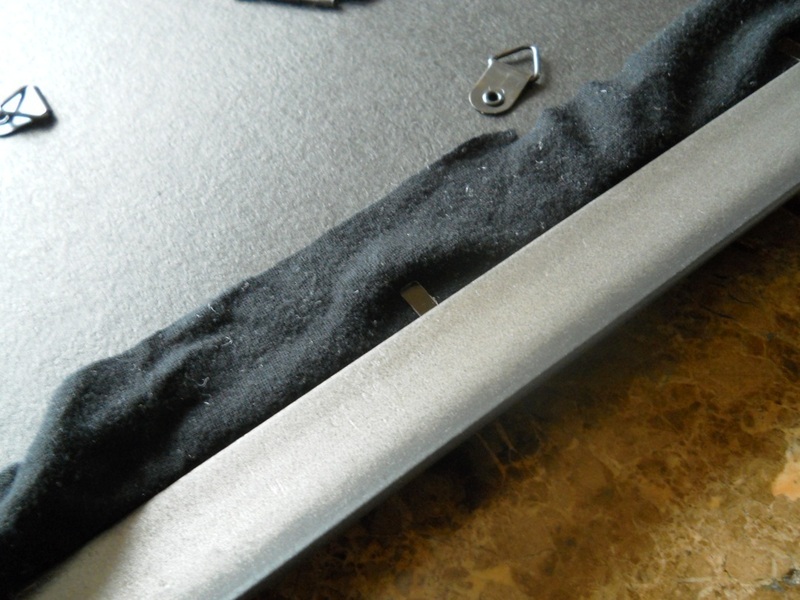
Now the layers! I laid my backing down, the two layers of batting on top of that, the fabric, and then the frame. Carefully flipping everything over I started to pull the fabric in under the frame's back, just snug enough the round out the batting softly (think of a pillow, or making a bed) Not too tight, but not loose enough to let anything wiggle. At this point fold in all those pesky brads as you make your adjustments.
-
 Step 6
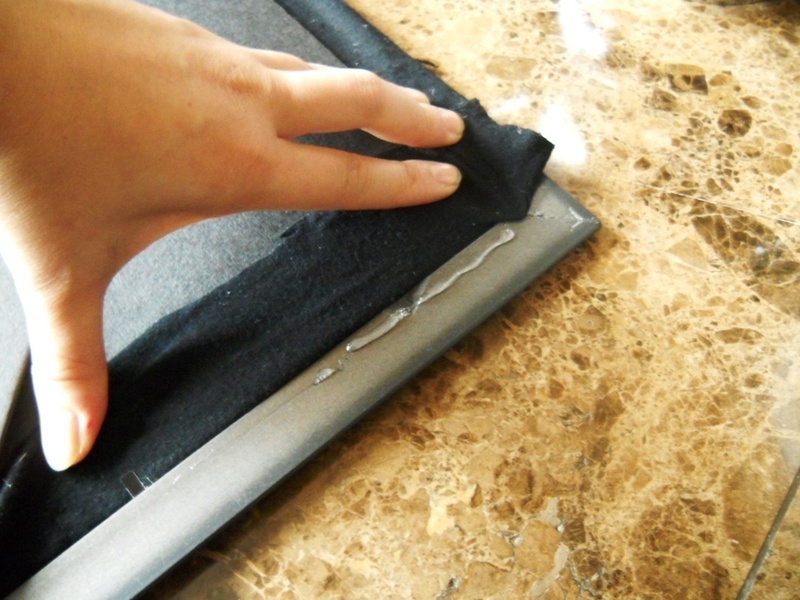
For extra non-slip grip line the inner edge of the frame so the fabric attaches and sets. Take care not to burn your hands!
-
 Step 7
Once all sides are glued, feel free to trim off the excess fabric. Organize your pins! Stand your display or hang it up!


Comments

