About
Never lose your pincushion again
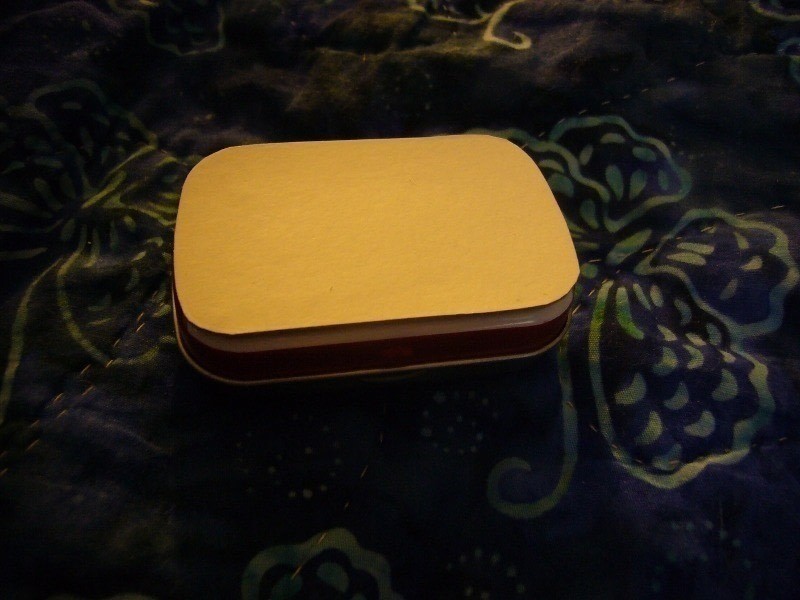
I got these pins from my mom after she bought herself some new ones. Unfortunately, the pin box is older than I am, and it hasn't been able to snap shut for years. I've also never had a pincushion, and just stab my pins into whatever is nearest. So I came up with this idea while looking at my Altoids tin one day. The pincushion is attached to the top of the box, and the lid actually *closes*. Oh happy day!
-
 Key West Witch favorited Pin Box With Pincushion Lid
27 Jun 13:59
Key West Witch favorited Pin Box With Pincushion Lid
27 Jun 13:59
-
 japheel.ledguies favorited Pin Box With Pincushion Lid
20 Aug 20:13
japheel.ledguies favorited Pin Box With Pincushion Lid
20 Aug 20:13
-
 sarah a. favorited Pin Box With Pincushion Lid
11 Sep 20:57
sarah a. favorited Pin Box With Pincushion Lid
11 Sep 20:57
-
 sweetsami88 favorited Pin Box With Pincushion Lid
23 Jun 06:40
sweetsami88 favorited Pin Box With Pincushion Lid
23 Jun 06:40
-
 Ichigo M. favorited Pin Box With Pincushion Lid
20 Aug 02:05
Ichigo M. favorited Pin Box With Pincushion Lid
20 Aug 02:05
You Will Need
-
 Step 1
Gather up your materials. You'll need an empty tin of Altoids Smalls, a scrap of paper (for tracing your tin), a piece of cardboard (corrugated or pressed, doesn't matter), a pair of sewing scissors, a pair of NOT sewing scissors, Fiberfill, glue (I used tacky), and fabric. For my fabric, I used a stretchy polyester, because I HATE hemming things. You can use whatever you have sitting around. It only takes a small scrap.
-
 Step 2
On the piece of paper, trace around your tin. Hold the piece of paper up to the lid and trim off any extra bits so you'll be sure it will fit. This will be the pattern for your cardboard and your fabric later.
-
 Step 3
(Sorry the image is dark)
Use your pattern to cut out a piece of cardboard, and glue that onto the lid. This is to prevent you from stabbing your pins into the metal lid later (it's not so good for them).
-
 Step 4
Again using your paper pattern, cut out a rectangular shape from your fabric. The rectangle should be a bit bigger than your pattern, that way you'll have a nice raised cushion at the end of the project.
-
 Step 5
Glue your fabric onto the *long sides* of your tin...
-
 Step 6
... to make this tunnel shape.
-
 Step 7
Then glue down only ONE of the shorter ends (the other will be left open for stuffing). You'll have these little dog ear shapes.
-
 Step 8
Put a little dab of glue *inside* the dog ear so your fabric stays together, and then glue the flap down onto the shorter side, like with gift wrapping.
-
 Step 9
... and the other corner, too.
-
 Step 10
Start stuffing your little pocket shape, making sure to get the stuffing all the way inside, and making sure it's even...
-
 Step 11
... until it's the density and shape you want. Then you'll just repeat steps 7, 8, and 9 to close the pincushion. I didn't take any pictures of that step :(
-
 Step 12
Once it dries, you've got yourself a lovely new pin box with an attached pincushion at the top that you'll never be able to lose!