About
A cute way to display some of your favourite images
I have made a couple of these photo boards now. They are lots of fun and good for presents. I finally remembered to have my camera with me during the process. This one is for a silent auction at a fundraiser in a couple of weeks.
Enjoy!
-
 Inger Marie K. favorited Photo Board
18 Mar 03:52
Inger Marie K. favorited Photo Board
18 Mar 03:52
-
jen s. favorited Photo Board
06 Oct 11:06
-
Sarah B. favorited Photo Board
25 Jan 12:09
-
 Step 1
Get your plywood ready. A good size photo board for standard photos or postcards is 45cm x 65cm. My hardware store wouldn't cut it for me so I had to use a stanley knife
-
 Step 2
I cut the wood by scoring the line a number of times with the knife, then flipping and repeating on the other side
Then, gently bend the wood and it should break along the cuts
-
 Step 3
Sand off the rough edge
-
 Step 4
Decide on your material combination. I like to have a different colour for the top section that won't have any photos on it
-
 Step 5
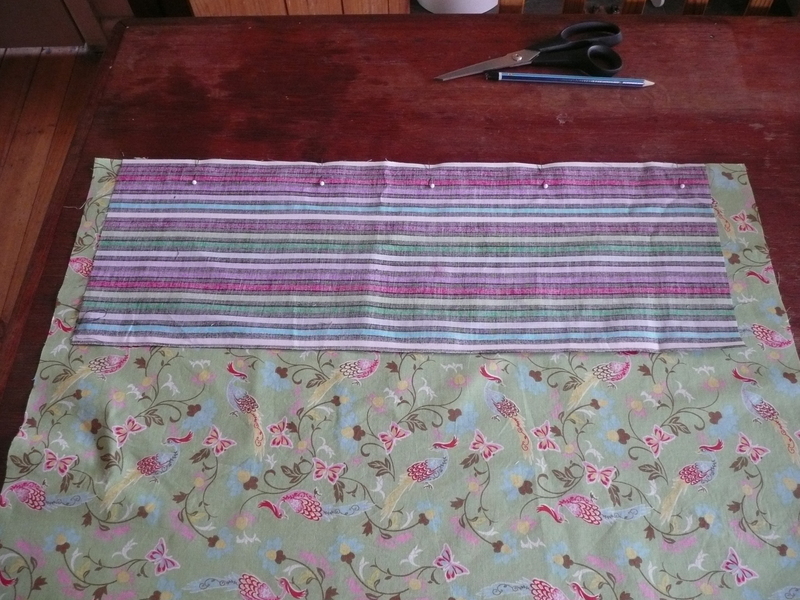
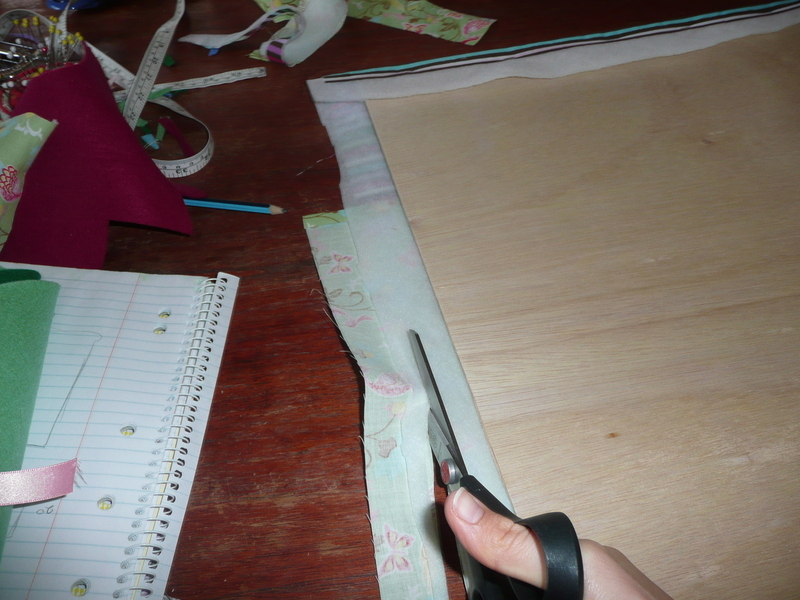
Cut material to size. It doesn't have to be too exact as it wraps around the back, but make sure you leave plenty to cover the wood.
Lay it out as you want it on the final board
Measurements:
Striped - 25cm x 65cm
Peacocks - 55cm x 65cm** Note: The striped material I wanted to use wasn't quite wide enough, and so the two widths don't quite match. This really didn't matter as there was still enough to wrap around the sides
-
 Step 6
Flip the top material down and pin across the top, right sides together
-
 Step 7
Sew together at top
-
 Step 8
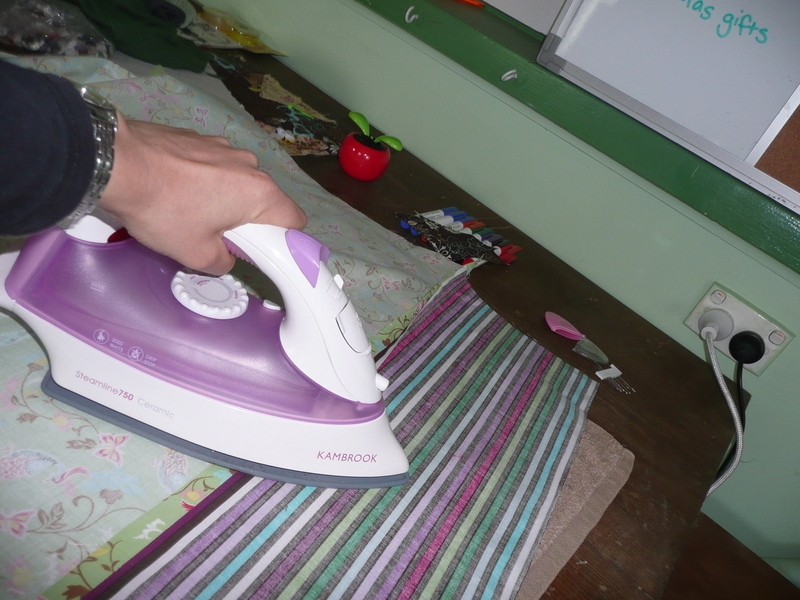
Press seam apart
-
 Step 9
Position material on top of board where you want it to end up
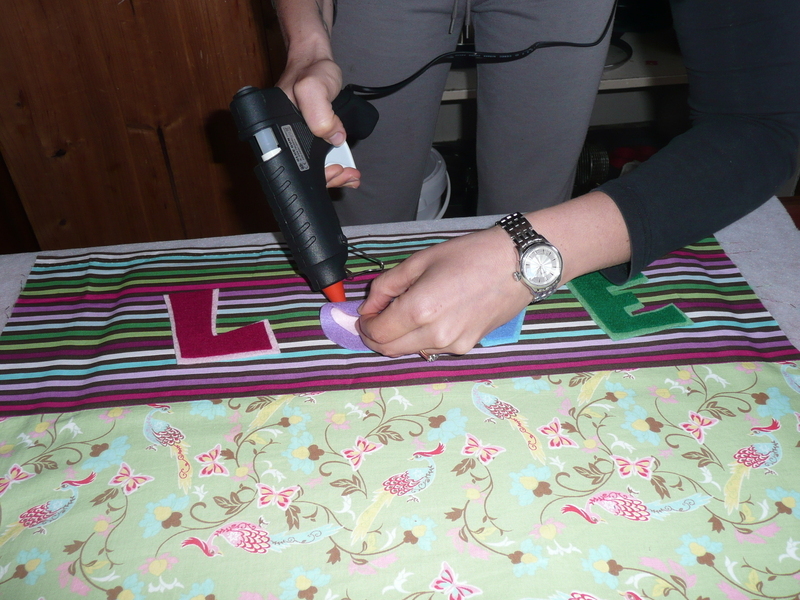
Cut out design from felt and lay in place
-
 Step 10
Lift up each letter and glue in place with the hot glue gun
In the past I have used cotton and hand stitched them in place which also looks really cute
-
 Step 11
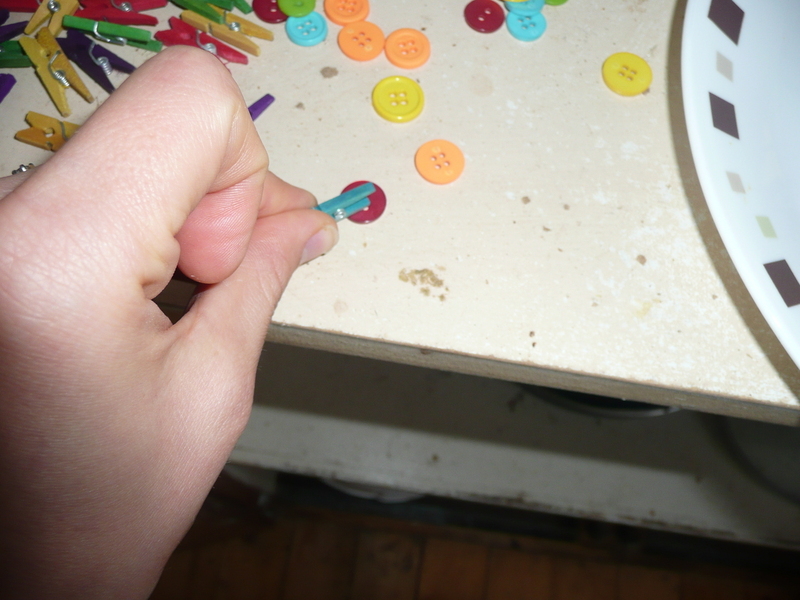
To make the pegs:
Place a little hot glue on the back of each button (I used 12)
-
 Step 12
Press a peg onto each button before the glue hardens
-
 Step 13
Finished button pegs!
-
 Step 14
Place the wadding sheet (65cm x 85cm) under the material and line it all up
Making sure it is all straight and where you want it to end up, flip the whole lot upside down
Fold over one of the short edges and secure in place with the staple gun
**Note: Using the staple gun is a very quick and easy method to secure the material. Unfortunately this time the ply wood I bought was too thin, and the staples came all the way through the other side. I then had to resort to the glue gun, which took a lot longer as each layer needs to be glued separately
-
 Step 15
Attach two shorter edges first and make sure the material is tight and smooth. Then fold in corners and attach longer edges
-
 Step 16
Trimming as you go may make it a little easier to fold over and secure the material
-
 Step 17
Cut the ribbon into 3 lengths (about 65cm each). Secure the first ribbon over the material join by stapling or gluing ends to the back of the board
When securing the second side of the ribbon, ensure there is enough tension to make the ribbon keep its shape when photos are hung, but not so much that the material underneath creases
-
 Step 18
On the back, measure 15cm down from the top ribbon and mark where the second ribbon should go. Do this on both sides. Secure this ribbon in place
Repeat with ribbon number 3
-
 Step 19
Your board should now be complete
Don't forget to staple or glue some string onto the back so it can be hung
-
 Step 20
Attach your pegs to the ribbons
-
 Step 21
Add some photos, postcards, or other funky bits and bobs, and you are done!