
About
Cute little multi purpose toy penguin :D
I made this project as a joke to my boyfriend, as he wanted a desk tidy, so I thought, lets make it christmasy! :D
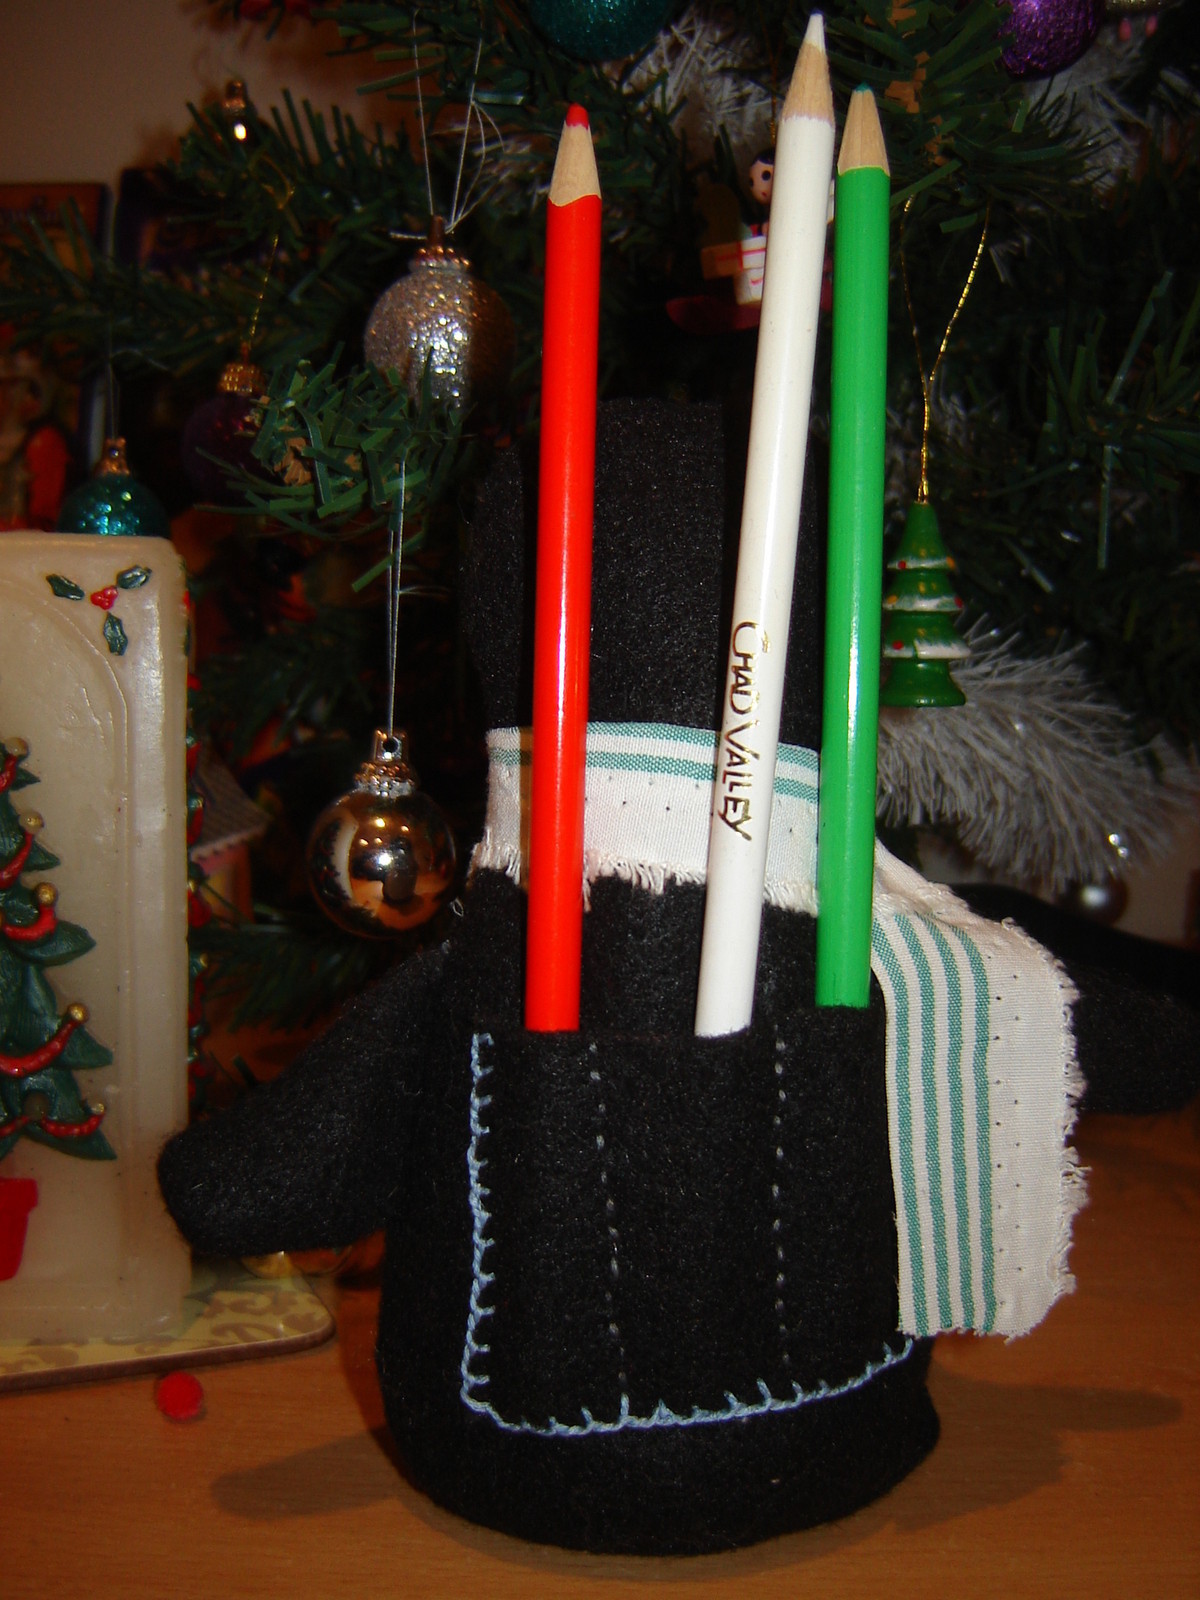
This penguin can be a cute little plushy beany toy for children, or for multi purpose holding things, I made the back pocket into a pencil holder!
Tags
-
 Youghurt Jaja favorited Penguin Plushy/ Pencil Holder
08 Aug 00:43
Youghurt Jaja favorited Penguin Plushy/ Pencil Holder
08 Aug 00:43
-
 Step 1
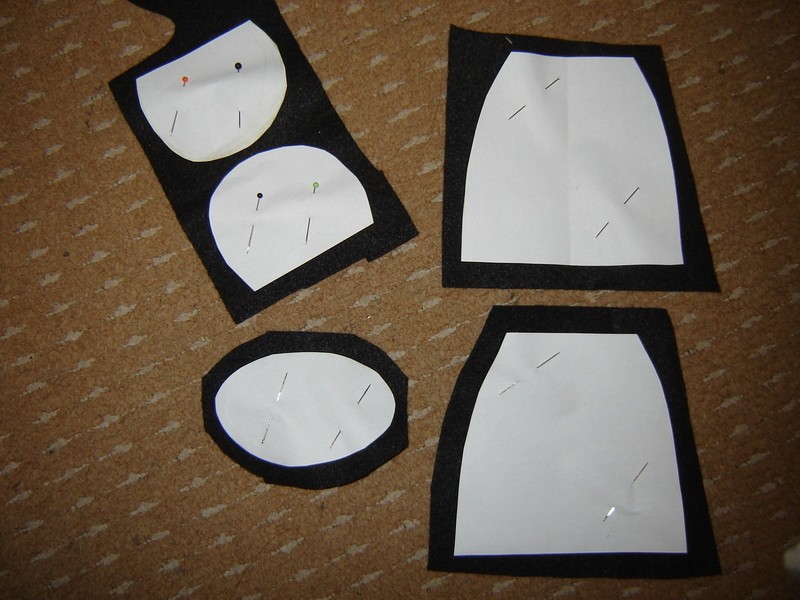
Draw a rough outine of the shapes for the penguin on paper, including 2x body halfs, 2x head halfs, and a oval for the bottom.
Cut out the shapes and pin to black felt.
REMEMBER! to leave extra felt around the edge -
 Step 2
Sew alond the longer flat edge of one of the body halfs, to half of the oval bottom
REMEMBER!place the two shapes, felt to felt NOT paper to paper, or the seem will be on the outside -
 Step 3
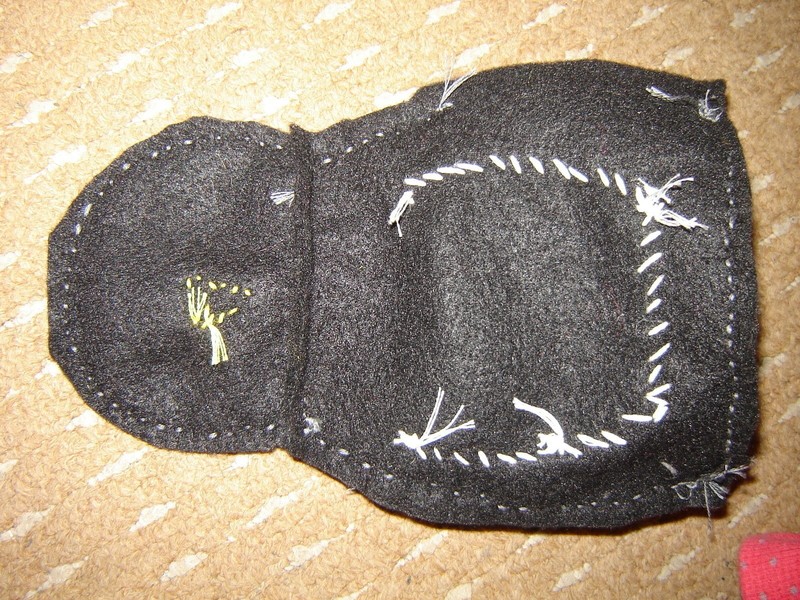
Remove the paper from the unsewn body half, (use this part as the back) and sew on any pockets or pouches wanted. I have sewn on a pocket using blanket stitching.
-
 Step 4
I have also sewn a running stitch twice down the pocket, making the back pocket into a pencil holder for three pencils/pens or anything else :D
-
 Step 5
Sew the other body half, using the larger straight edge, onto the other half of the oval.
Remove the oval paper.
TIP: I found its easier NOT to pin together the oval and straight edge -
 Step 6
Cut out 4 right angle triangles for the wings.
Put two triangles together, and sew round the edges, then fold it inside out. -
 Step 7
Sew the open edges of the wings onto one of the edges of the body.
TIP: open up the body so you can see (what will be) the outside. Lay the wings against the pocket to make sure you sew the wings the right way round, so that the seem will fold inside. -
 Step 8
Cut out a triangle of coloured felt, and sew it onto one half of a head (for the beek)
Then lay the flat edge of this half of the head against the other flat edge of the body half.
REMEMBER! sew the head half to the body half with NO pocket on so far, as this will be the front.
TIP:if the edges are lined up properly, it makes it easier to feel where the edge is, as a gide to sew quickly in a straight line :) -
Step 9
Sew on the other half of the head, onto the flat edge of the other body half (the back, with the pocket) the same as the last step.
-
 Step 10
Sew around the edges of the paper for the body and head.
REMEMBER! to line up the papers properly to avoid a wonky penguin :DLeave a small opening in one side of the body.
-
 Step 11
Cut off any large amounts of excess black felt, and unpin the paper.
-
 Step 12
Turn the penguin inside out, so its the right way round.
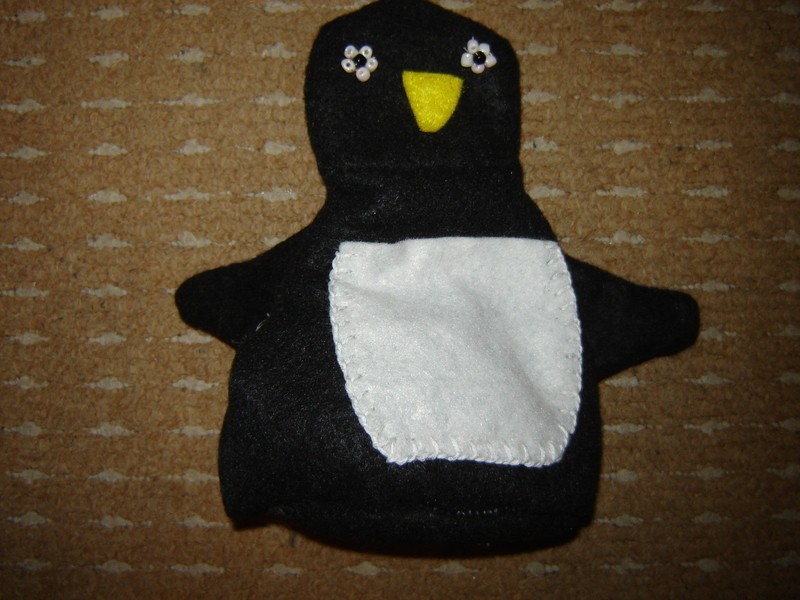
Now add any beads ect for eyes. I found it easier doing it now than earlier, so that I had the shape of the head already sewn
REMEMBER! only sew through the front half of the head -
 Step 13
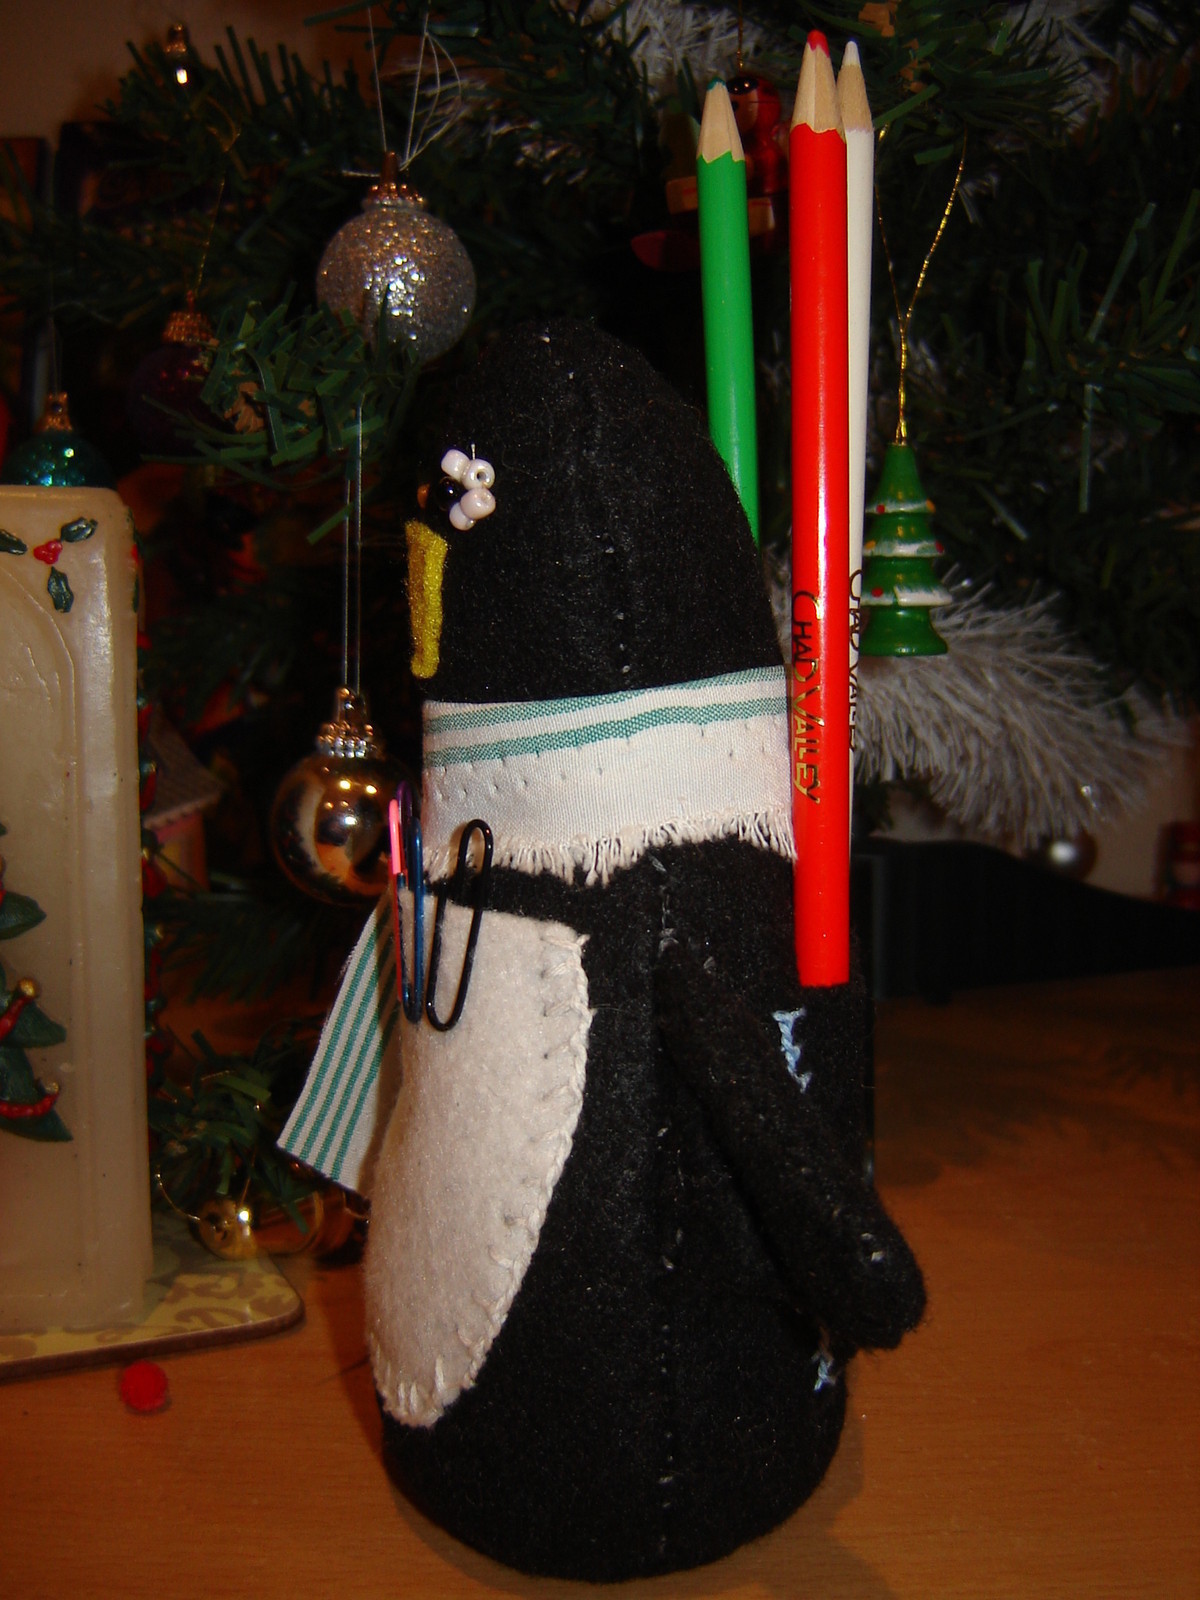
Stuff the penguin with toy stuffing, making sure you put enough in the head. I also found some small fragrenced beads around the house, that I used to put in the bottom of the penguin, to weight it down, enabling it to stand up! :)
Any small type beads will work, even glass peblles. try and stuff in as much as possible. -
 Step 14
Sew up the small opening in the side of your penguin.
-
Step 15
Add on a small ribbon scalf to your penguin, and anyother accessories you want! :D I added afew stitchs to the scalf on the side, to hold it in place.