


About
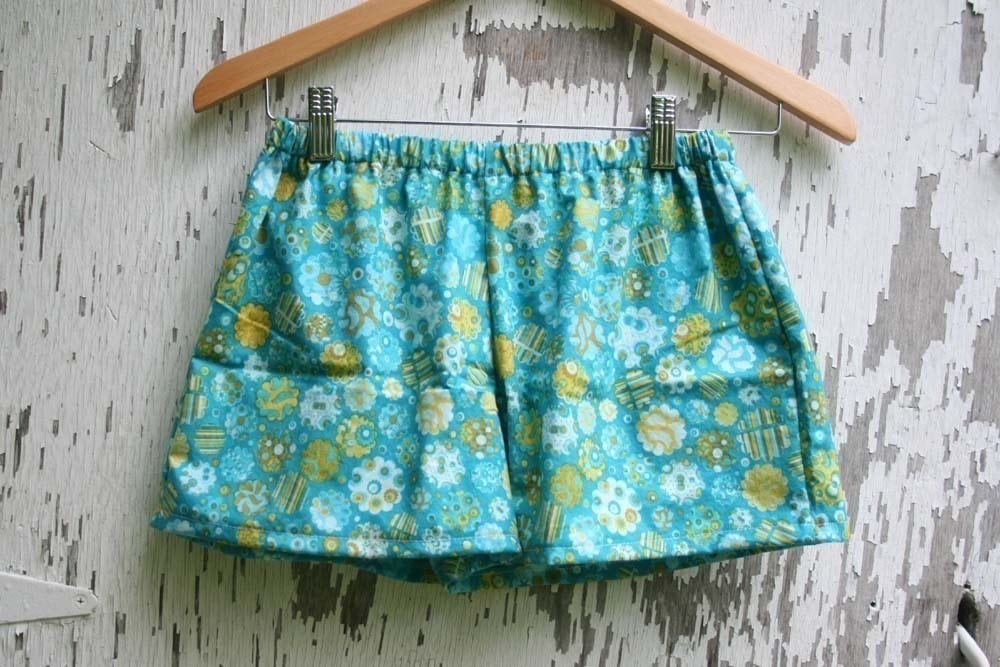
Sew your own pajama shorts
SIZE CHART:
Small - hip up to 32"
Medium waist/hip up to 36"
Large - waist/hip up to 40"
(when measuring you hips, do so at the widest point)
This tutorial is written for using French seams. It goes a lot quicker with a serger, so if you have one, skip the French seams and do standard 5/8" seams.
-
 RareJewel favorited Pajama Shorts
02 Jun 08:30
RareJewel favorited Pajama Shorts
02 Jun 08:30
-
 Sarah Sylvia S. favorited Pajama Shorts
18 Jul 04:23
Sarah Sylvia S. favorited Pajama Shorts
18 Jul 04:23
-
 Kimya J. favorited Pajama Shorts
31 Mar 03:31
Kimya J. favorited Pajama Shorts
31 Mar 03:31
-
 Ingrind N. commented on Pajama Shorts
03 Apr 21:54
Ingrind N. commented on Pajama Shorts
03 Apr 21:54
-
Ingrind N. commented on Pajama Shorts
03 Apr 21:53
-
Ingrind N. favorited Pajama Shorts
03 Apr 21:48
-
joan w. favorited Pajama Shorts
02 Apr 08:02
-
 AlterEgo Designs favorited Pajama Shorts
31 Mar 00:23
AlterEgo Designs favorited Pajama Shorts
31 Mar 00:23
-
 Crafterella featured Pajama Shorts
27 Mar 23:00
Crafterella featured Pajama Shorts
27 Mar 23:00
-
Maya E. favorited Pajama Shorts
22 Mar 17:57
-
Step 1
Start by printing the pattern and cutting-taping together all the pattern pieces. You’ll need to attach the parts together to create two pattern pieces—a front and a back. Cut two of the front and two of the back. The front and back are different but can be easily confused so it helps to mark the cut pieces with a water soluble pen, etc.
-
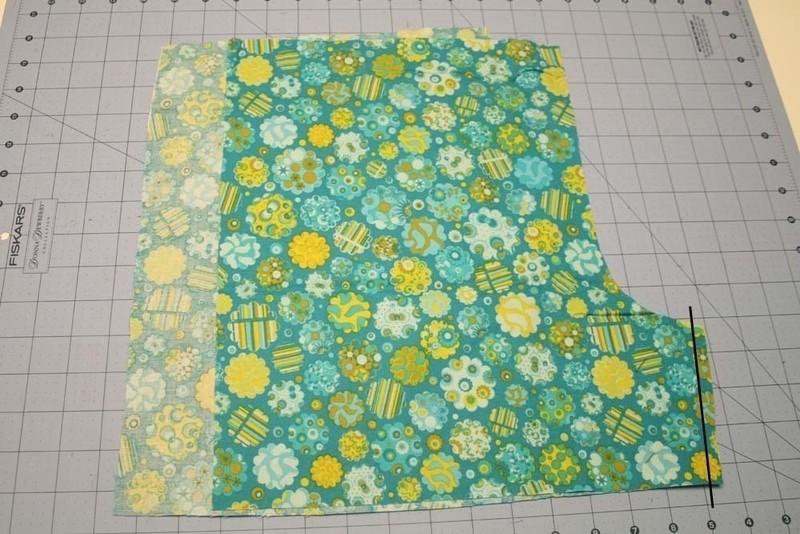
 Step 2
Pin a front piece and a back piece together, WRONG sides facing, at the inseam (and stitch with a 1/4" seam allowance. (The black line in the photo indicate where the inseam seam is.)
-
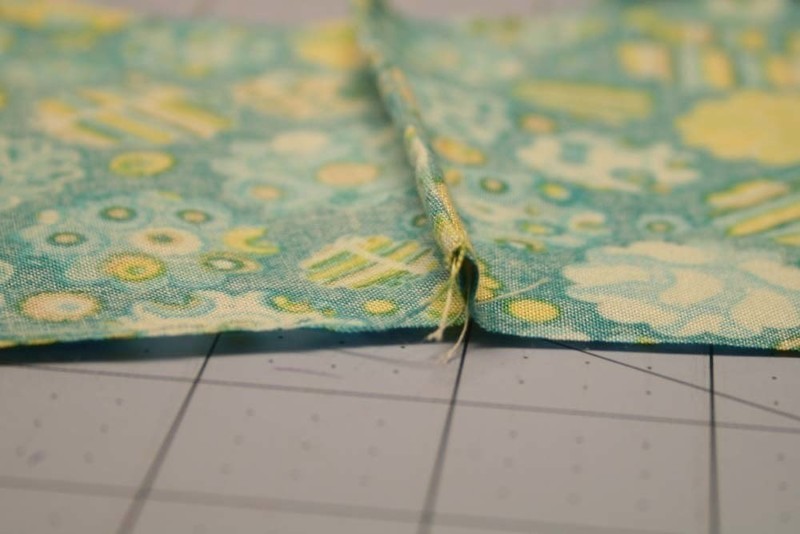
 Step 3
Trim the seam allowance to 1/4". Press the inseam seam so the right sides are together, then stitch with a 3/8" seam allowance. This is how you do a French Seam.
Repeat for the other front and back piece. You know basically have a right leg and a left leg.
-
 Step 4
Pin the left leg and the right leg together and do French seams (as explained earlier) along the long curve/center seam. It helps to notch the seam allowance after doing the first 3/8" seam, to ease the curve.
-
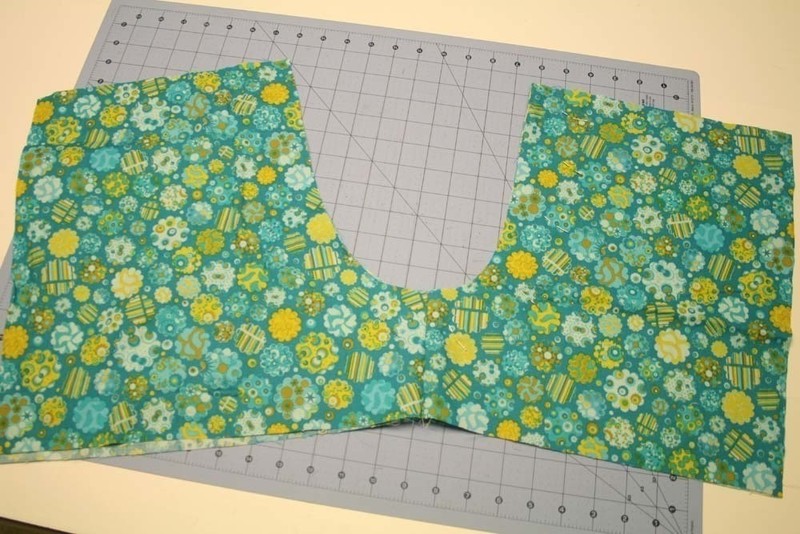
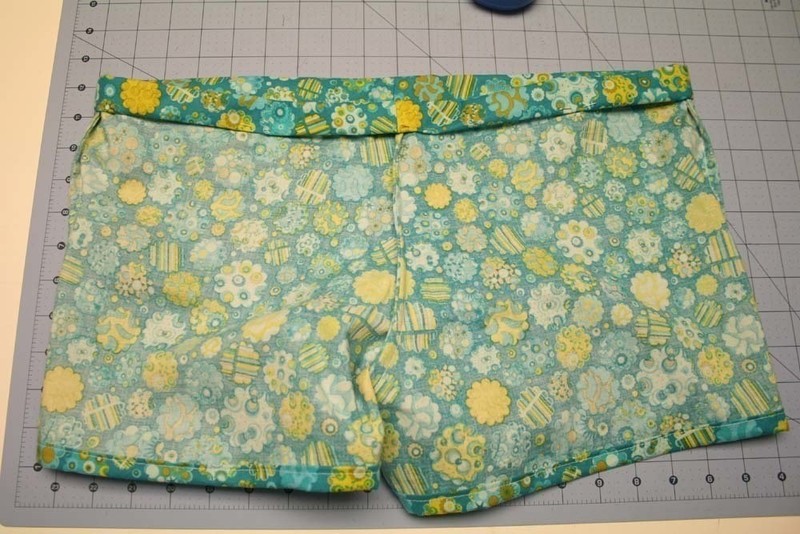
 Step 5
Open the shorts up so they look like a pair of shorts. With wrong sides touching, pin and stitch French seams up the side seams.
-
 Step 6
Now to do a 1" hem for the legs. With the PJ shorts upside down and inside out, mark and fold the edge down 1/2" and pin. Repeat for another 1/2".
-
 Step 7
Stitch 1/8" from the inside folded edge. Repeat these steps for the second leg.
-
 Step 8
Fold and pin the waistband 1". Repeat for another 1".
-
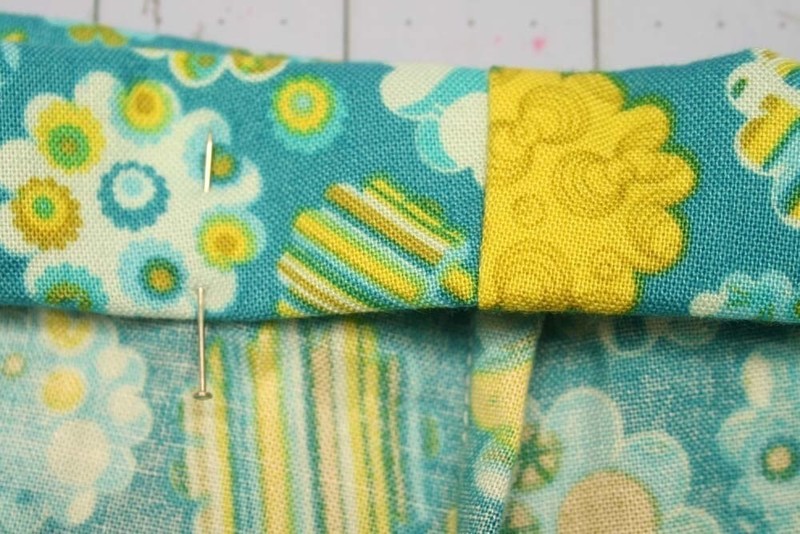
 Step 9
If you didn't mark the back when you cut the fabric, never fear, the back is the sides which are longer in width at the leg hems. So now at the back center waistband, place a pin as seen. This will help remind you where to stop when you're stitching.
-
 Step 10
Now I usually pin on my labels. I use cotton twill tape but you can use some ribbon. This is so you know which side is the back when putting them on. I didn't do this for the first pairs of PJ pants I made and I was always putting them on backwards. If you chose not to use a ribbon/twill tape tag in the back, you can stitch a button in the front center at the very end. Either way, the point is to leave a 2" opening so you can slip the elastic in later.
-
 Step 11
Now starting where you placed the ribbon/tag, stitch 1/8" from the inside folded edge. Be sure to back stitch when you start stitching so the threads don't pull loose later on.
Stitch around the waistband, stopping when you get to that pin you placed earlier. Don't forget to back stitch when you finish, to secure the threads.
-
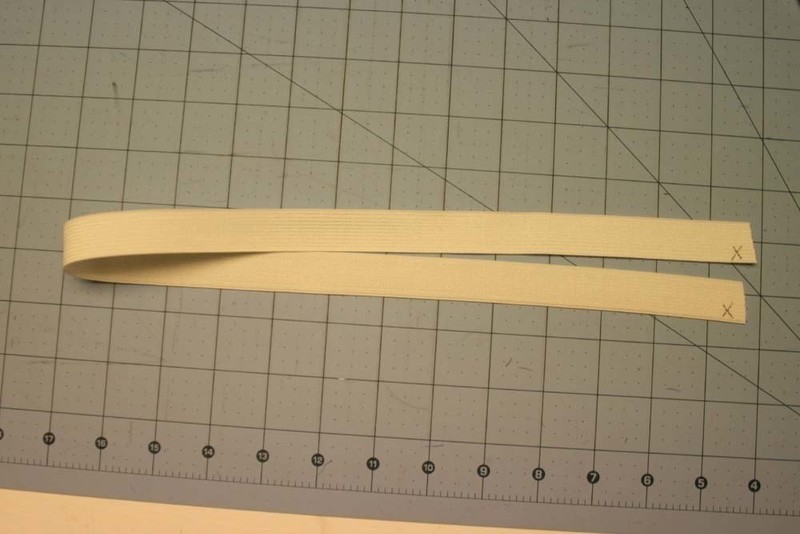
 Step 12
Now cut your elastic. For the size Small I cut a 26" piece, for the Medium a 29" piece and for the Large a 32" piece. But hey, these are your PJ shorts, why not customize? You can wrap the elastic comfortably around your waist (the PJ shorts have about a 9" rise) and add one inch for overlap.
It's smart to mark the elastic as seen. It may come in handy later.
-
 Step 13
Now, with a safety pin attached to the end of the elastic, insert it in the opening you left earlier. Pull the elastic through until it comes out the other side. Don't let the other end of the elastic slip into the casing, make sure it still hangs out some.
-
 Step 14
Overlapping the elastic about 1"-1 1/2", and with the markings you made on the sandwiched together, pin or hold in place. Make sure the elastic isn't twisted anywhere along the waist. Stitch a rectangle with a X in it where the elastic overlaps.
-
 Step 15
Now you want to pull the elastic back up into the casing and pulling the fabric taught/flat stitch an 1/8" from the edge to close up the opening.


Comments

