


About
Warning: very picture heavy!
Sorry that this is so late. I was asked for a tut for my earrings a looong time ago.
It took forever to take pictures of each steps so sorry about the many pictures! I hope it's easy to follow and feel free to ask me any questions (:
/runs off to cut nails
-
 Carrie Alice favorited Origami Crane Earrings (with Crane Tutorial!)
28 Jul 04:49
Carrie Alice favorited Origami Crane Earrings (with Crane Tutorial!)
28 Jul 04:49
-
Carrie Alice added Origami Crane Earrings (with Crane Tutorial!) to Wire Jewelry
28 Jul 04:49
-
 tyler t. favorited Origami Crane Earrings (with Crane Tutorial!)
13 Jan 13:17
tyler t. favorited Origami Crane Earrings (with Crane Tutorial!)
13 Jan 13:17
-
 Antonia F. favorited Origami Crane Earrings (with Crane Tutorial!)
15 Apr 13:10
Antonia F. favorited Origami Crane Earrings (with Crane Tutorial!)
15 Apr 13:10
-
 CookieBird Lover added Origami Crane Earrings (with Crane Tutorial!) to jewlery
05 Sep 01:22
CookieBird Lover added Origami Crane Earrings (with Crane Tutorial!) to jewlery
05 Sep 01:22
-
 Zombie Babe favorited Origami Crane Earrings (with Crane Tutorial!)
02 Aug 10:18
Zombie Babe favorited Origami Crane Earrings (with Crane Tutorial!)
02 Aug 10:18
-
 Kathie C. favorited Origami Crane Earrings (with Crane Tutorial!)
03 Jun 09:20
Kathie C. favorited Origami Crane Earrings (with Crane Tutorial!)
03 Jun 09:20
-
 Alezita G. favorited Origami Crane Earrings (with Crane Tutorial!)
31 Mar 04:22
Alezita G. favorited Origami Crane Earrings (with Crane Tutorial!)
31 Mar 04:22
-
will y. favorited Origami Crane Earrings (with Crane Tutorial!)
12 Dec 22:51
-
 Elizabeth W. favorited Origami Crane Earrings (with Crane Tutorial!)
08 Sep 21:54
Elizabeth W. favorited Origami Crane Earrings (with Crane Tutorial!)
08 Sep 21:54
-
 Step 1
Start with a perfect square piece of paper. I use small origami paper that was precut. If there's a color you want to use, place the color side down.
-
 Step 2
Hold the paper in half diagonally.
-
 Step 3
Fold it in half again.
-
 Step 4
Rotate so that the open ends face you and unfold to here.
-
 Step 5
Fold one side so that it aligns with the middle crease.
-
 Step 6
Repeat on other side.
-
 Step 7
Unfold to here.
-
 Step 8
Open one side but make sure you do not open past the middle crease.
-
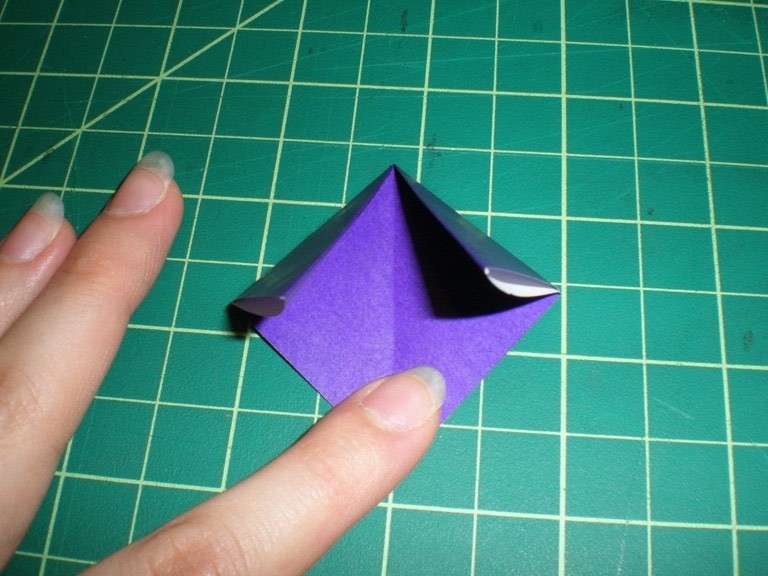
 Step 9
Open it wider, using a fingertip to secure the corner...
-
 Step 10
...squash it down until the tips touch.
-
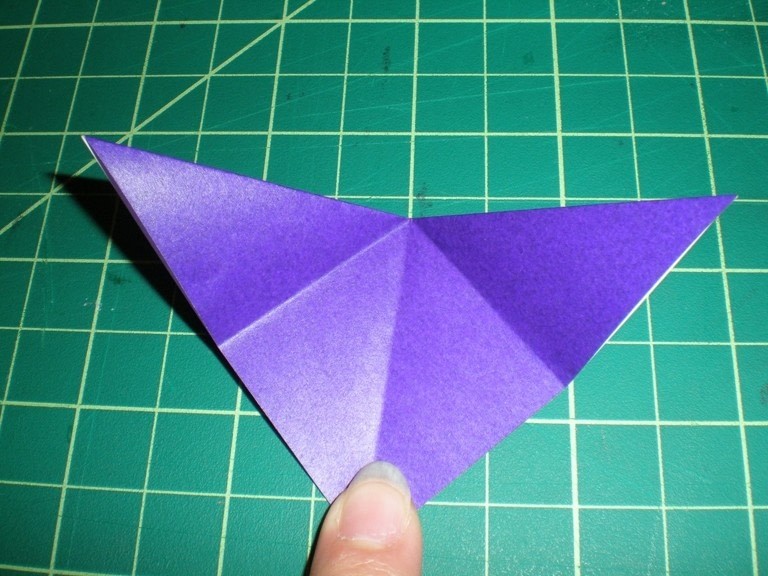
 Step 11
Press it down and crease. Repeat steps 8-10 for the other side.
-
 Step 12
Fold one corner so that it aligns with the middle crease.
-
 Step 13
Repeat on other side and crease.
-
 Step 14
Fold top tip down and crease.
-
 Step 15
Unfold the folds you just made. Flip over and repeat on the other side.
-
 Step 16
Open the bottom but do not open past the top crease.
-
 Step 17
Push in the side along the crease you made earlier. It should lay along the middle crease.
-
 Step 18
Follow the crease all the way to the top and press down.
-
 Step 19
Repeat on other side.
-
 Step 20
Reinforce creases and press down. Flip over and repeat on other side.
-
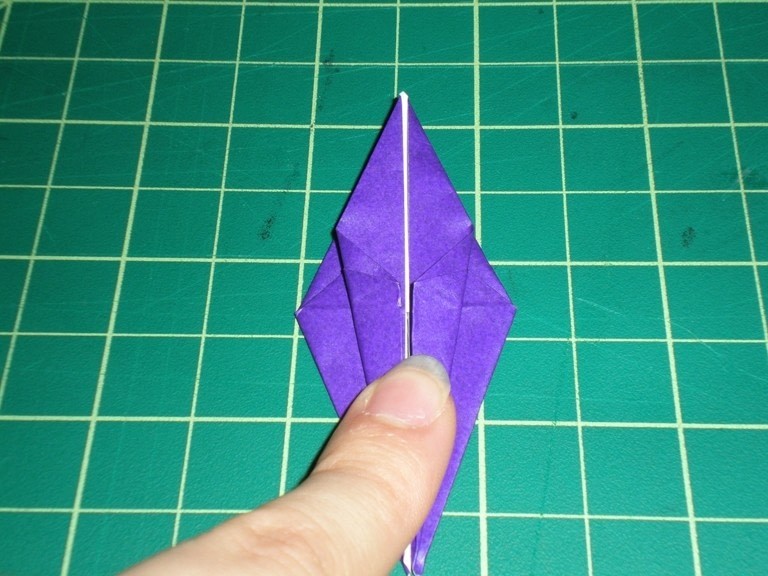
 Step 21
Fold one flap so it aligns with the middle crease.
-
 Step 22
Repeat on other side. Flip over and repeat.
-
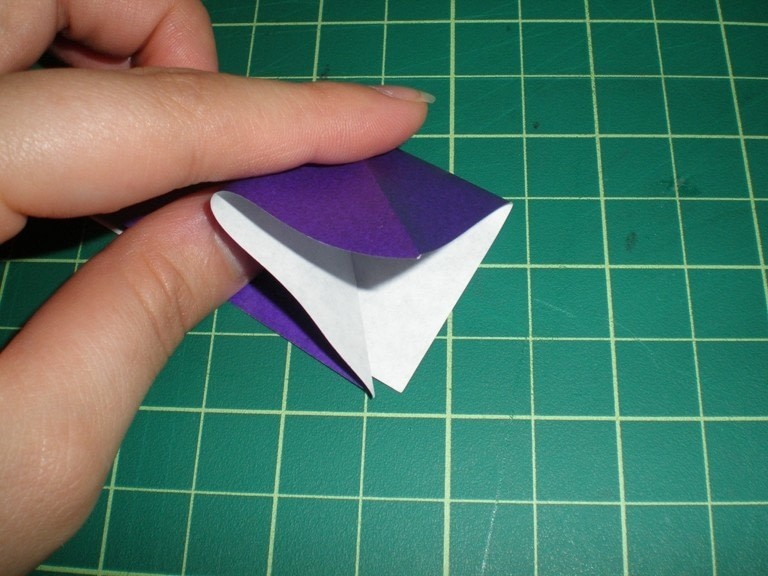
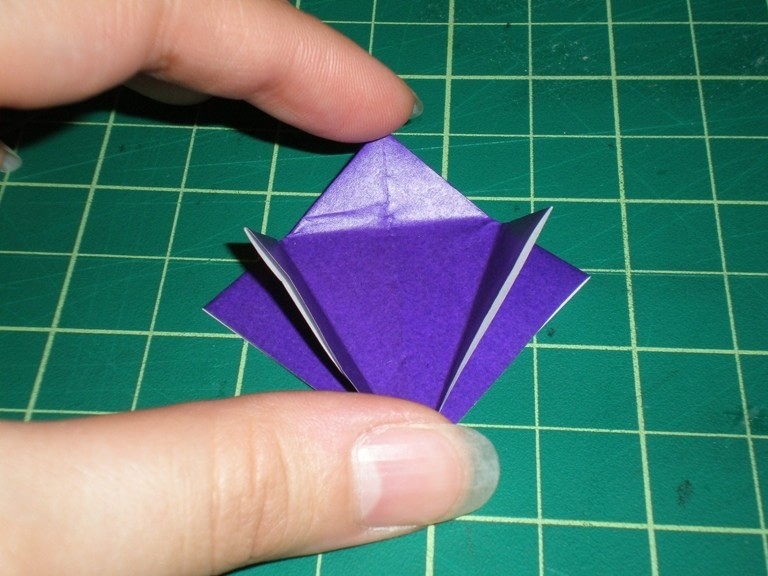
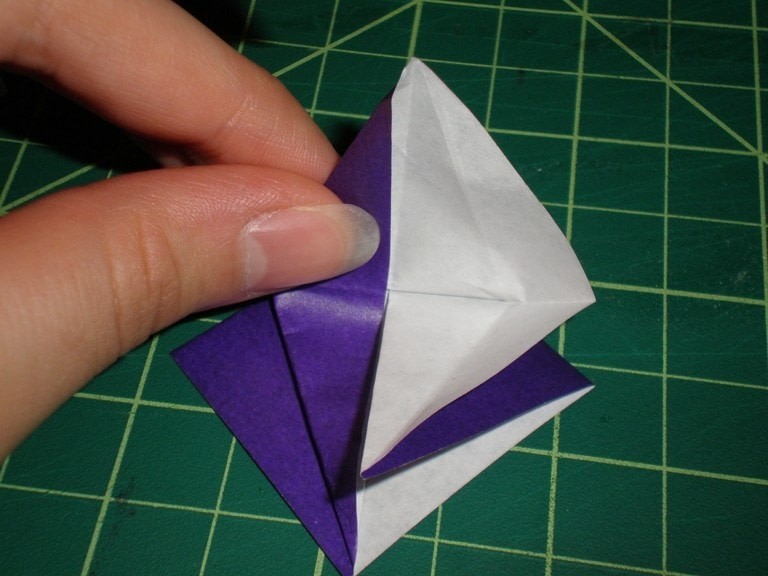
 Step 23
Separate two flaps you just folded...
-
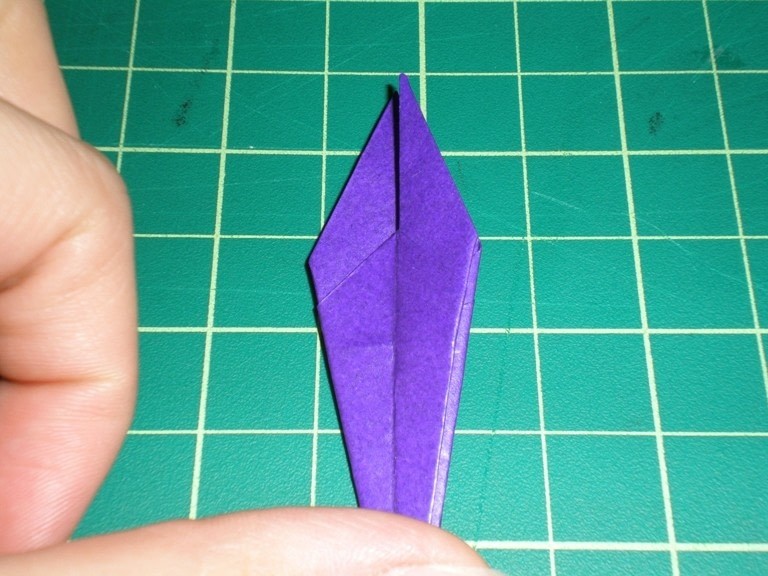
 Step 24
...and fold the front flap over.
-
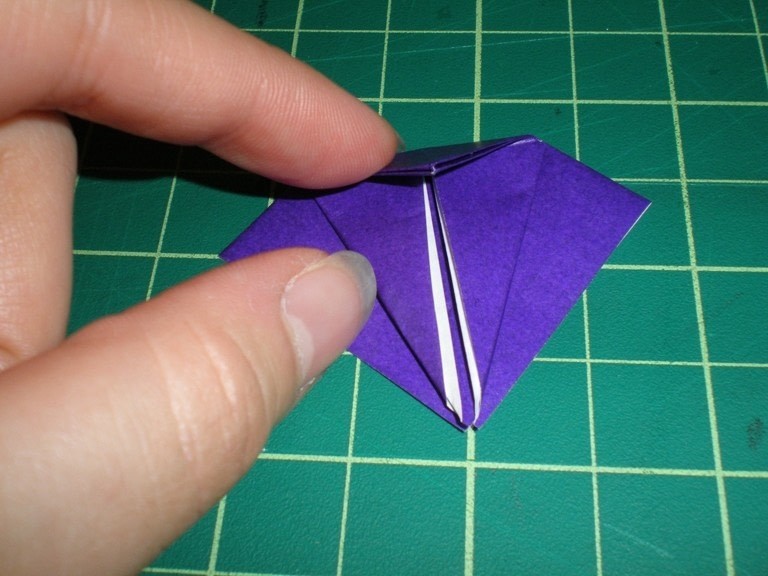
 Step 25
Repeat on other side.
-
 Step 26
Fold the bottom tip up...
-
 Step 27
...until it meets the other tips. Crease.
-
 Step 28
Flip and repeat on other side.
-
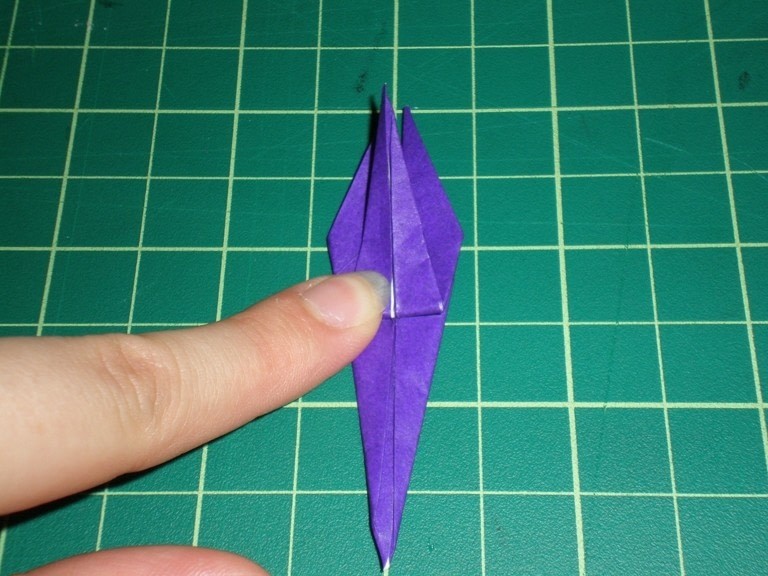
 Step 29
Separate the flaps again...
-
 Step 30
...fold down and crease.
-
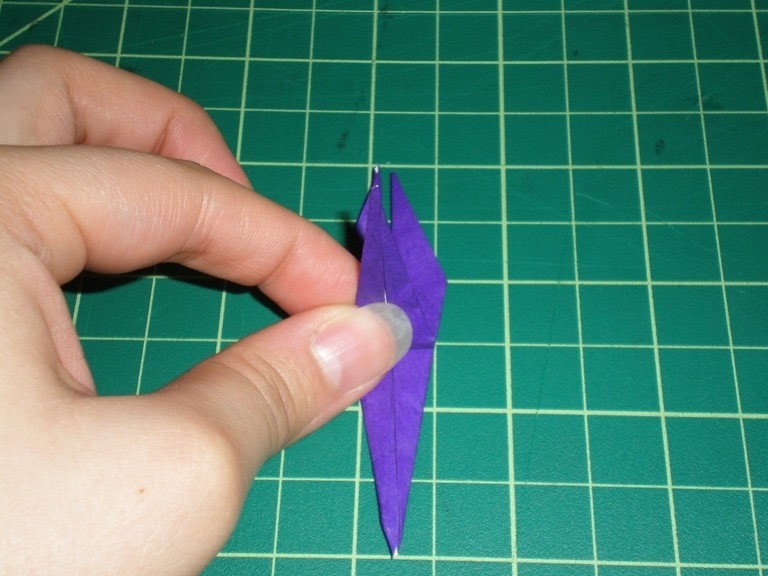
 Step 31
Hold the paper so you can see one of the skinny tips. This is the "neck" of the crane.
-
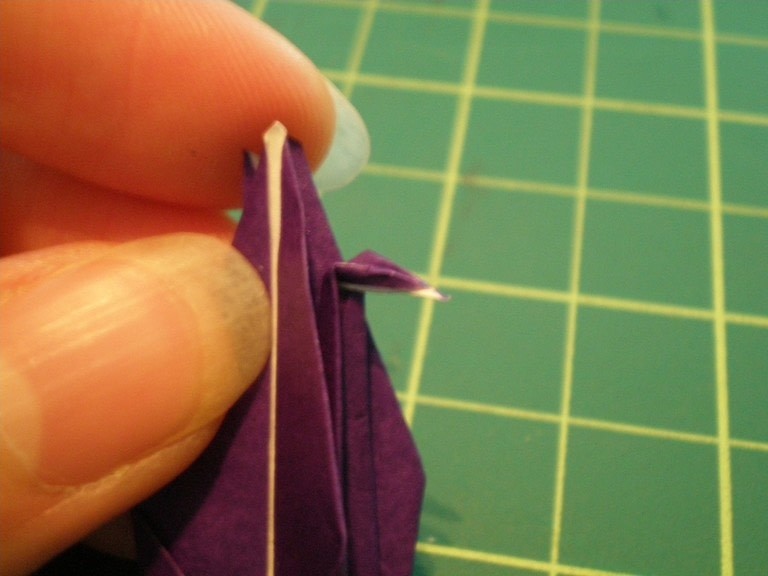
 Step 32
Open the neck a little and fold the tip down...
-
 Step 33
...and fold the neck close again. This is the head and beak of the crane! Yaaay.
-
 Step 34
Grab the two large flaps and slowly pull apart...
-
 Step 35
...and the body will inflate! Your crane is now done! Yaay (:
-
 Step 36
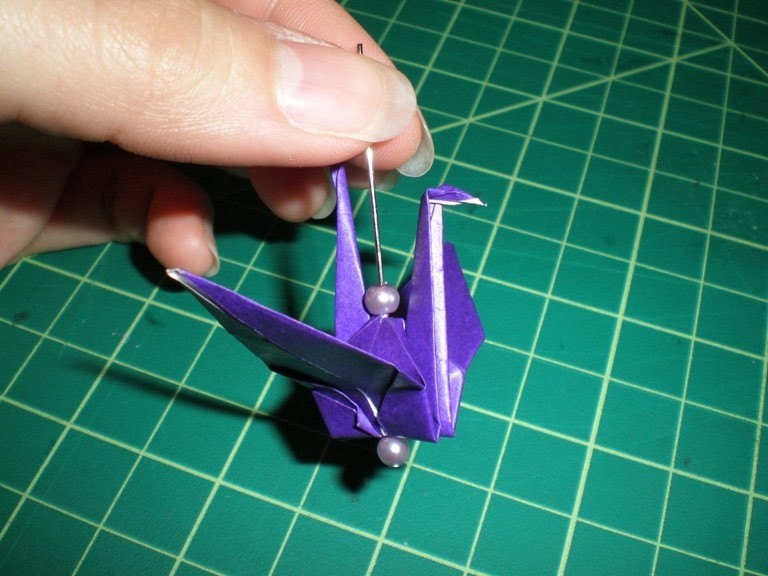
Now, if you're making earrings, grab a pin and two beads. Place one on the pin.
-
 Step 37
Flip the crane over and you can see a small hole in the bottom. Put the pin in the hole.
-
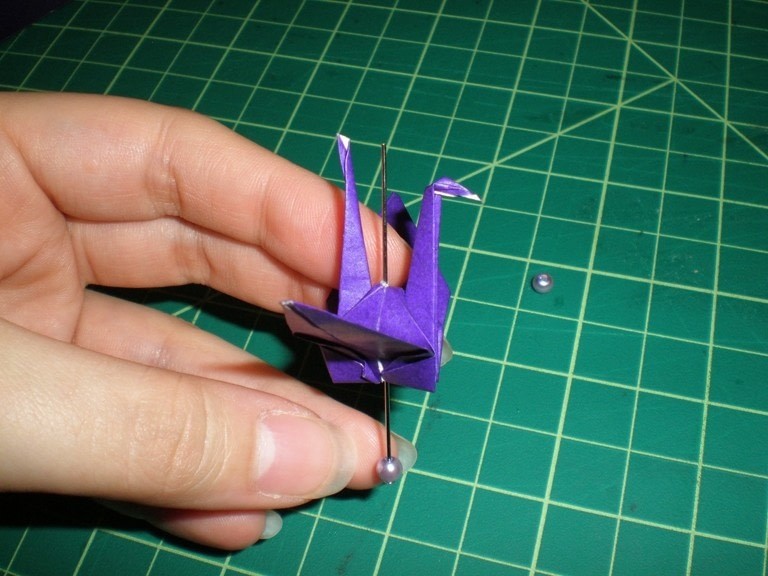
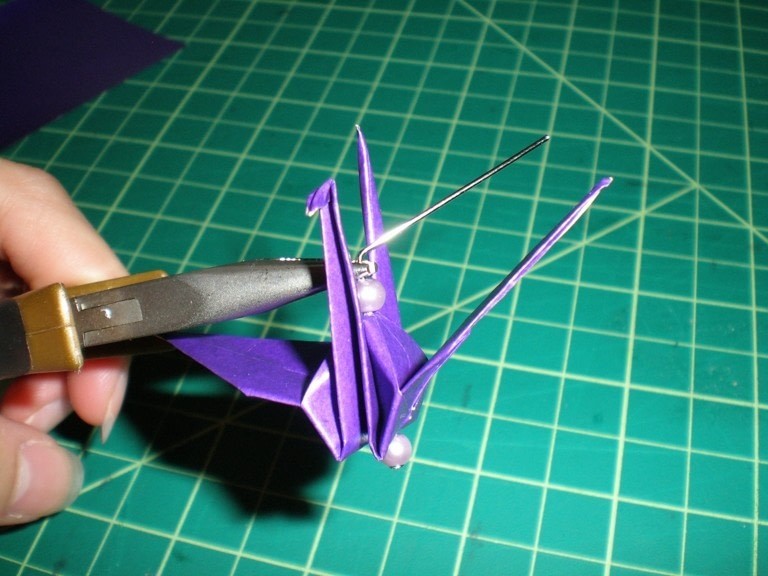
 Step 38
CAREFULLY push the pin through the body.
-
 Step 39
Pull the pin all the way through and put the other bead on the pin. These beads will keep the crane from moving and the bottom one will keep the crane on the pin.
-
 Step 40
Grab your pliers and bend the wire...
-
 Step 41
...and very carefully create a loop. Be careful! It is paper after all. If you find it a little difficult, you can fold down the tail so it's out of the way. My crane's body got a little crushed and my pliers scratched the wire. Whoops. Haha.
-
 Step 42
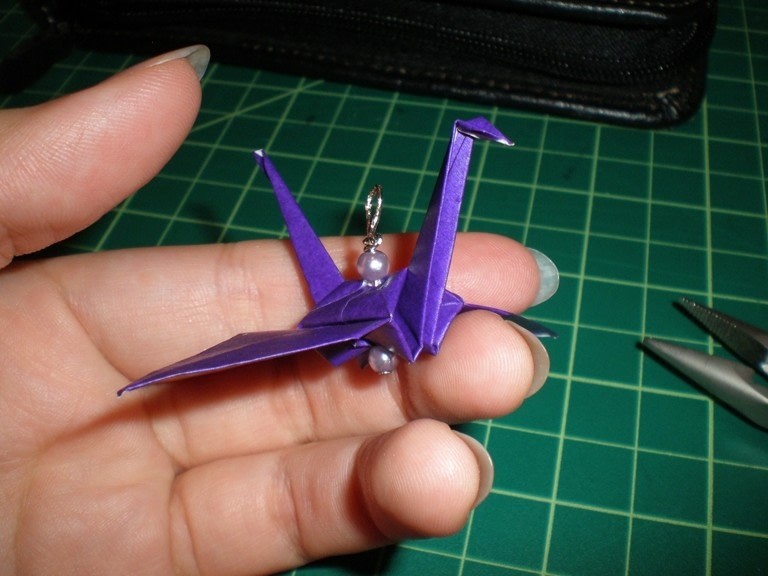
Twist open a jump ring and slip it through the loop.
-
 Step 43
Take an earring attachment and slip the jump ring through it too.
-
 Step 44
Twist the jump ring closed and enjoy your earring! Now to make one more...
-
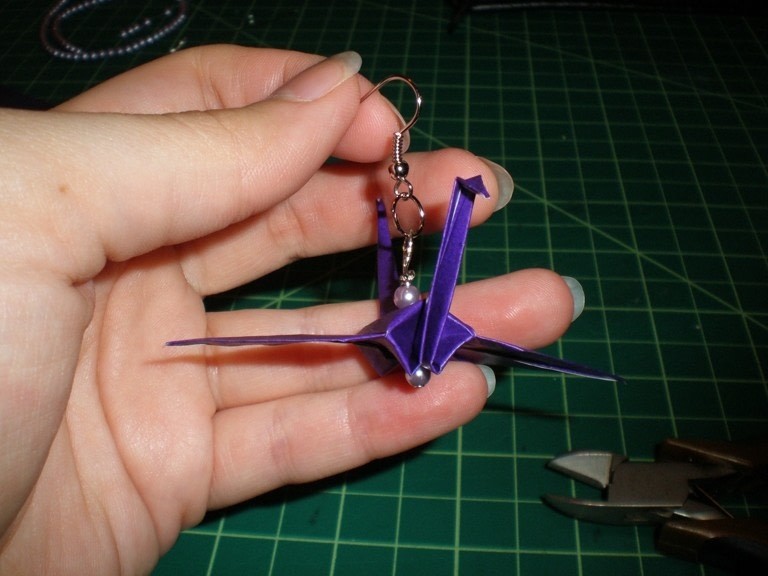
 Step 45
ACTION SHOT. Hahaha.
Wooo! Thanks for reading my tutorial. Hopefully it was easy to follow. I tried to take a lot of pictures for every step and I hope it was worth it <3


i had some girl guides come and stay at my house from japan and they taught me how to make these. There is now like 100 folded away in little envolopes doind nothing and now i can do something with them!! thanks so much! xxxx
I made some out of Starburst wrappers too with my first crane ones o_o;;
There's a picture of them on the site somewhere...